CPR Task Trainer Instructions
Revised: November 2023
Time Commitment: 30-45 minutes
Creator: Holly Sarvas Reviewer: Adele Bodson
Content warning: sharps
What you will need
Compression portion
- 8 kitchen scrub sponges
- Large piece of cardboard (Proto-type used 14" H x 16" L x 16" W cardboard box)
- 4 elastics (2 large and long; 2 small)
- 2 750mL pop bottles or 1 pool noodle
- Good quality duct or packing tape
- Pasta/salsa jar lid (ensure lid has popping pressure seal feature)
- Strong glue
- Scissors
- Large t-shirt
- Optional: flesh tone paint or flesh tone duct tape
- Optional: marker
Airway portion
- 1 adult sized bag valve mask
- 1 medium size piece of cardboard
- Scissors
- Strong glue (e.g. hot glue)
- Duct tape (ideally flesh tone colour)
- Metal nose piece from simple mask or non-rebreather
- Pool noodle
- Packing material (styrofoam, craft paper) or hand towels
- Marker
- Optional: paper maché and flesh tone paint
Vascular access portion
- Pool noodles (ideally close to flesh tone)
- Exacto knife or scalpel
- Scissors
- SAM® Splints
- IV clamp or drain cap plug
- Duct tape (ideally flesh tone)
- Completed IV insertion and/or IO insertion module (see respective tabs)
- Optional: flesh tone nylon
Assembly Instructions
Compression section
| Assembly Instructions | Pictures |
|---|---|
| Step 1: Stack 8 scrub sponges on top of each other and place a strong elastic at each end. | 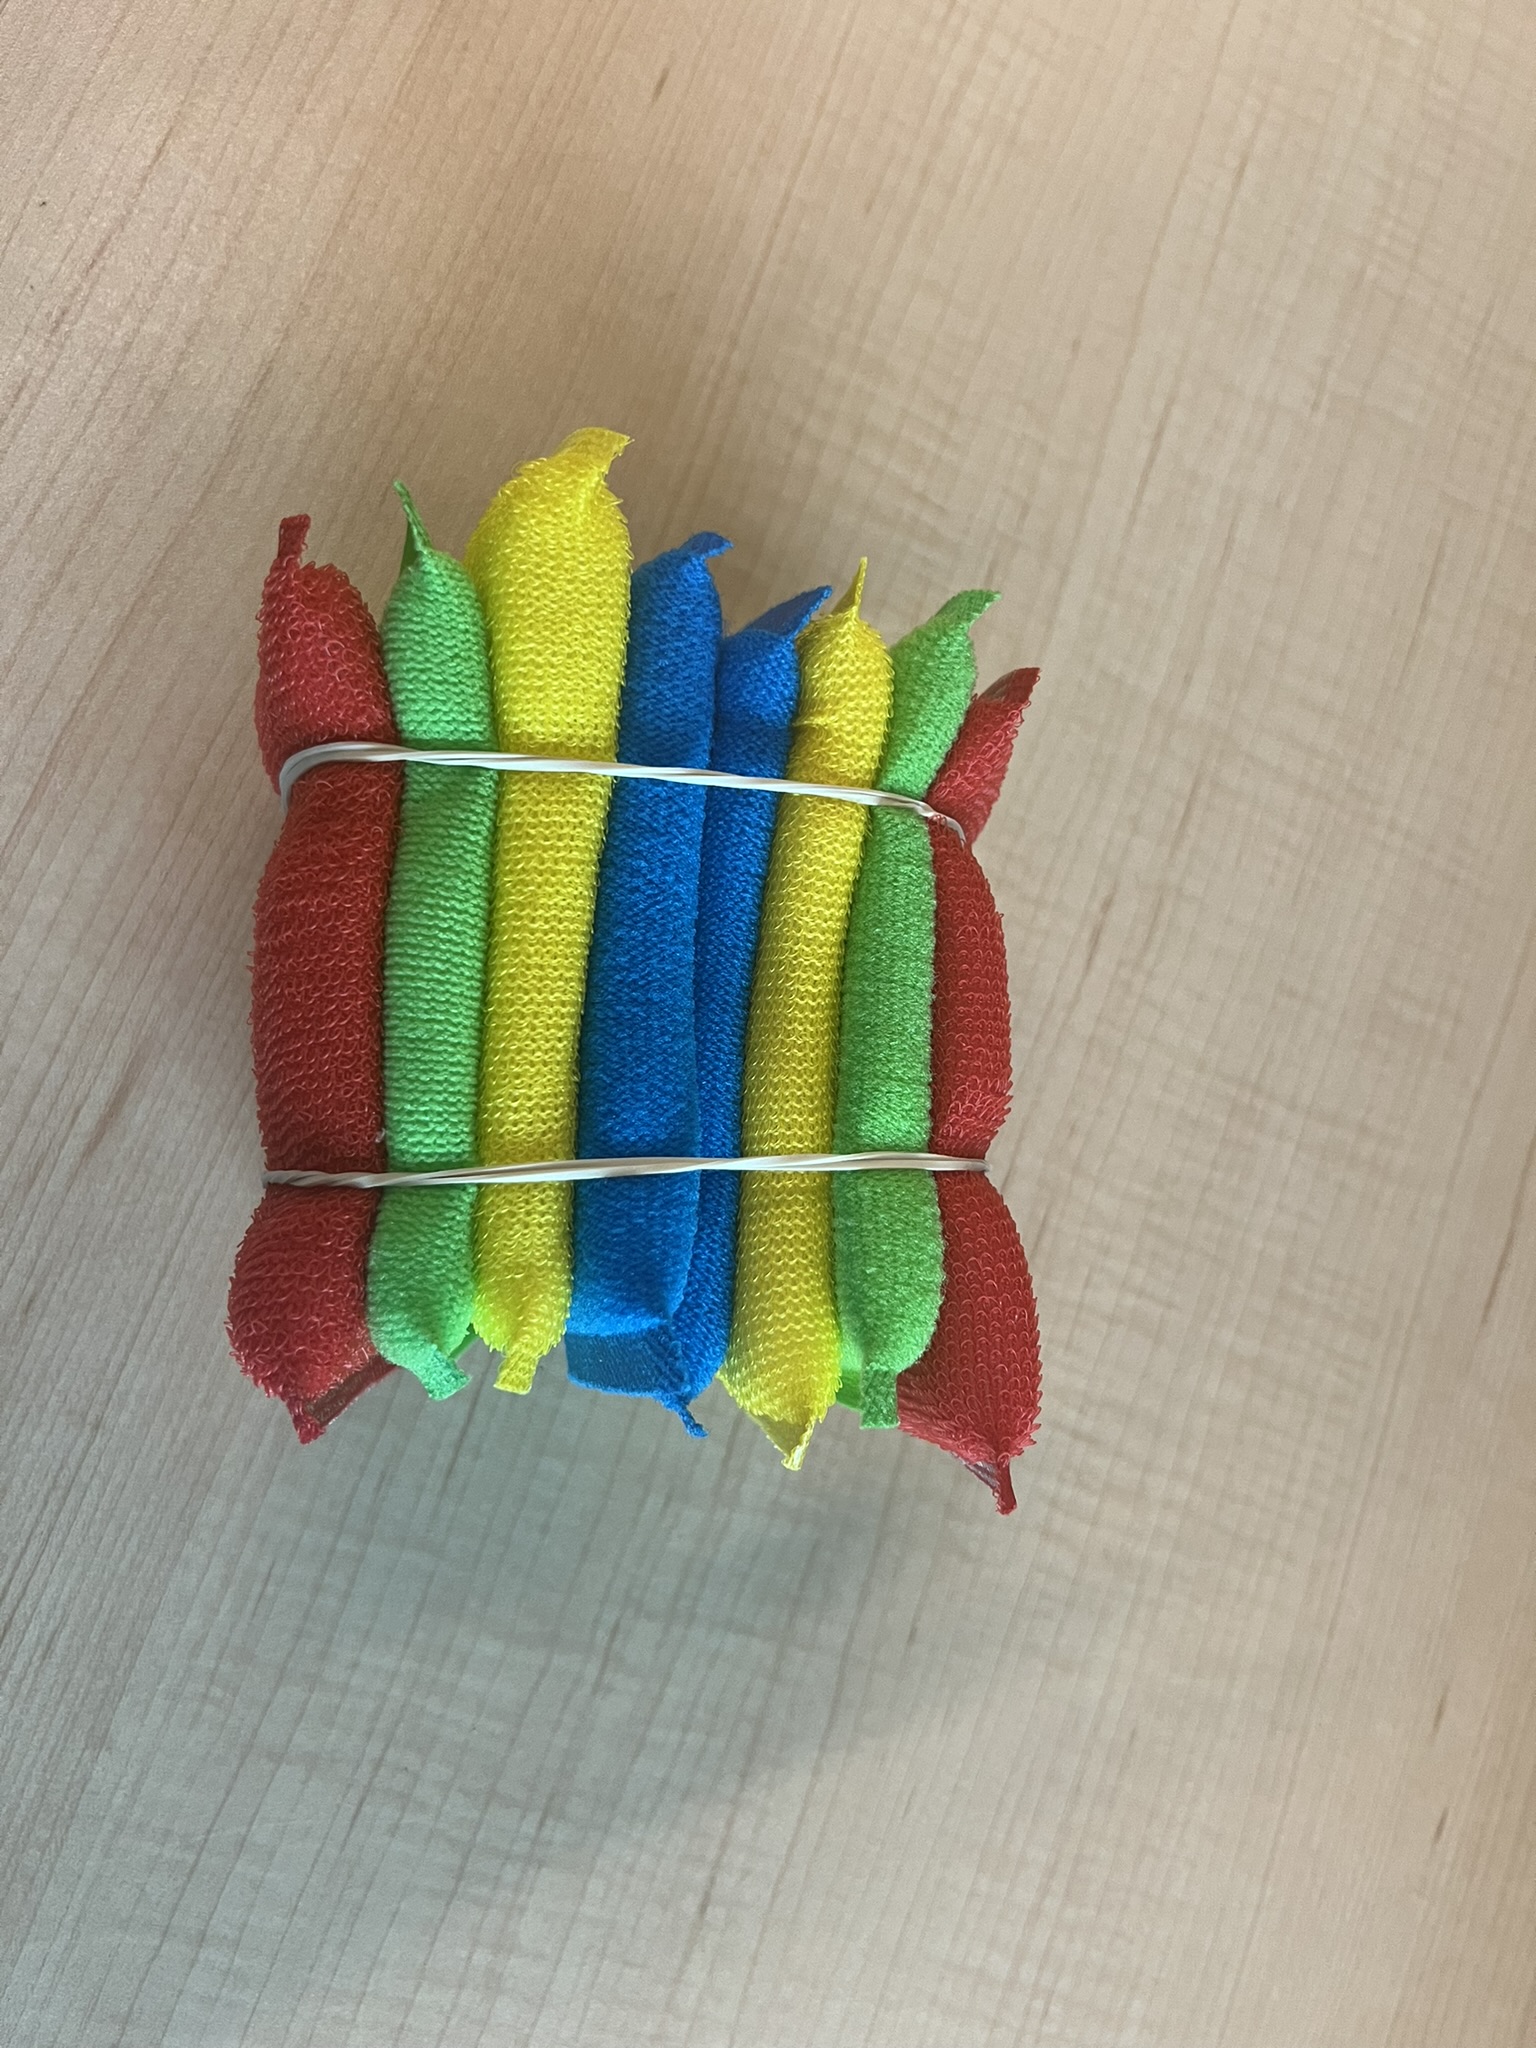 |
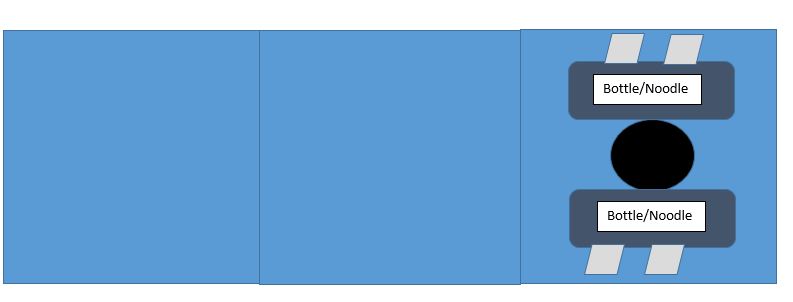
| OPTION 1 - Step 2: Fill 2 750mL bottles of pop with water. Secure tightly the cap on top. Purpose: the added weight of the water in the pop bottles will add stability and sturdiness to the torso. | |
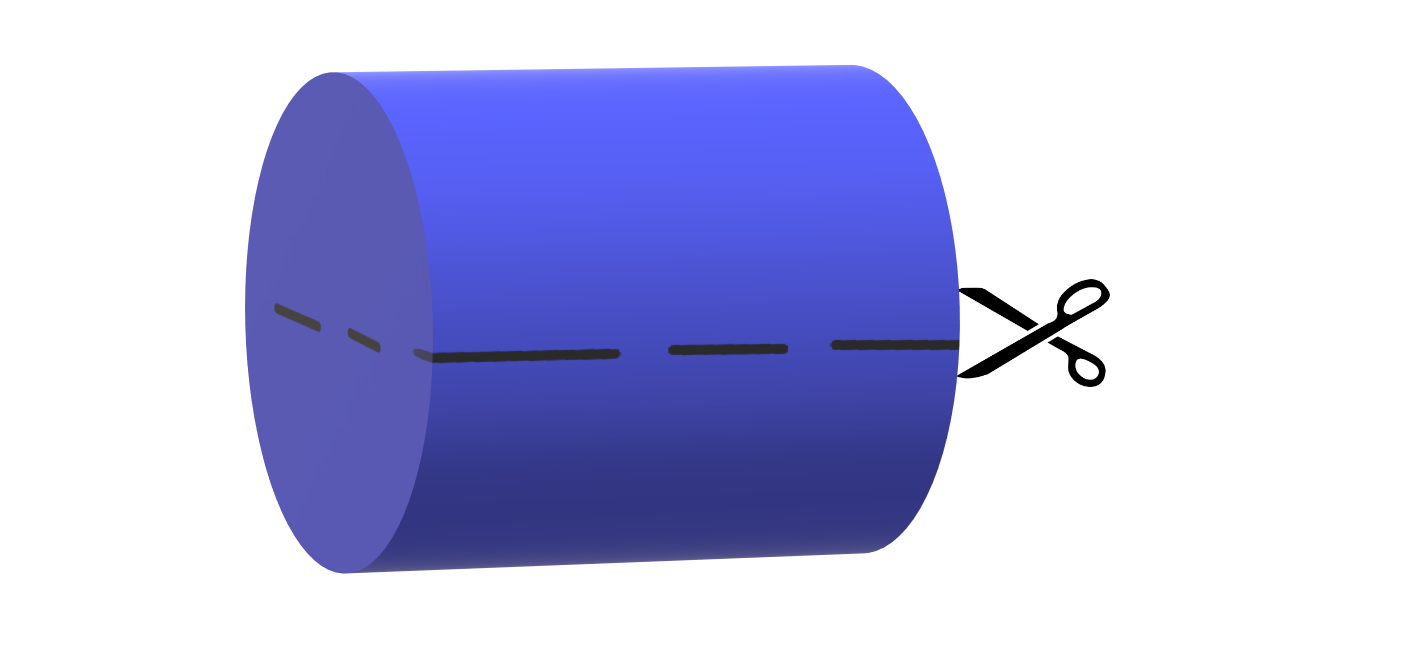
| OPTION 2 - Step 2: Cut off pool noodle 12 inches, twice. See Step 5 for approximate size and cut. Purpose: the pool noodle will act as a structure to the torso. Less weight than the pop bottles, but will hear feedback easier. | |
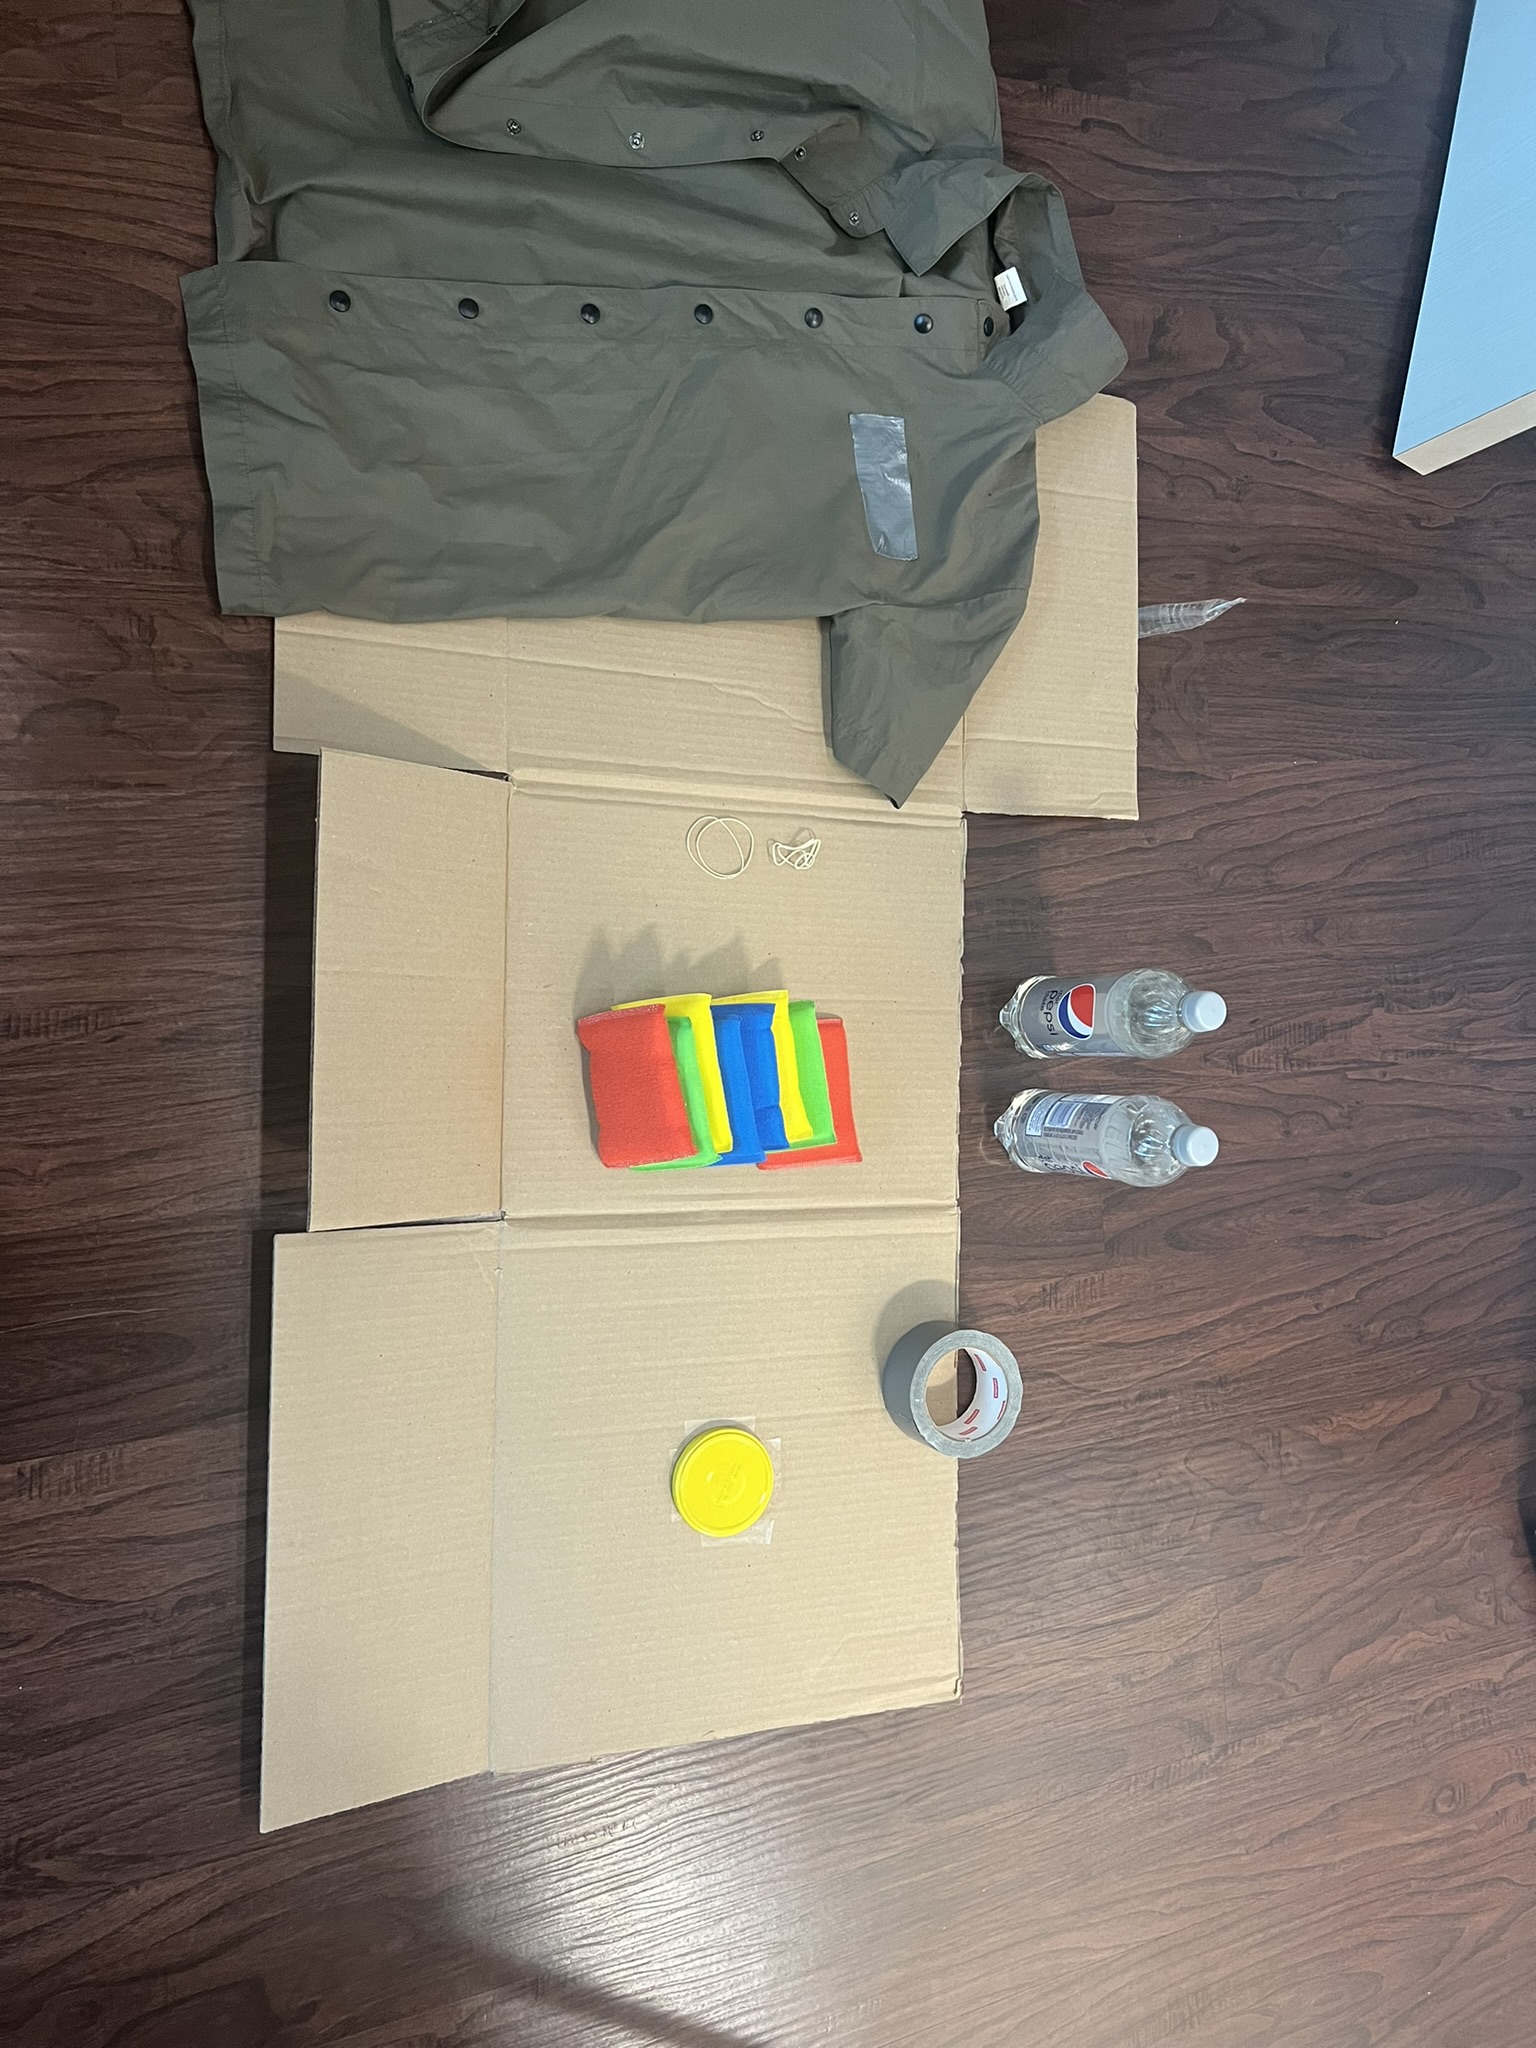
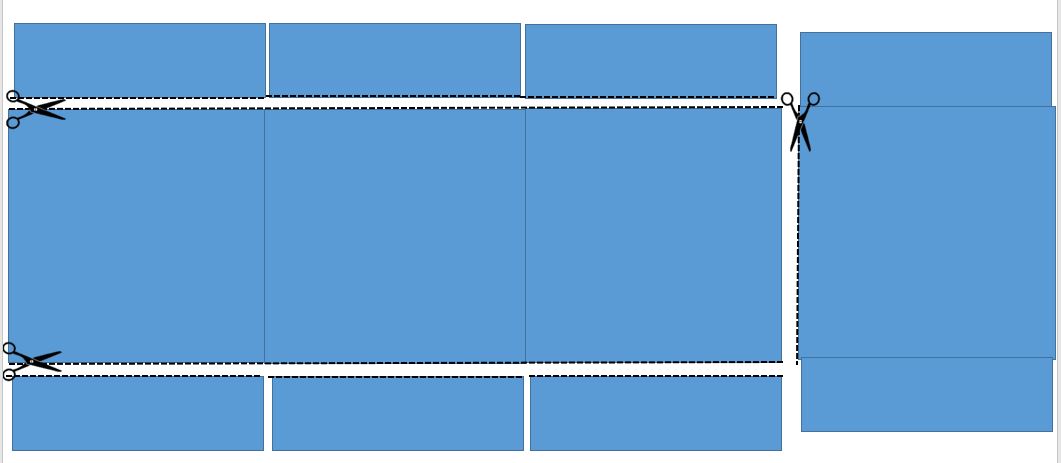
| Step 3: Take a large cardboard box and disassemble. Cut the top large panel off and cut the remaining short end pieces off. | 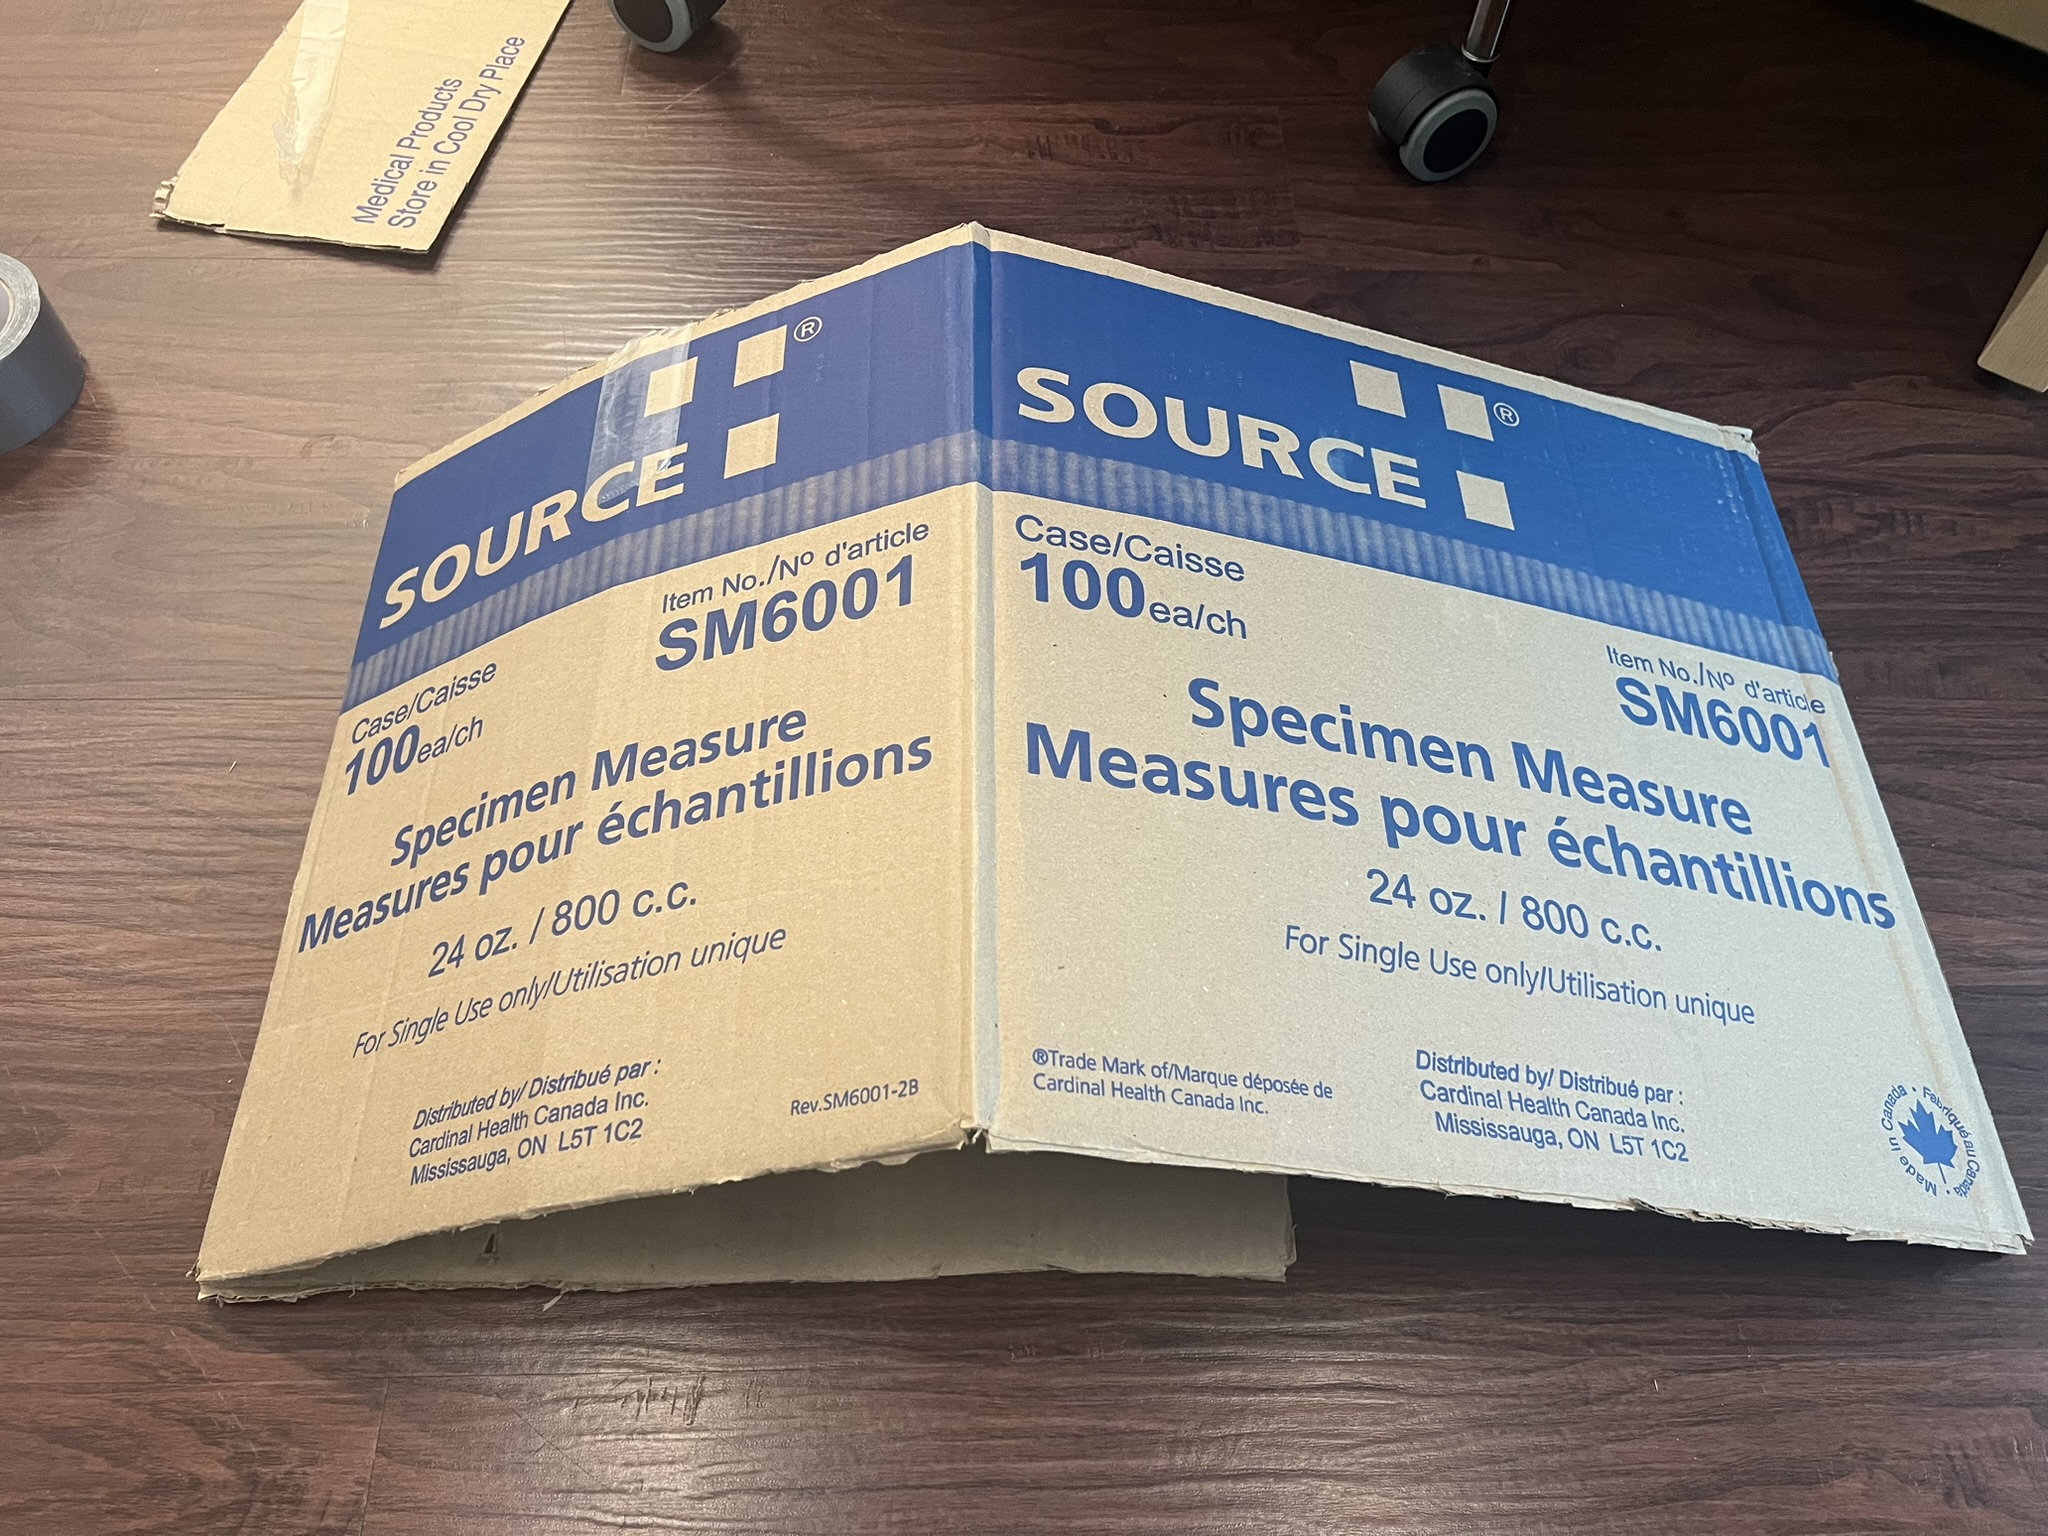
 |
| Step 4: Take a salsa jar lid and glue the bottom of the lip to the centre of the cardboard panel. Picture beside shows strong double-sided tape. | 
 |
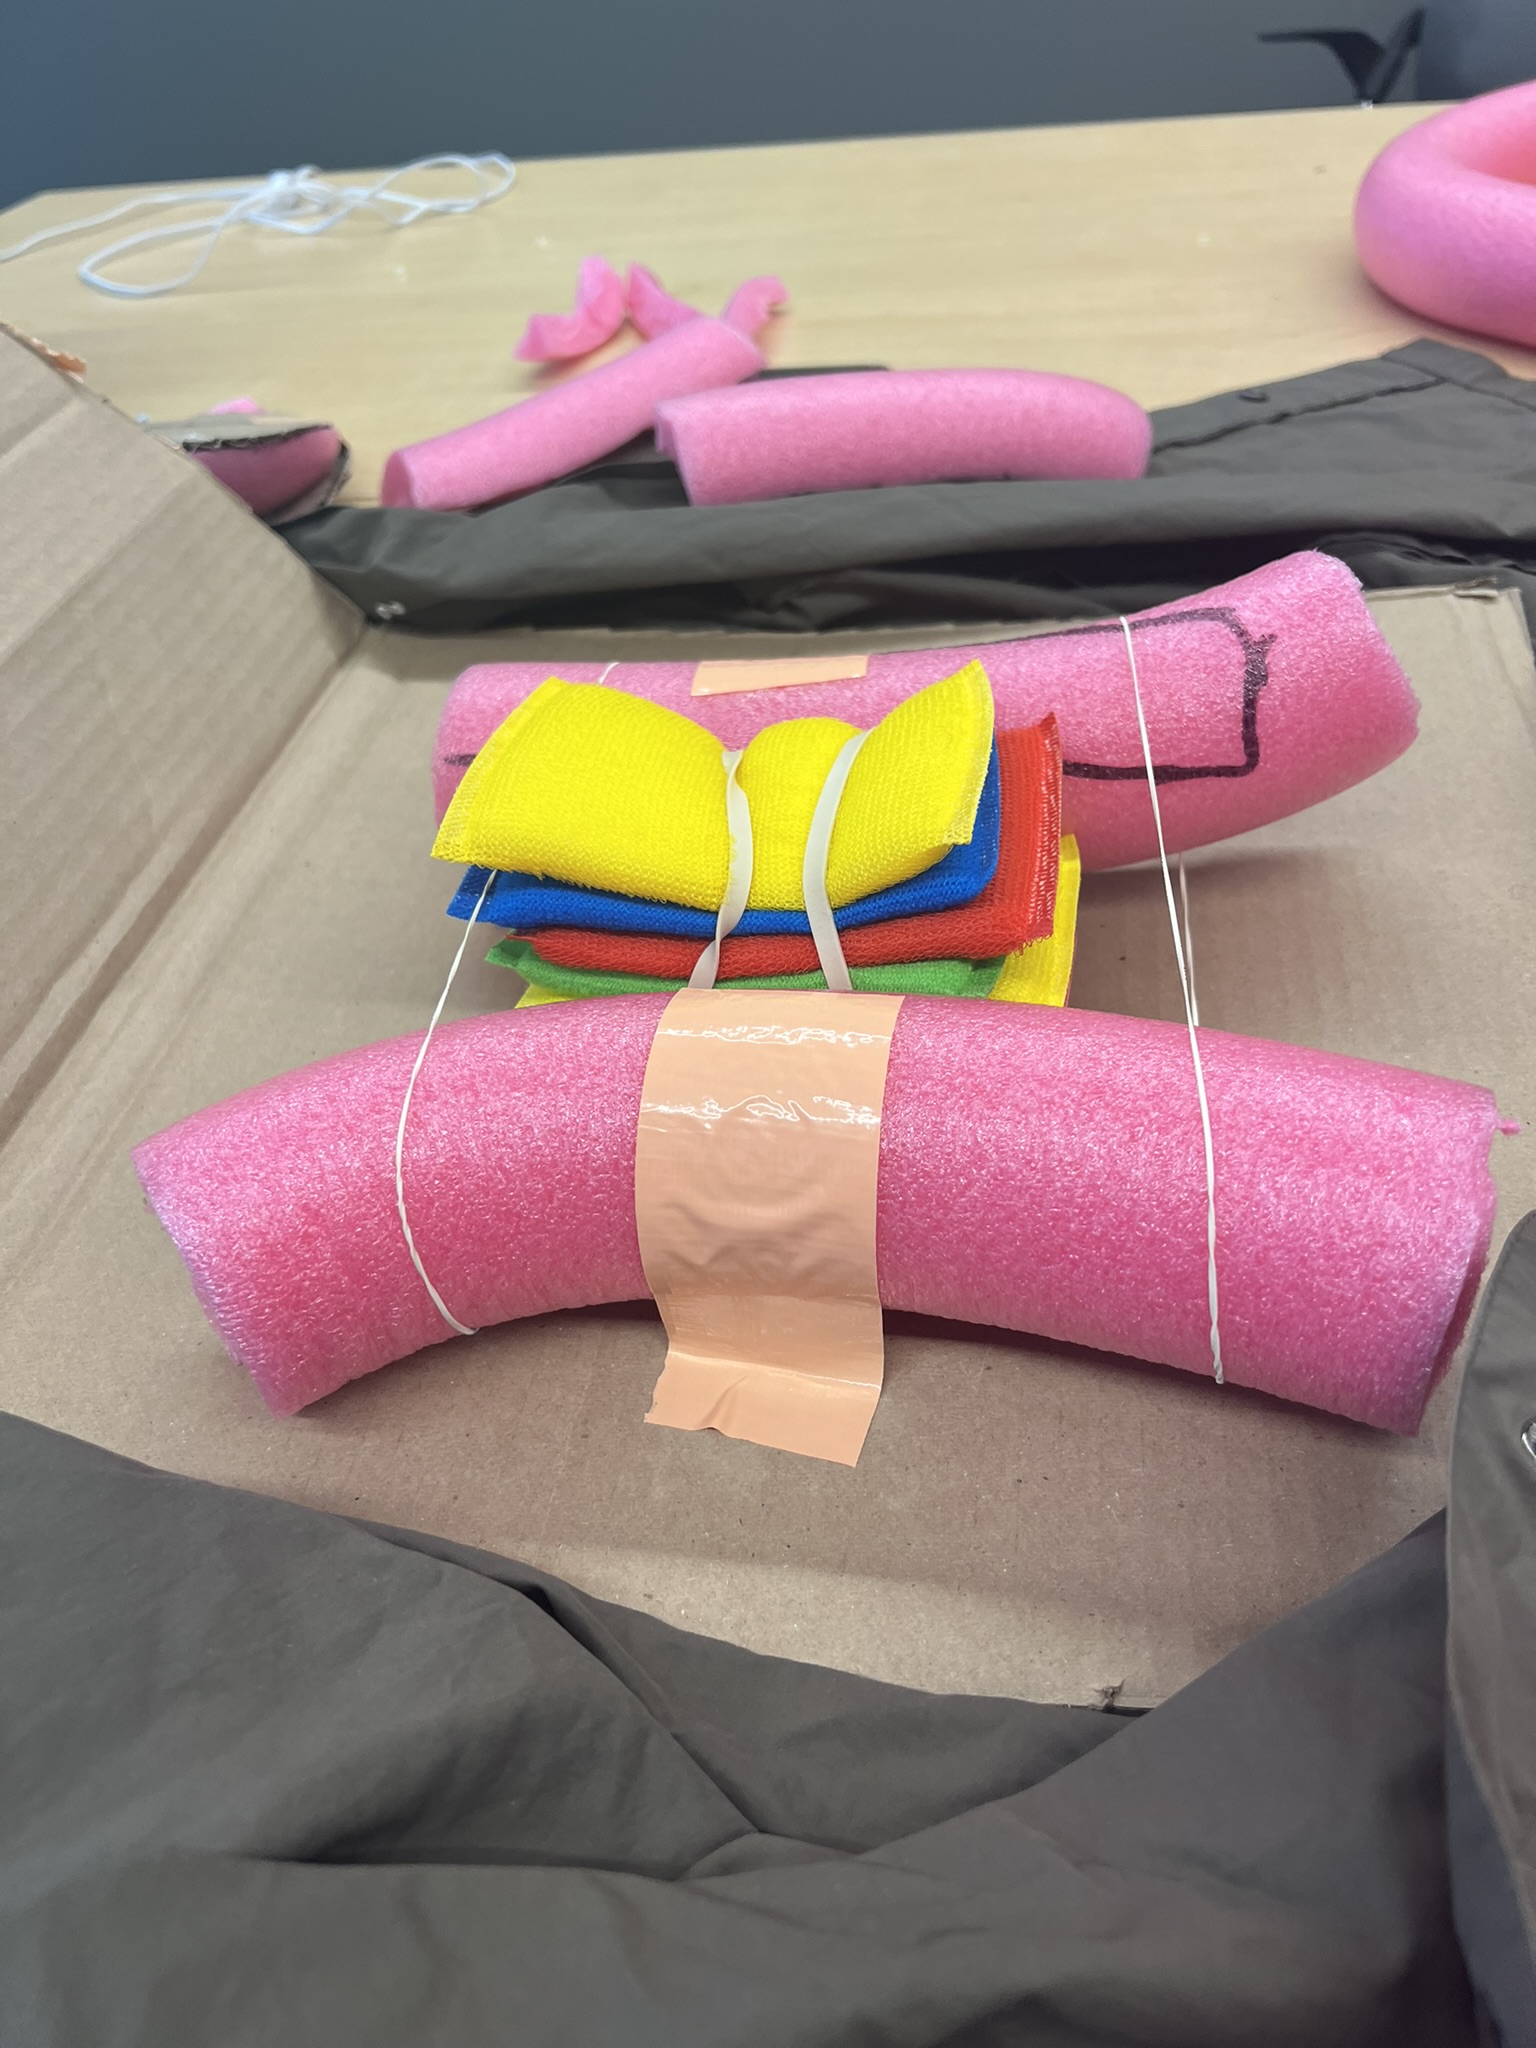
| OPTION 1 - Step 5: Once dry, place your stack of sponges on top of the salsa jar lid. Place the 2 750mL pop bottles on either side of the sponge stack. (This will keep your compression and feedback mechanism in place). To increase tension, place long elastics on either end of the pop bottles to secure around the sponge stack. (See picture). | 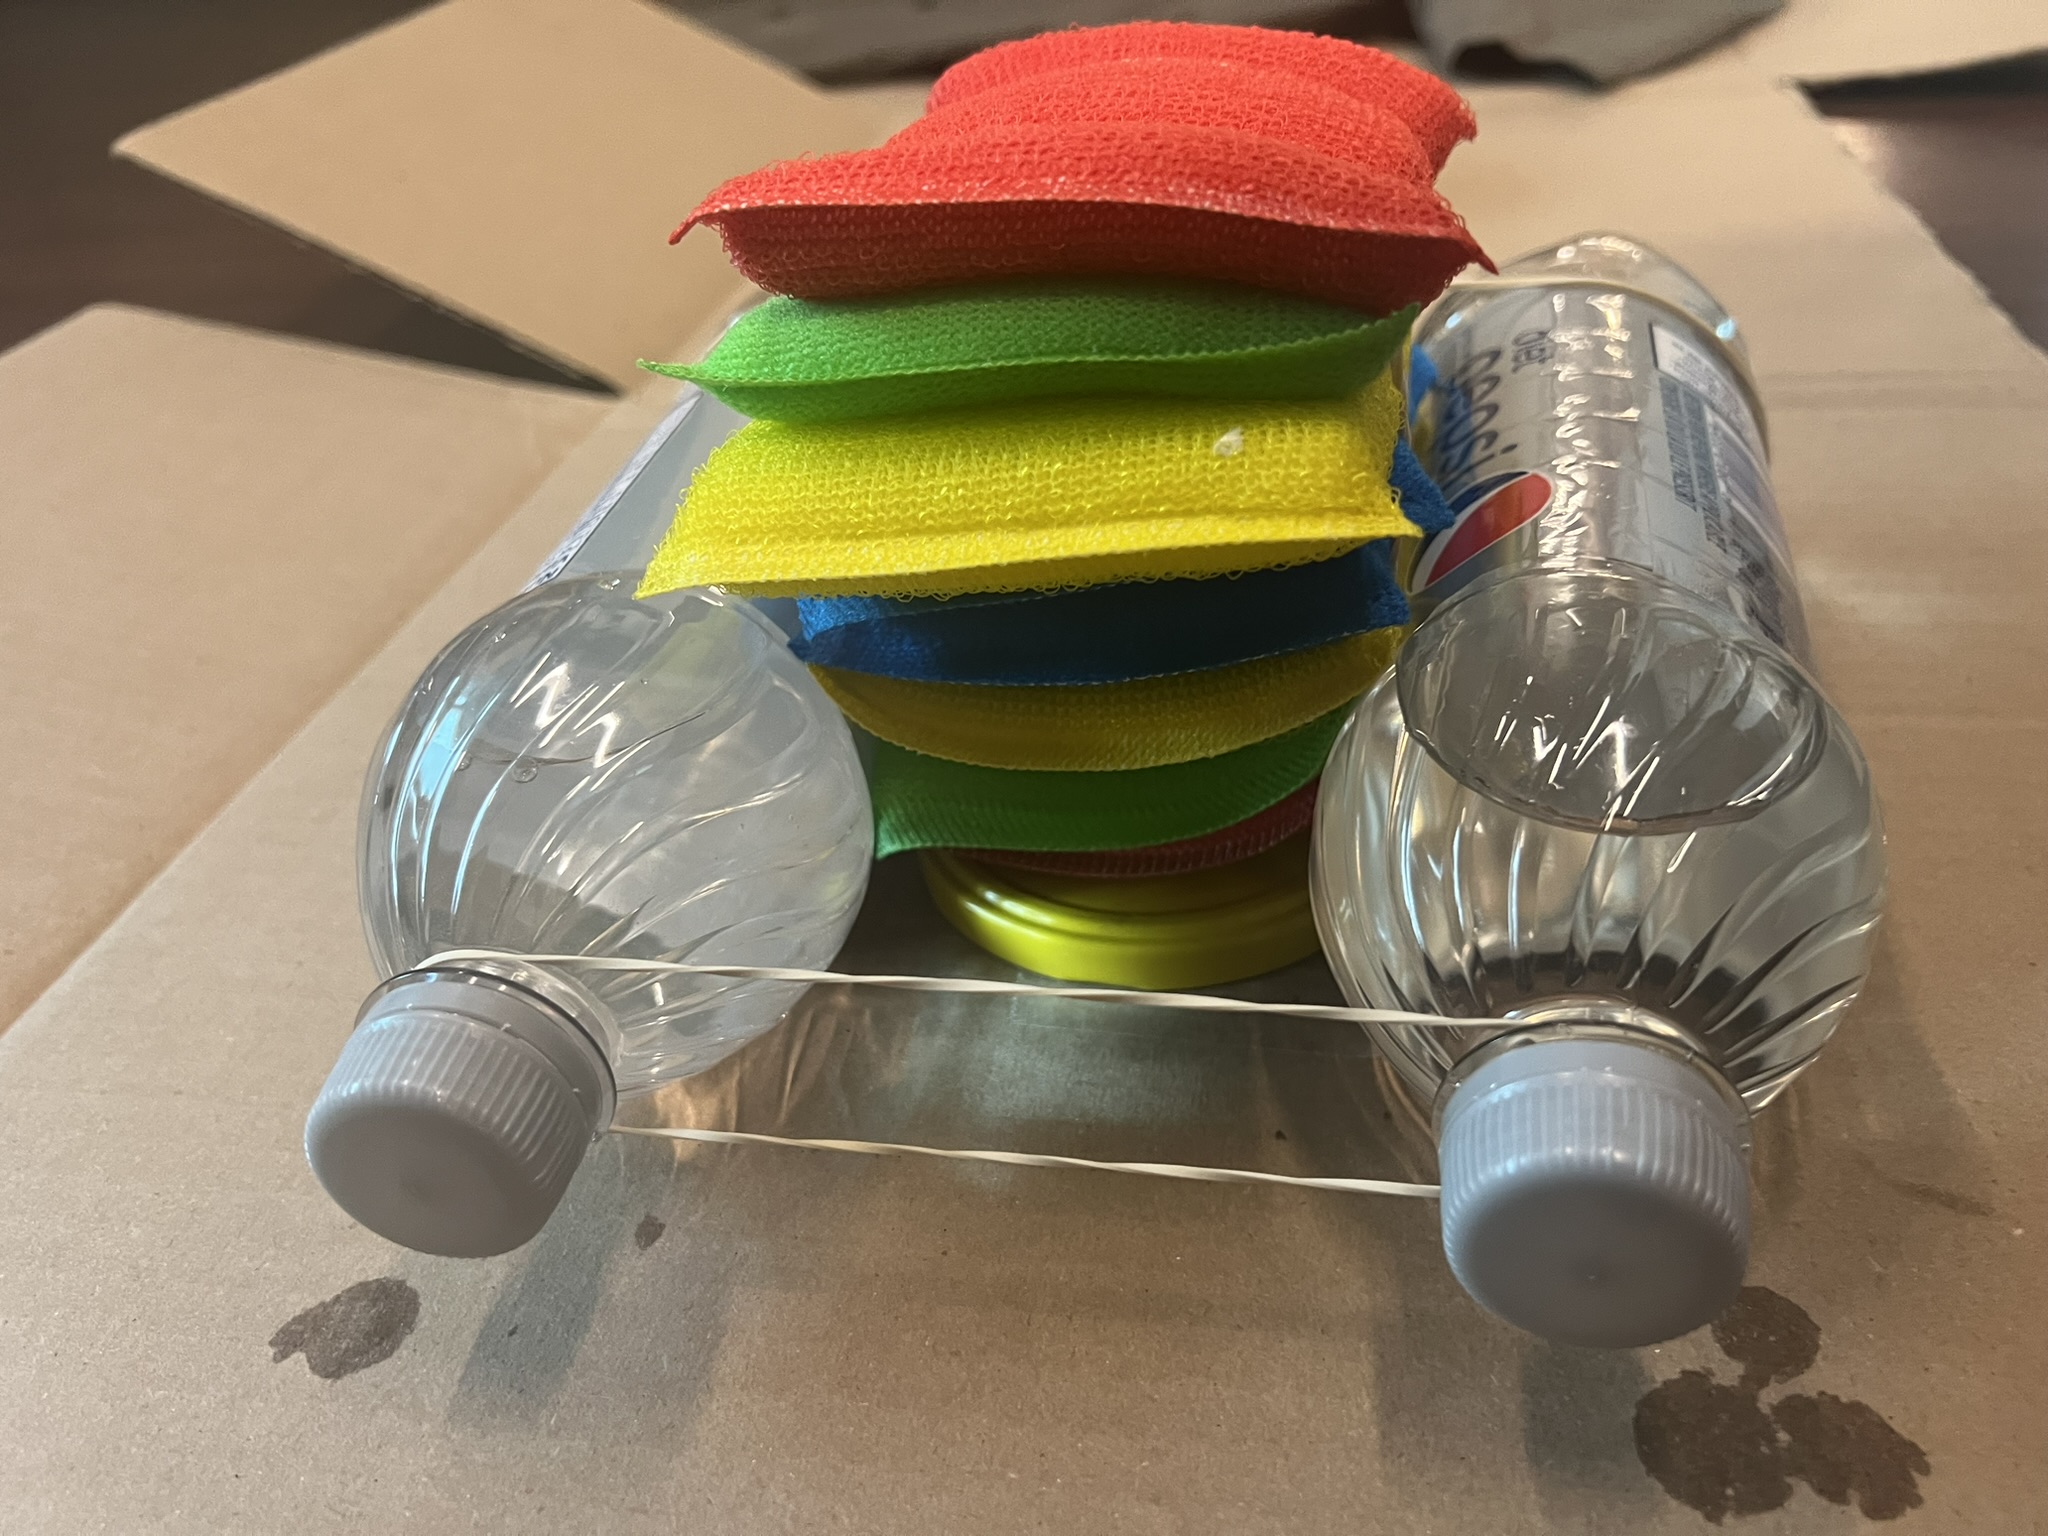 |
| OPTION 2 - Step 5: Once dry, place your stack of sponges on top of the salsa jar lid. Place the 2 pool noodle pieces on either side of the sponge stack.
Purpose: This will keep your compression and feedback mechanism in place. | 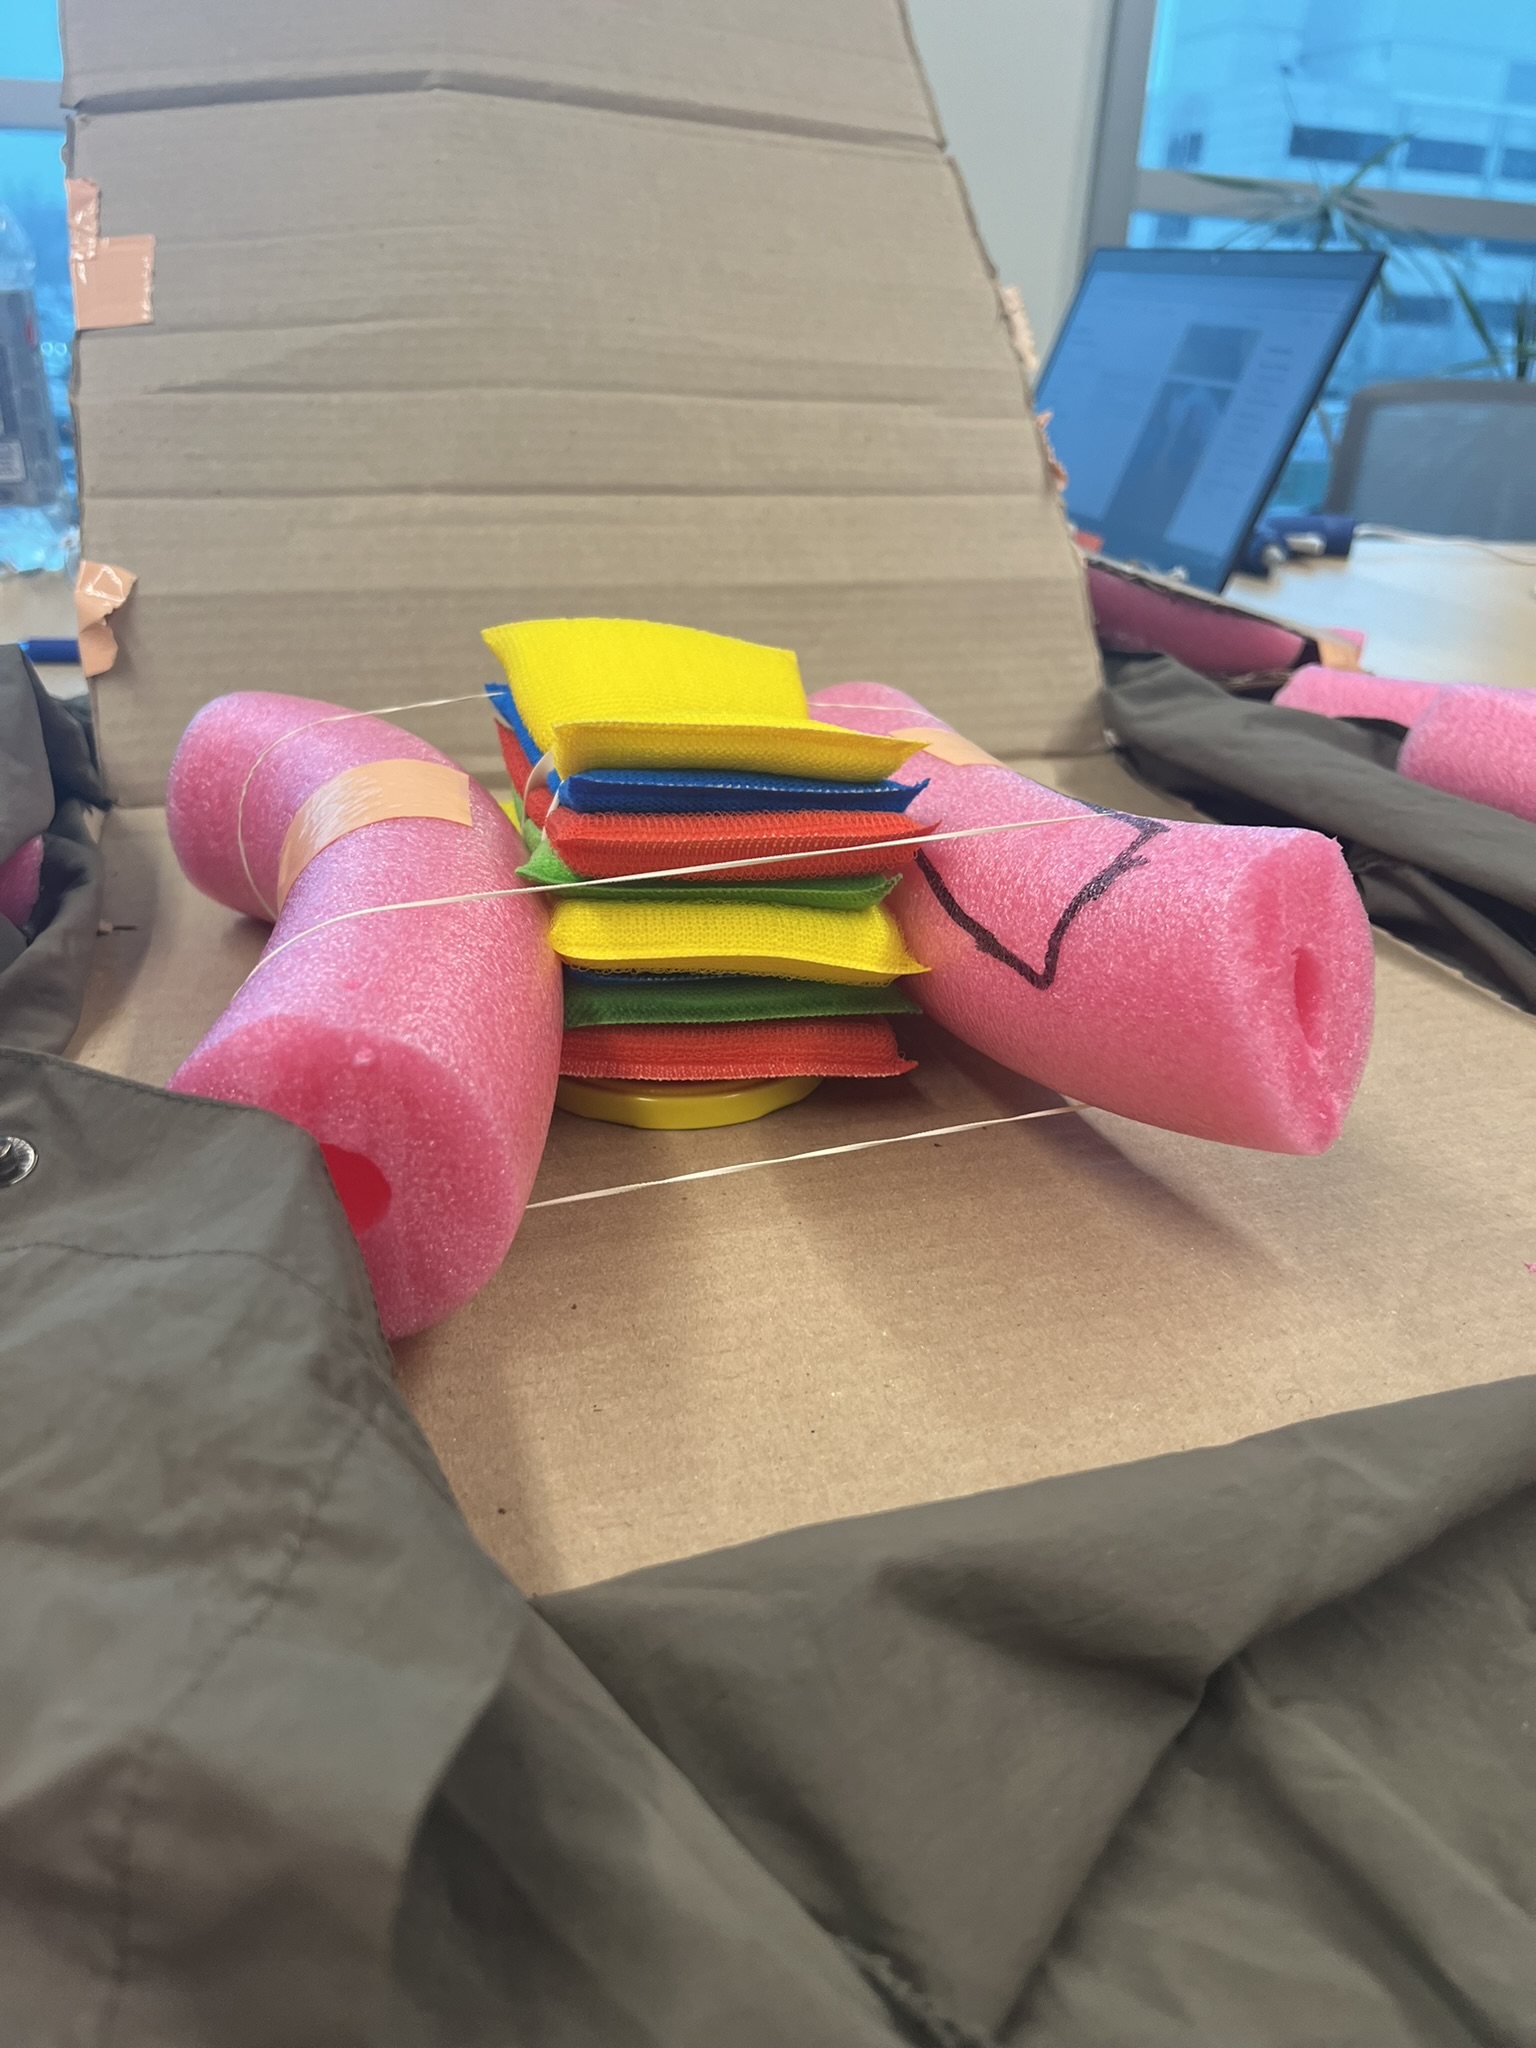 |
| Step 6: Tape the pop bottles (OPTION 1) or pool noodles (OPTION 2) onto the cardboard using packing or duct tape. Tape so that the sponge stack is not secured and, for OPTION 1, the elastics maintain tension. | 
 |
| Step 7: Fold over the cardboard to create the chest. To add sturdiness and realism, you can add flesh-tone coloured duct tape to the front of the cardboard. | 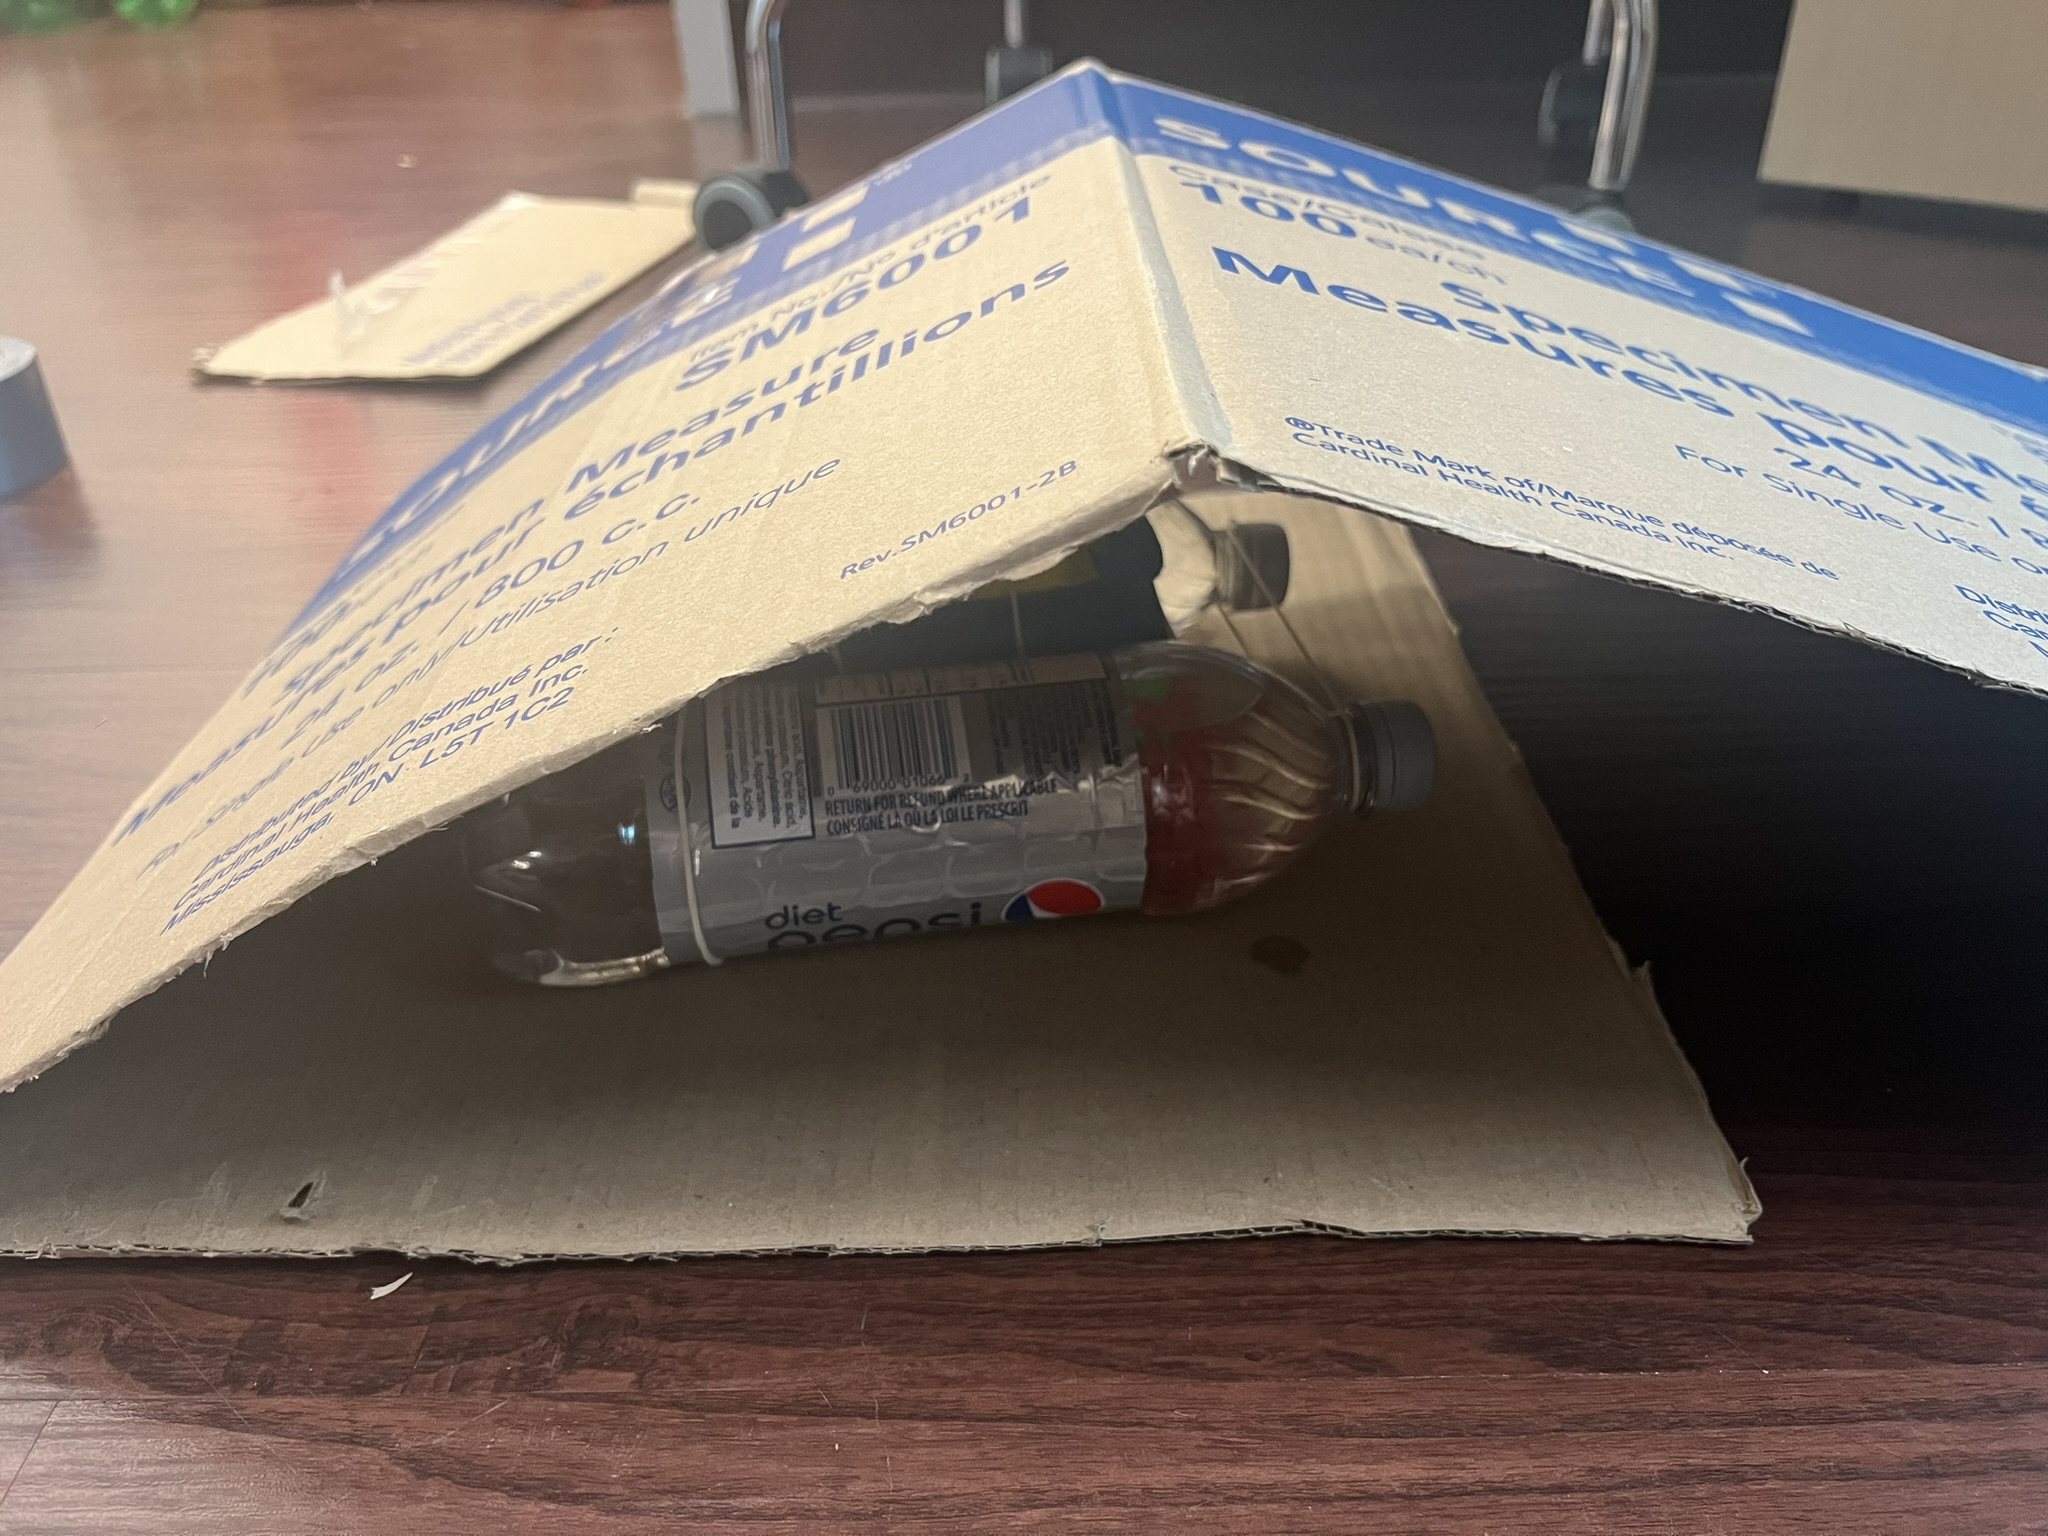 |
| Step 8: To add realism, cover with button-up t-shirt/shirt.
Optional : You can add landmarks (pectorals, nipples) with a marker to indicate where people should compress, so learners can practice their own landmarking. | 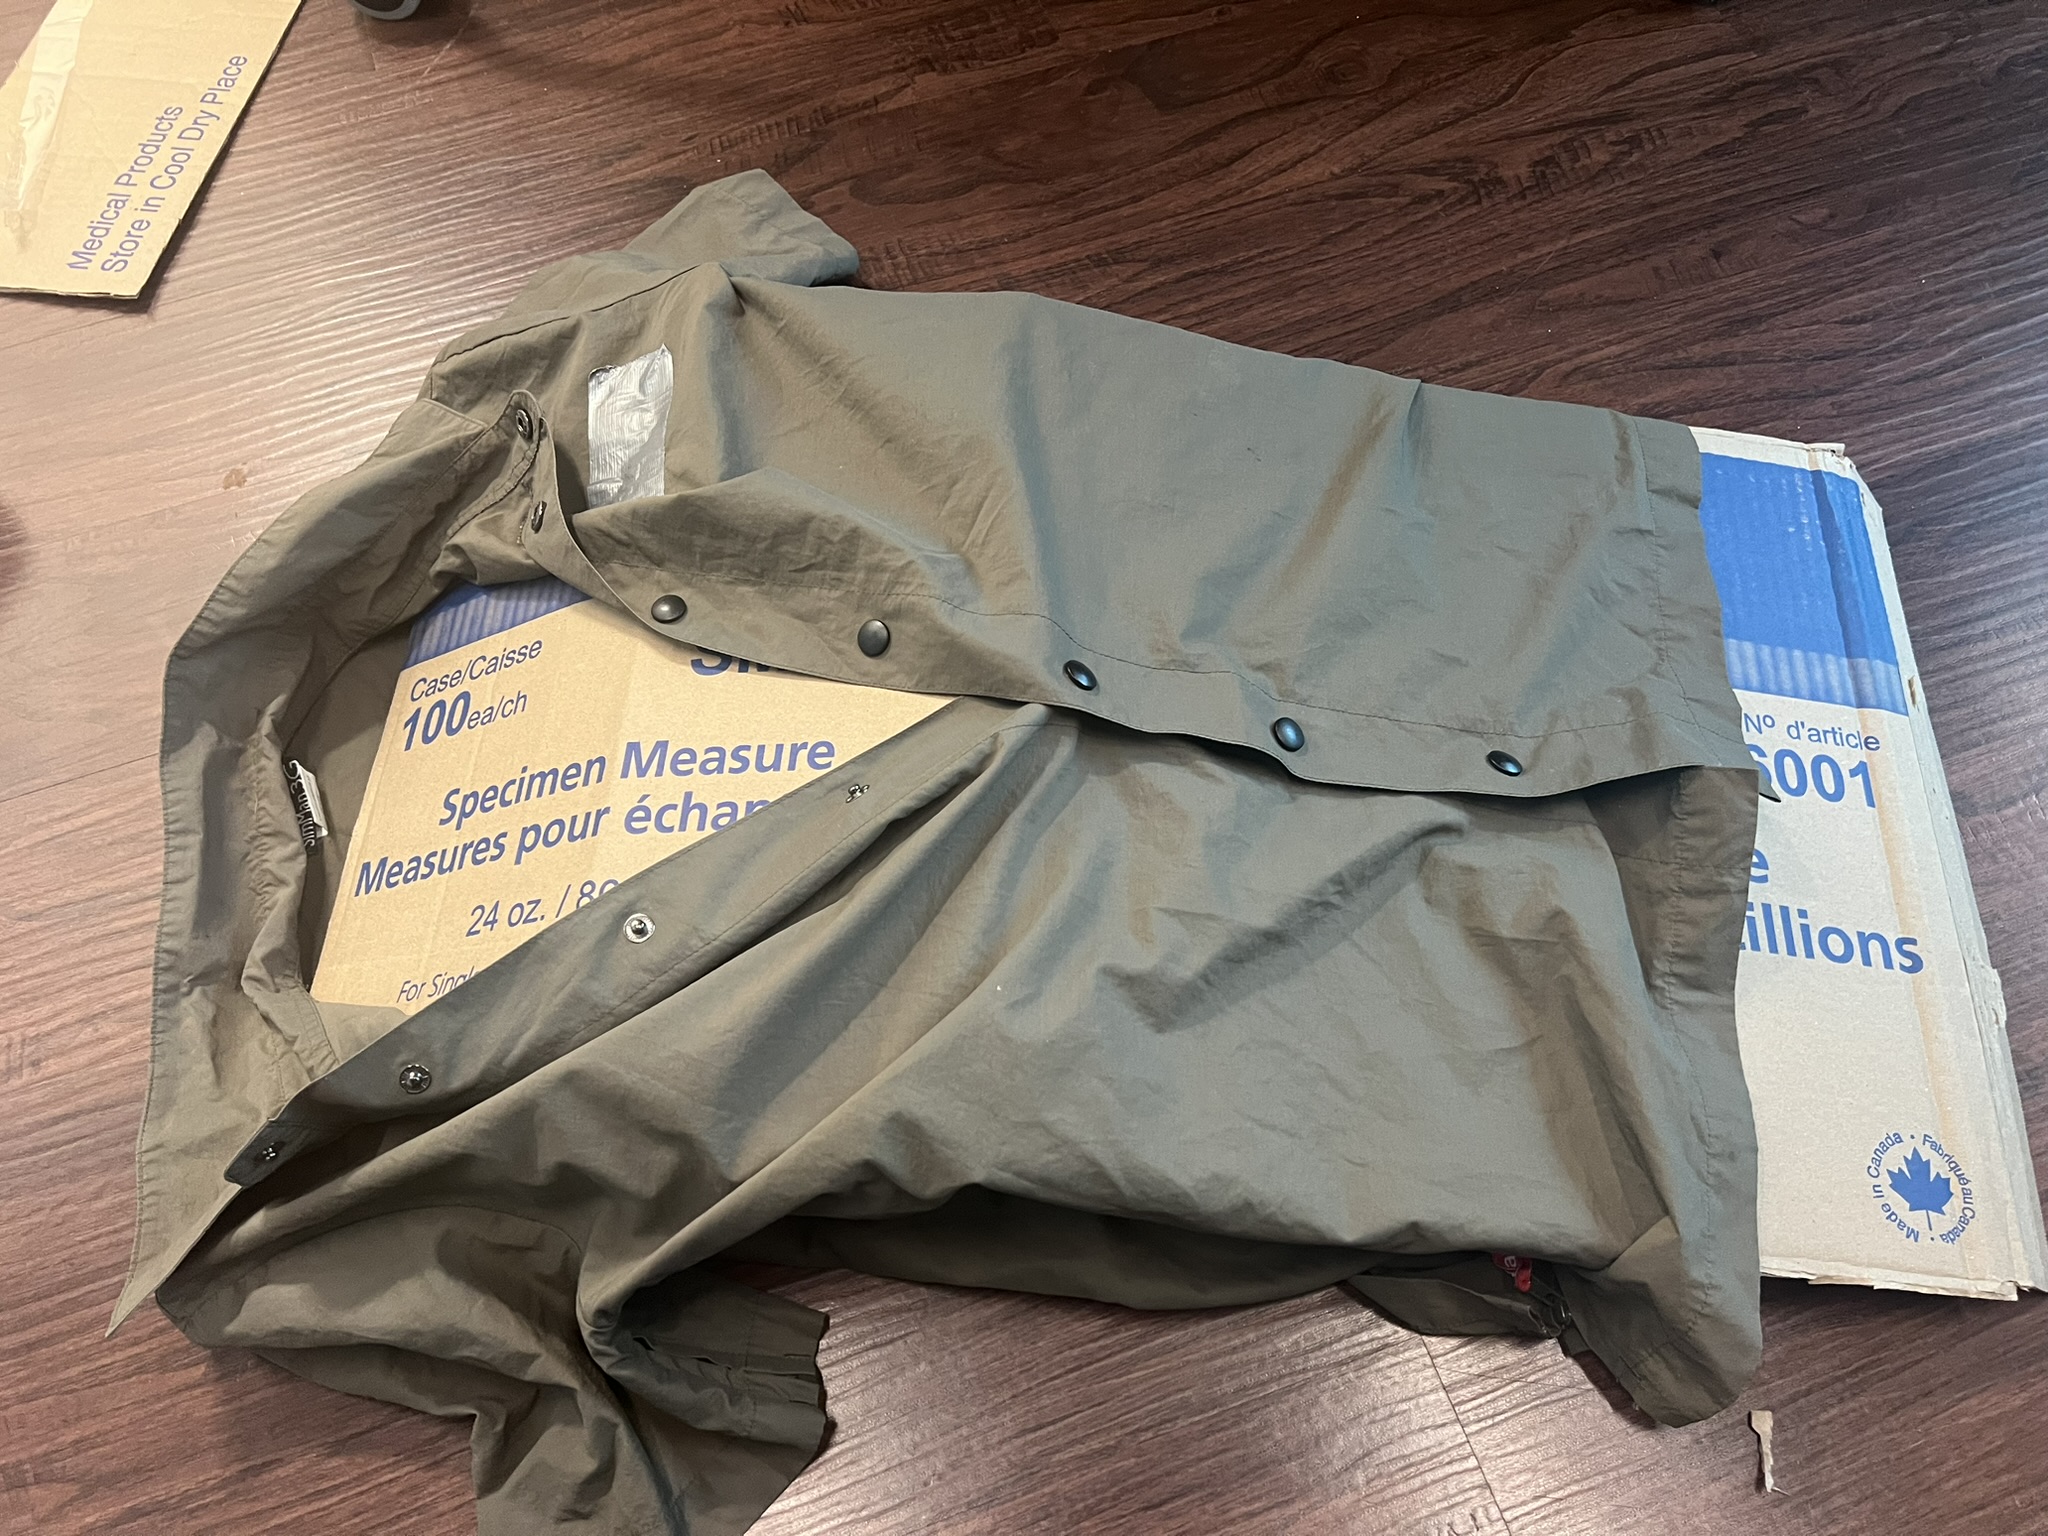 |
Use of Compression Section
Once complete, the compression section task trainer can reflect the following learning objectives:
- Ensuring proper depth by listening to lid pop down
- Ensuring proper recoil by listening to lid pop back up
- Ensuring proper hand placement by ensuring lid pops
- Rate can be monitored with metronome app
Airway section
| Assembly Instructions | Pictures |
|---|---|
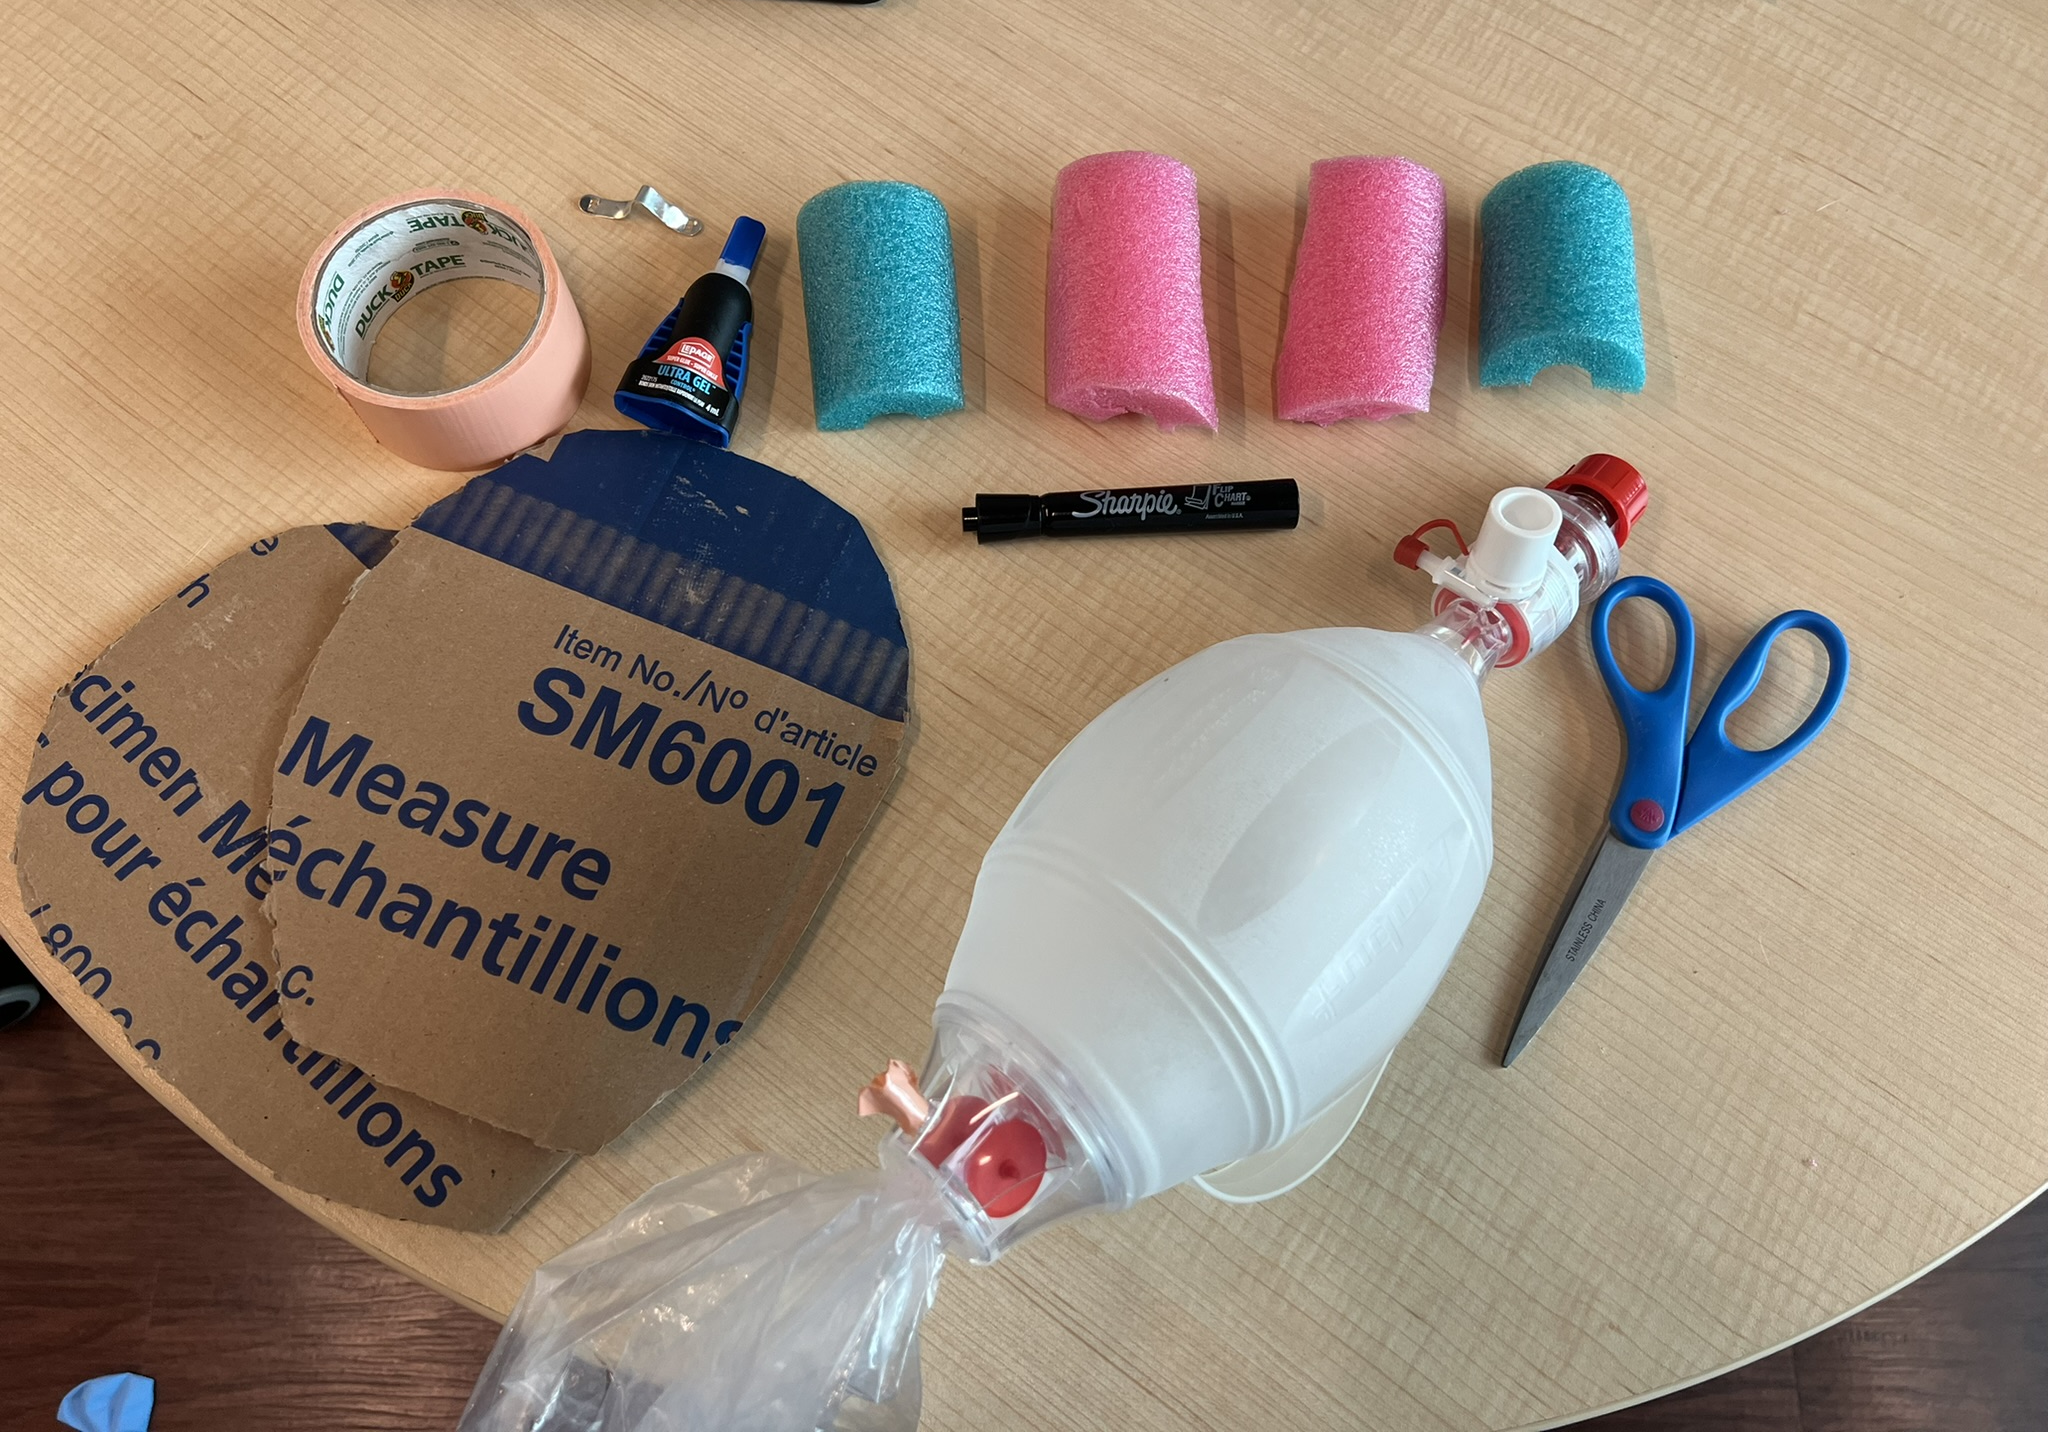
| Step 1: Cut out two identical pieces of cardboard that are the size of an adult sized head. Place one to the side for later. | 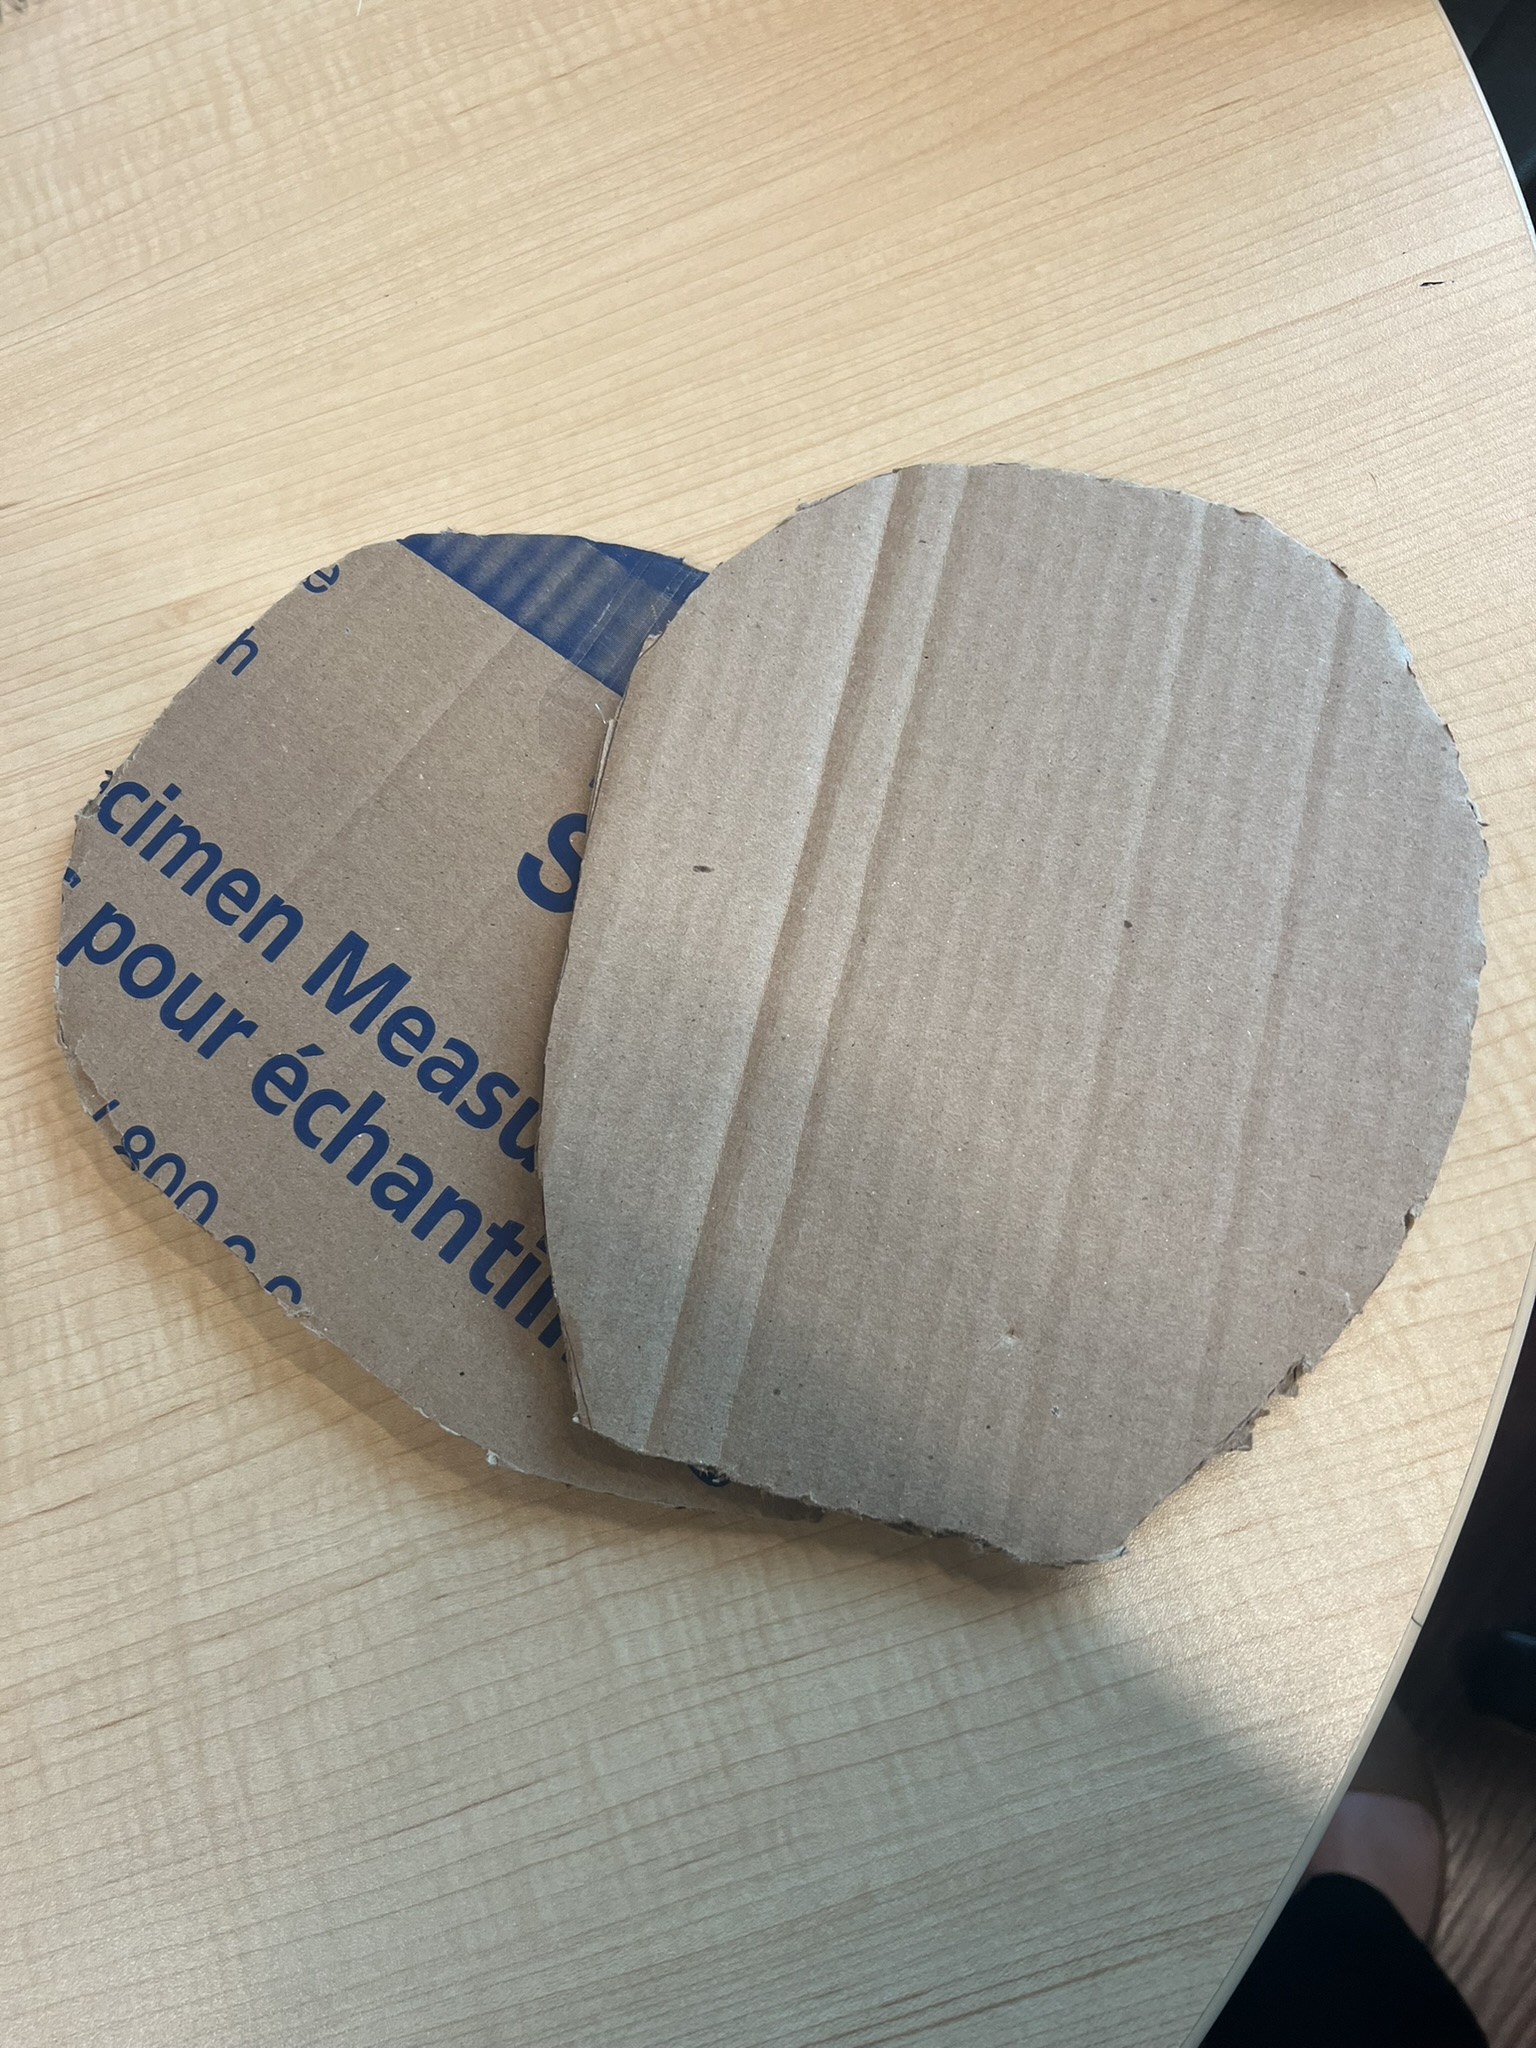 |
| Step 2: Find where the mouth would be located. Here, cut out a small hole that would fit the the piece that attached the face mask (just below valve) of a bag valve mask. (See Step 8 for further reference photo). | 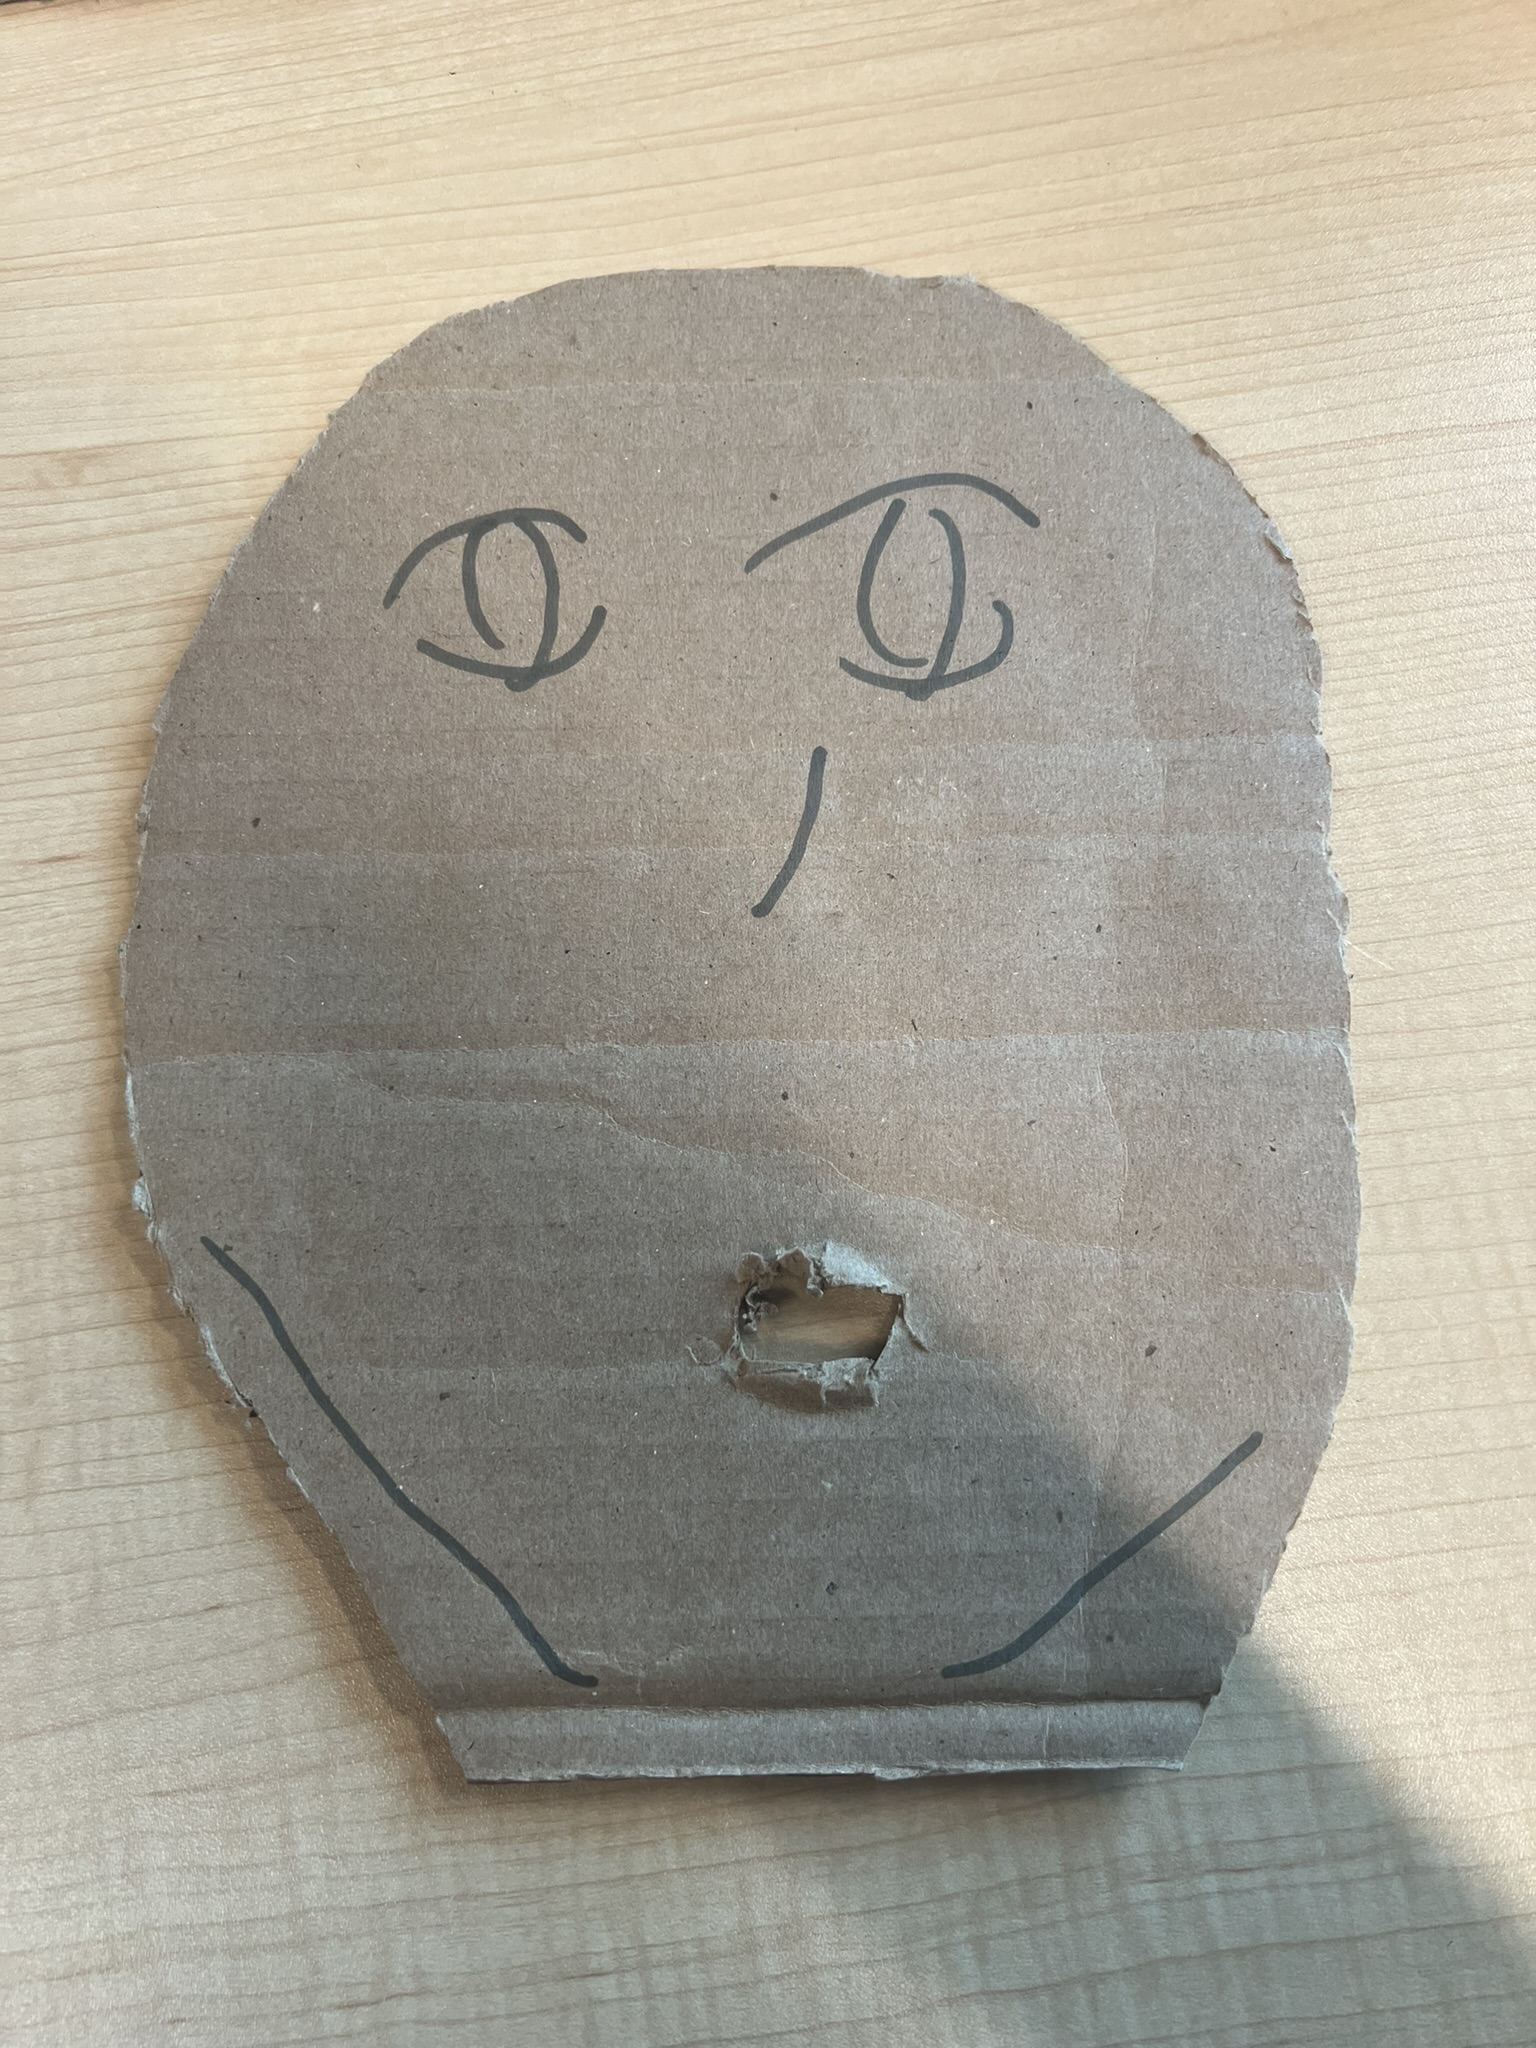 |
| Step 3: Cut off two 6 inch sections of a pool noodle. Then cut both of those sections in half vertically (4 total). | 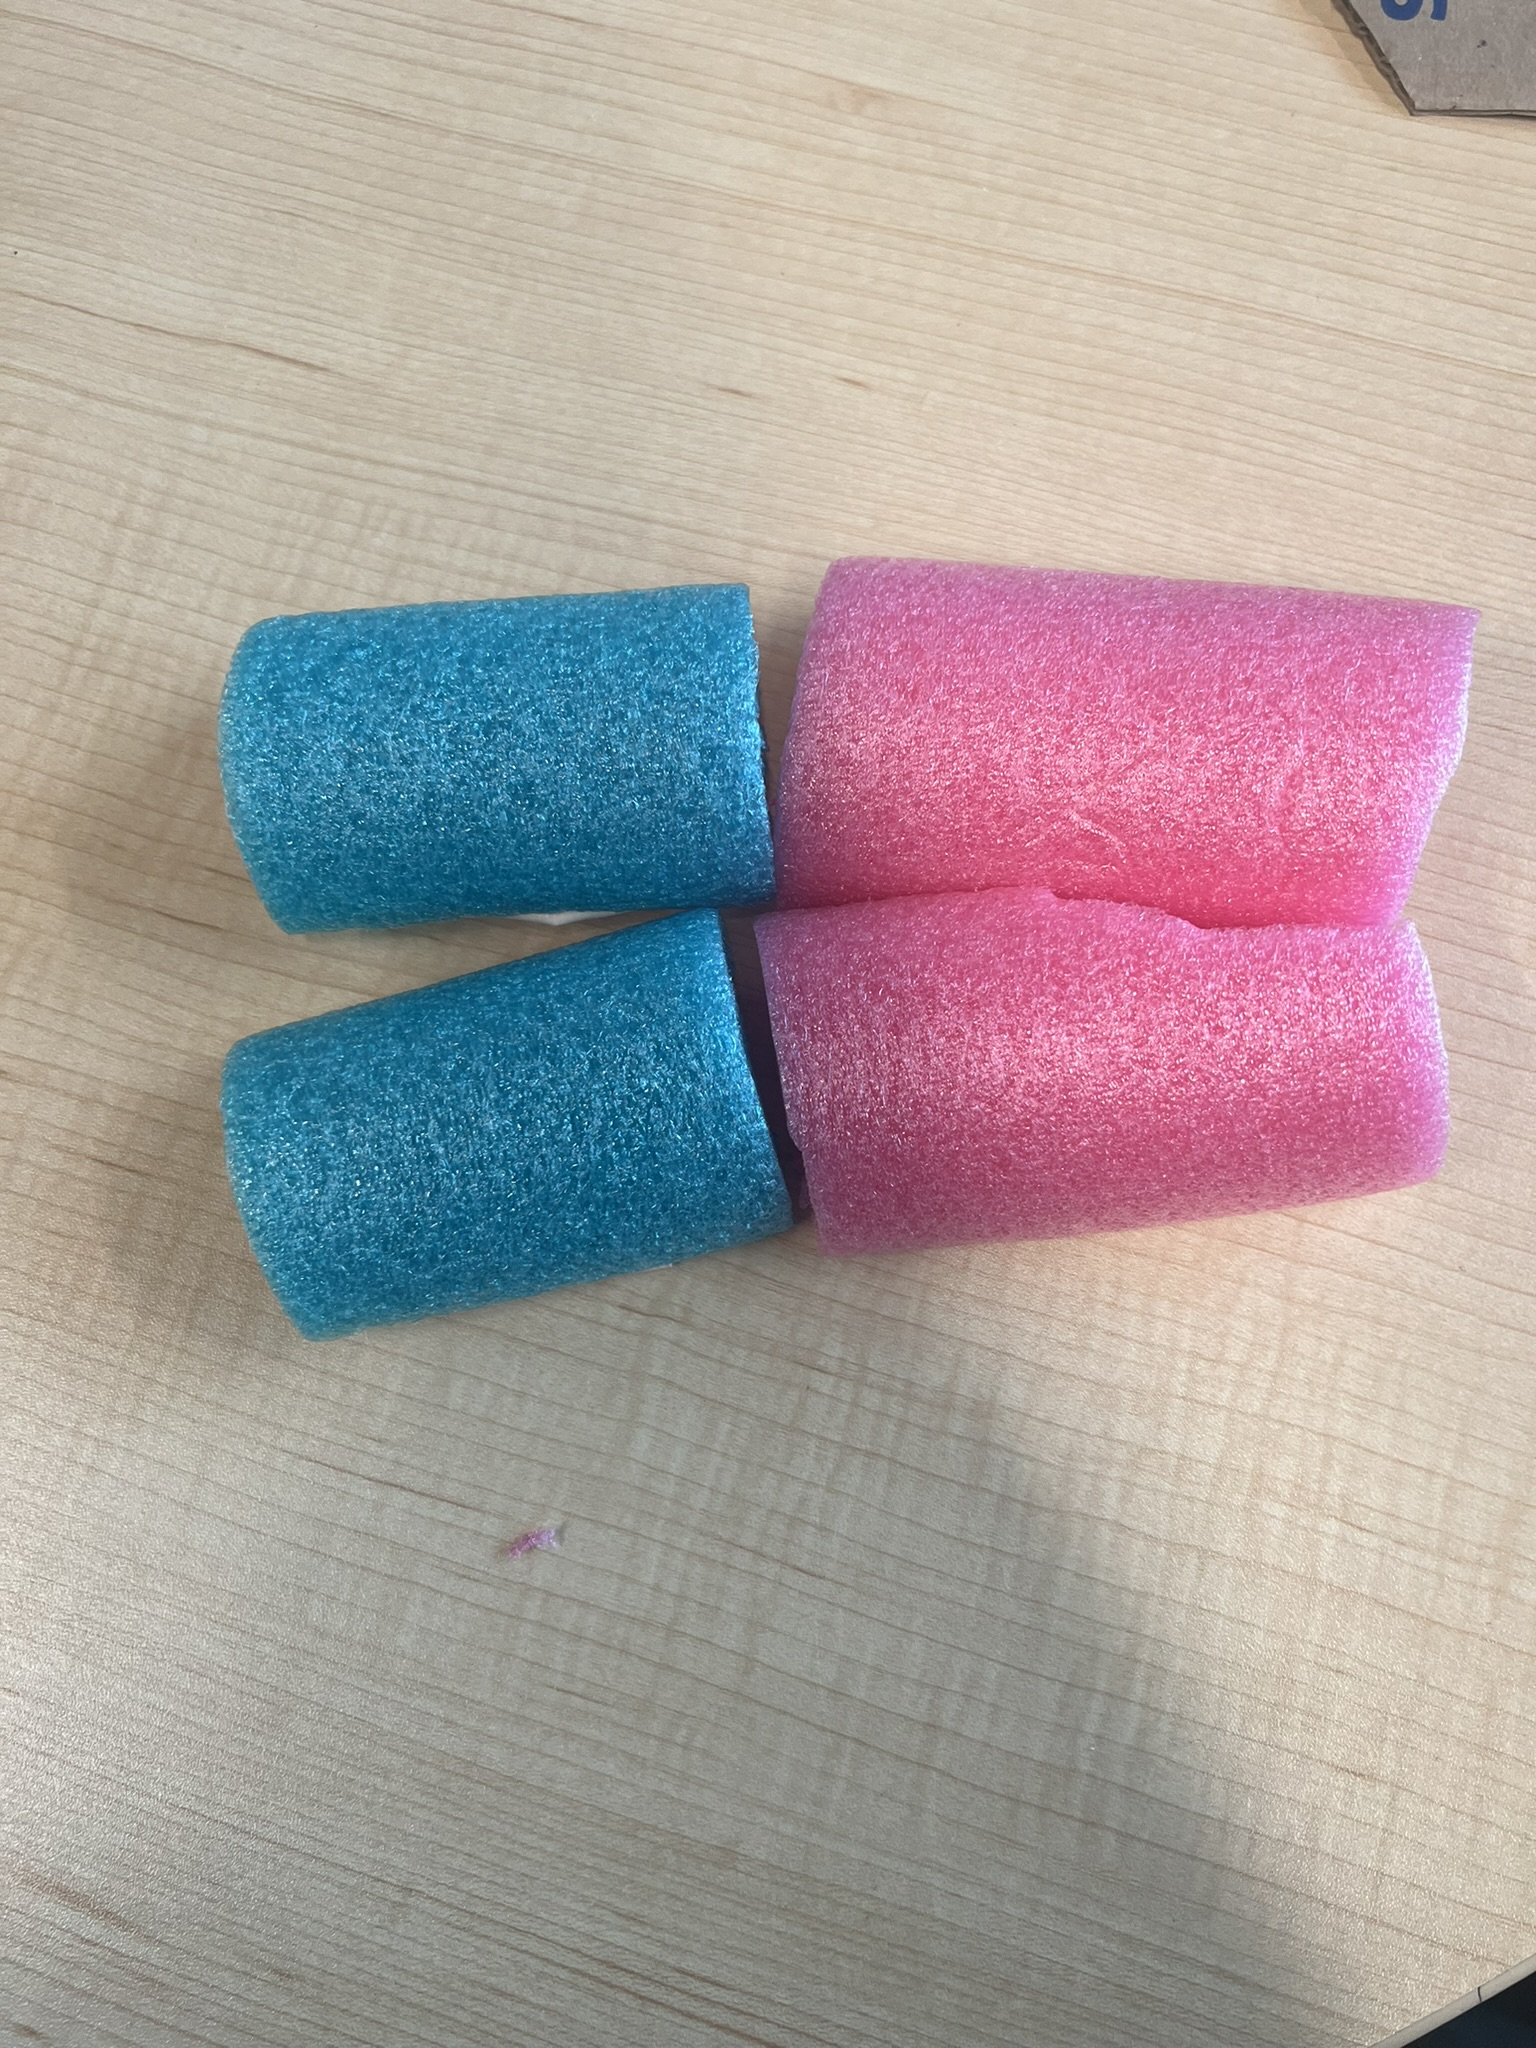
 |
| Step 4: Glue the flat side of two of the pool noodle pieces to the cardboard where the ‘jawline’ would be. Purpose: This will help with the ‘E-C’ clamp and add structure to the face. | 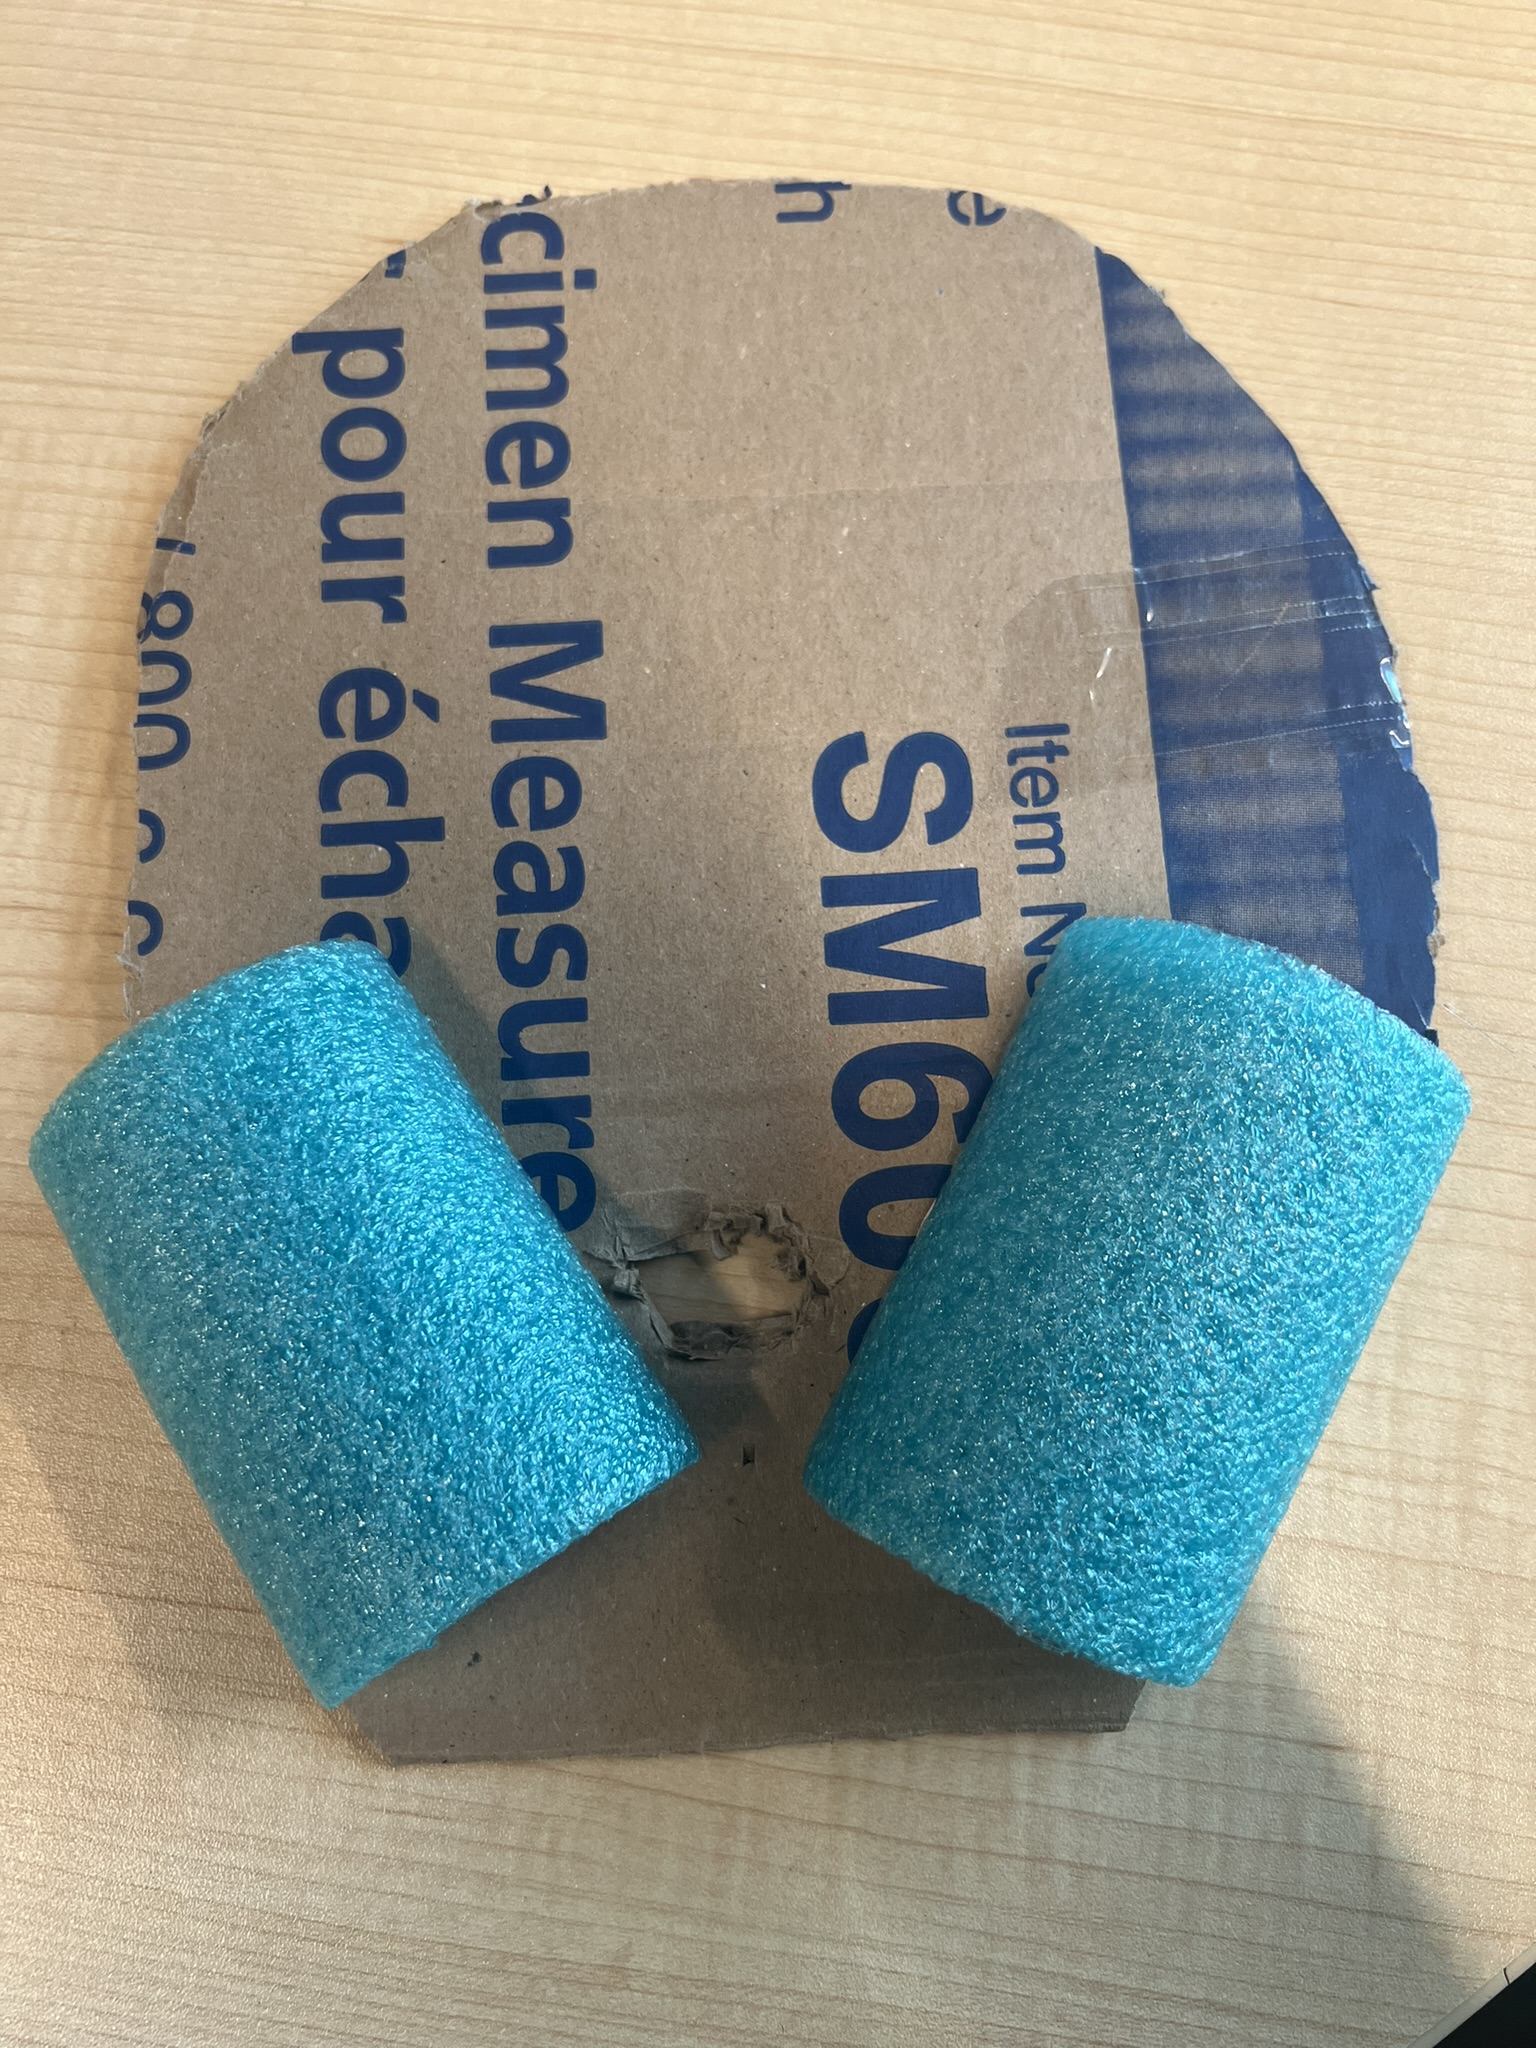 |
| Step 5: Cut the other two pool noodle portions material by approximately 1/2" so they are thinner. Purpose: This will allow for better practice of the head-tilt chin lift by giving structure near the forehead. | 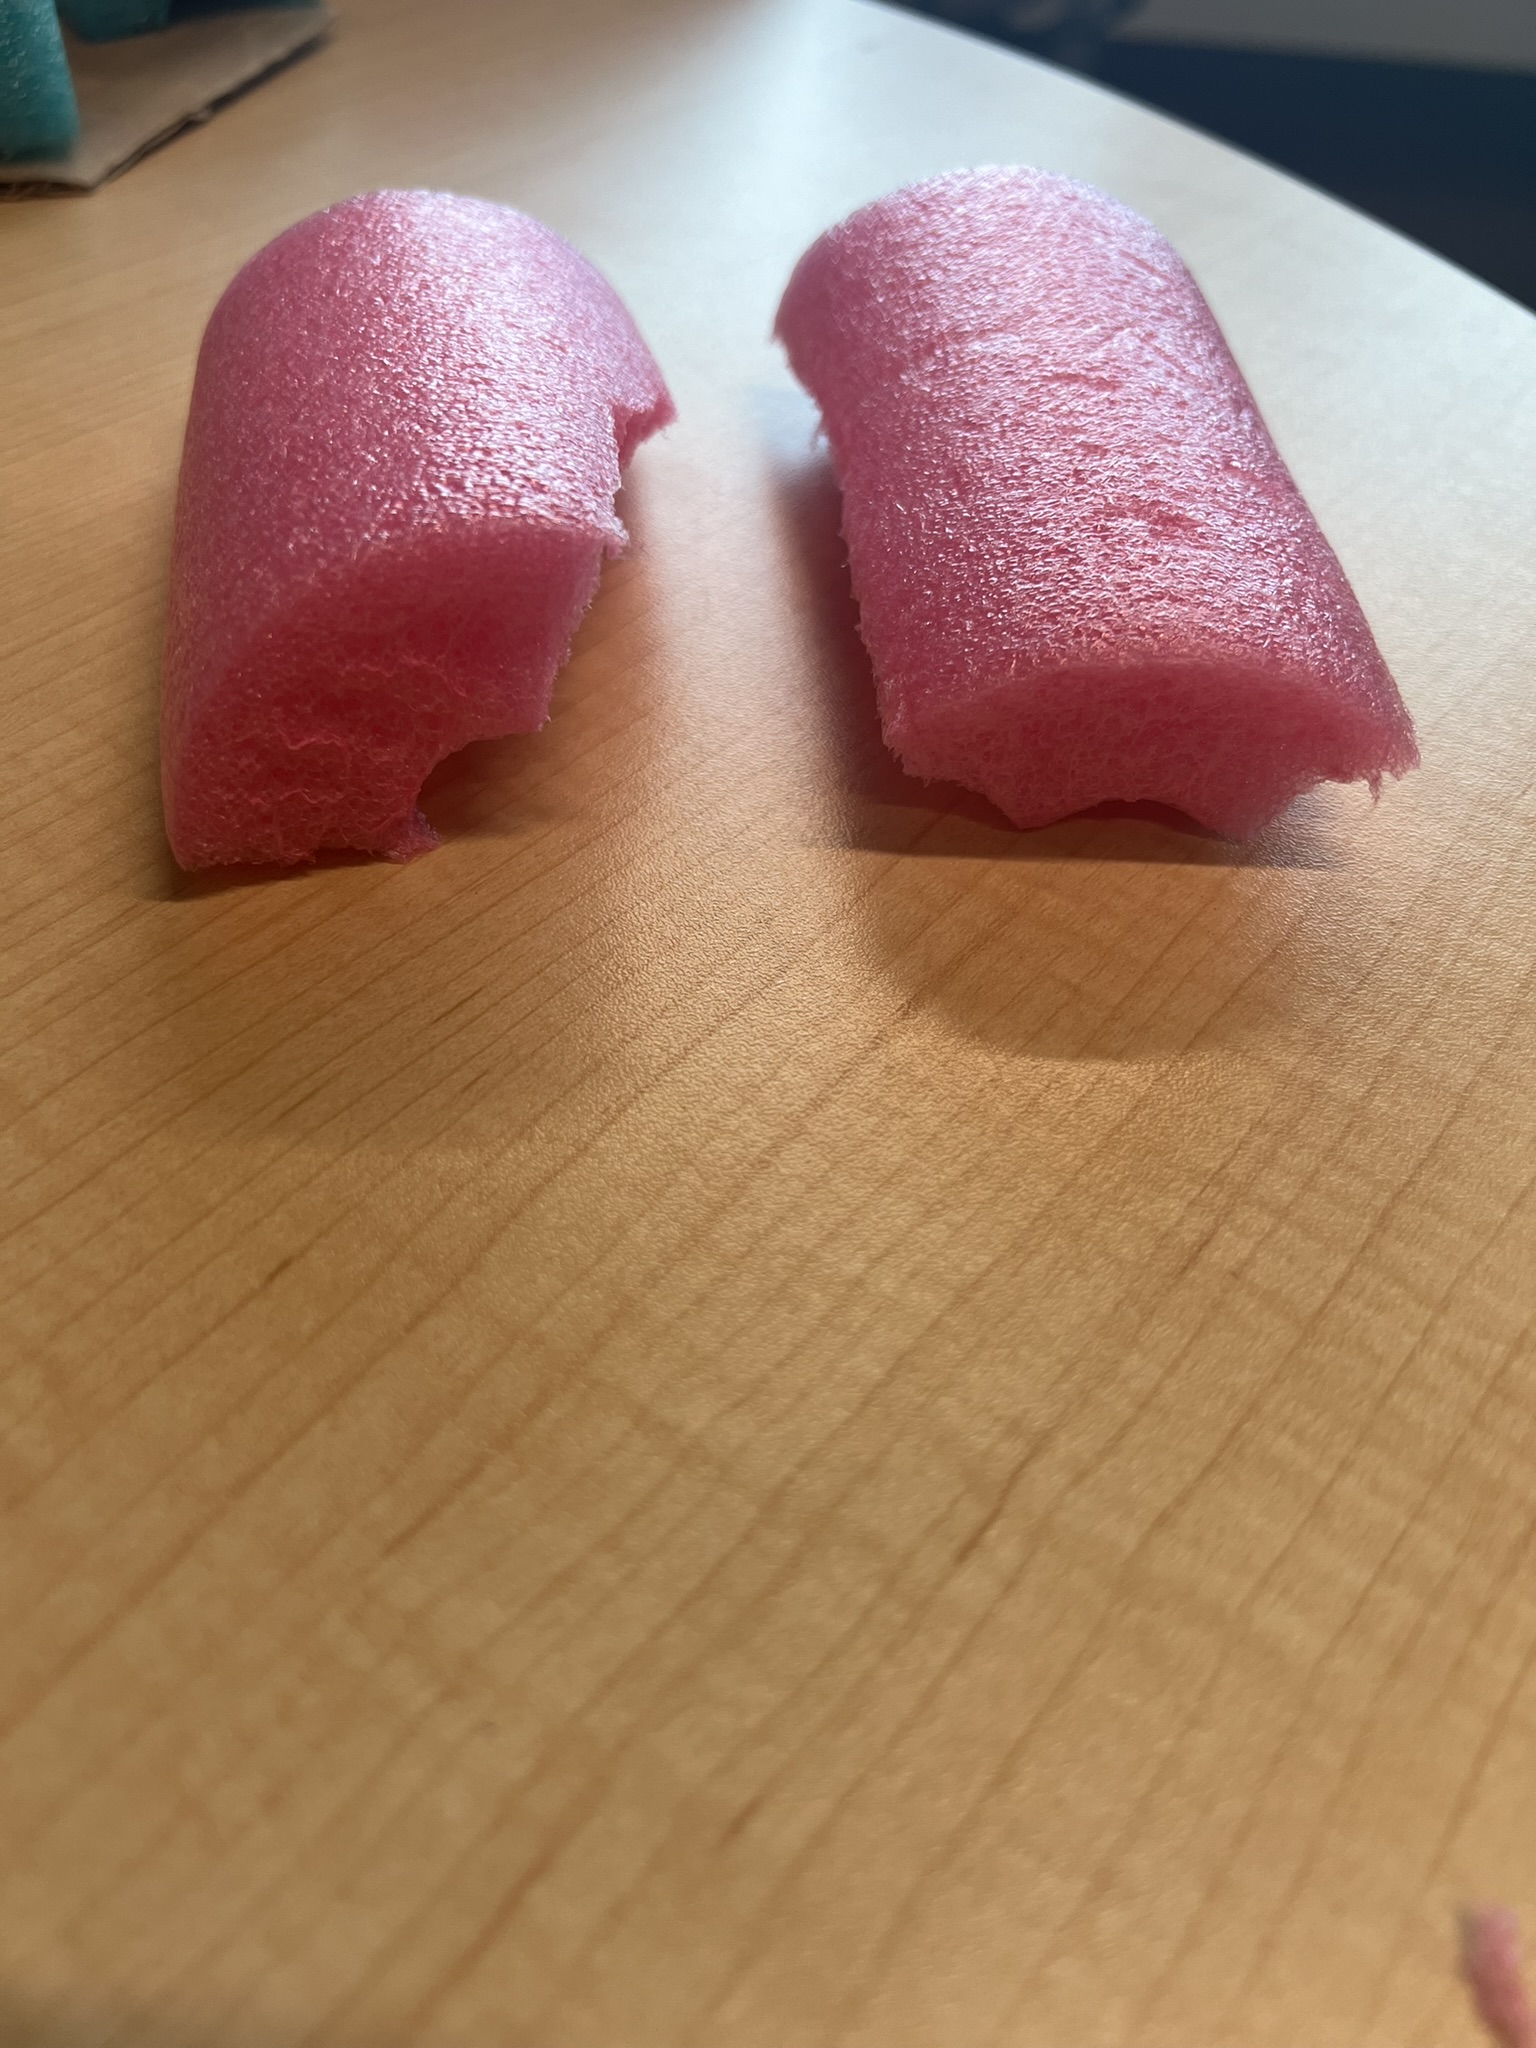 |
| Step 6: Glue the other two pool noodles to the back side of the cardboard. One will go where the forehead is. The other will go where the bridge of the nose is. | 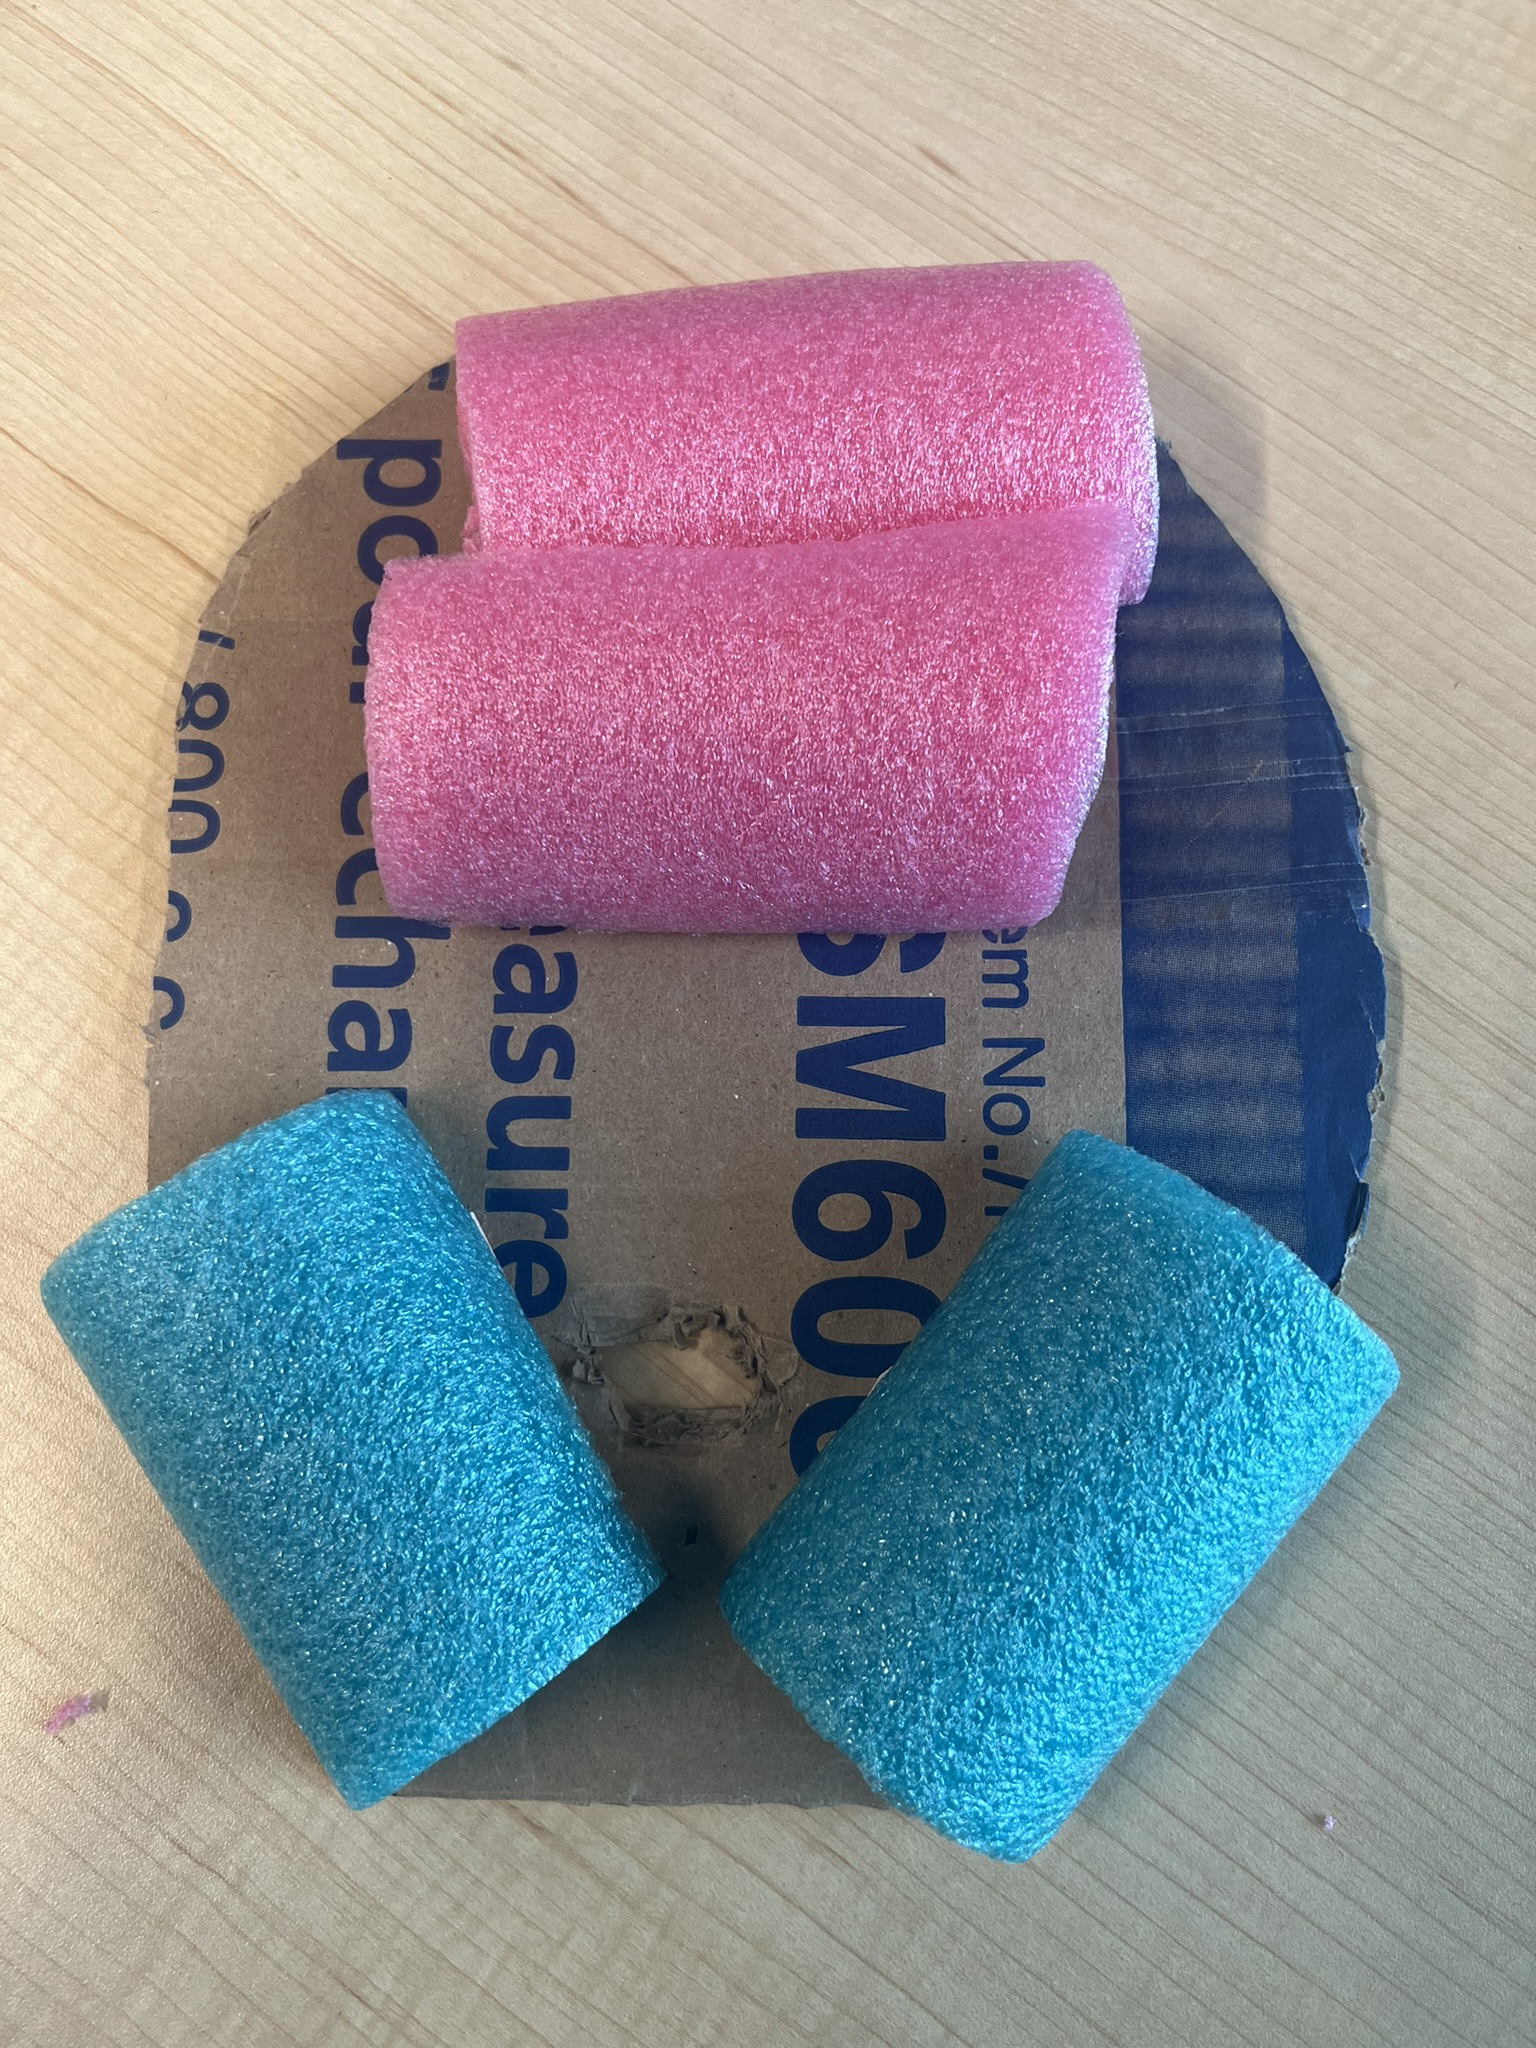 |
| Step 7: Flip over the piece of cardboard. Find where the bridge of the nose is located. Here, glue down the metal part of the non-rebreather to replicate the bridge of the nose. | 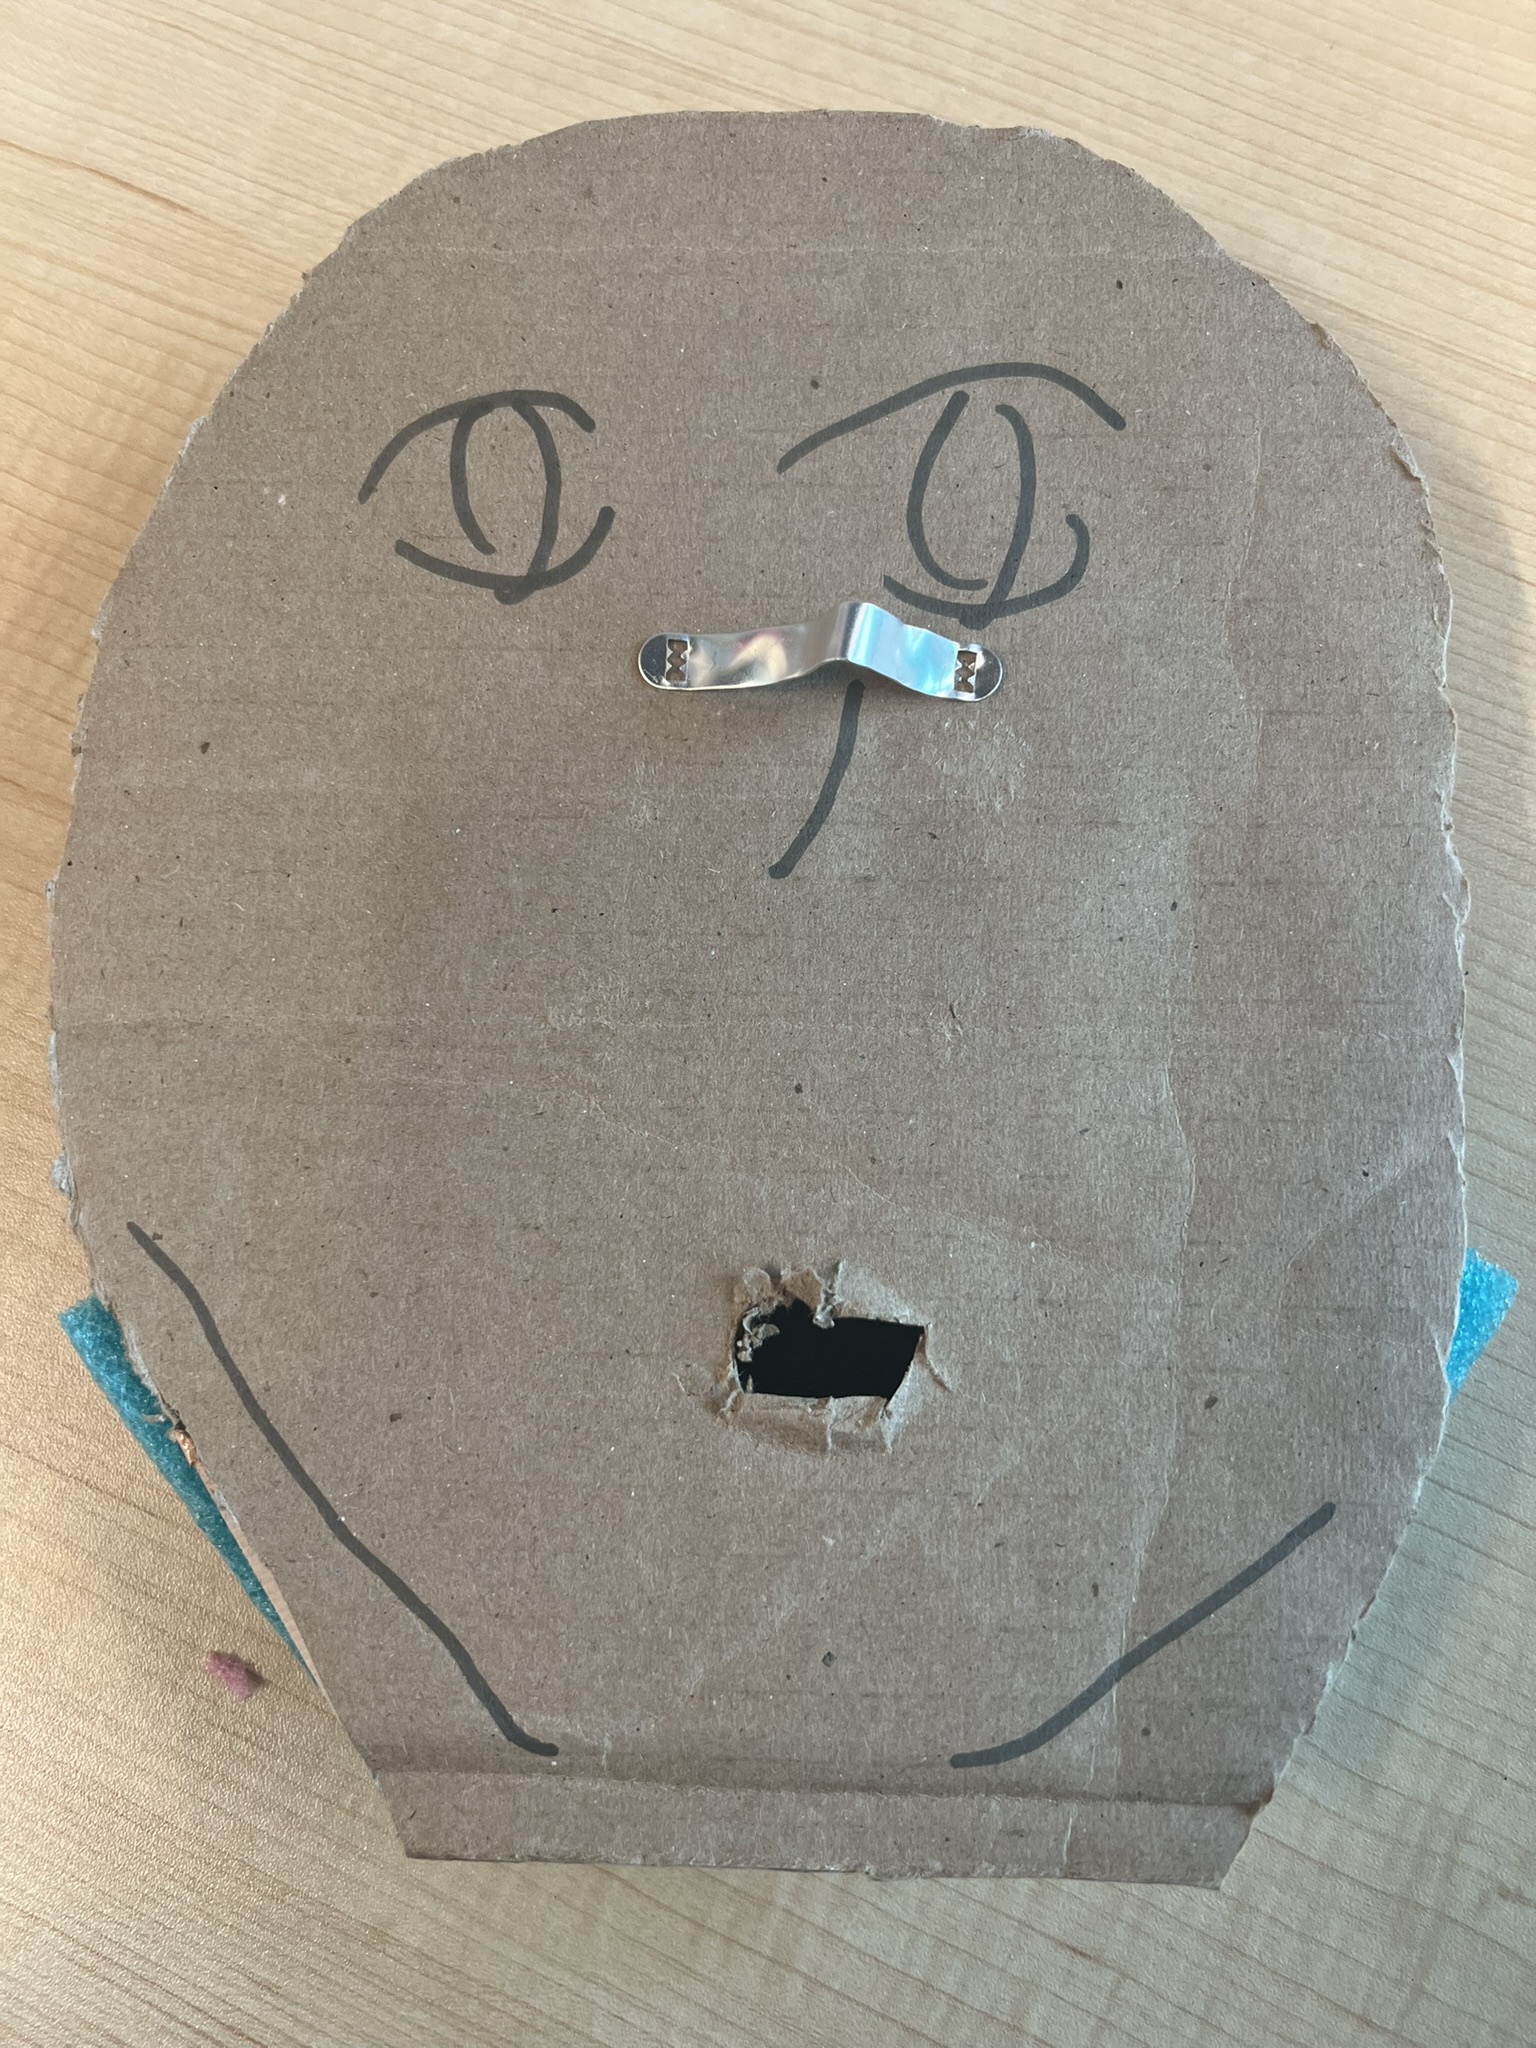 |
| Step 8: Insert the bag-valve mask pipe into where the hole was created. | 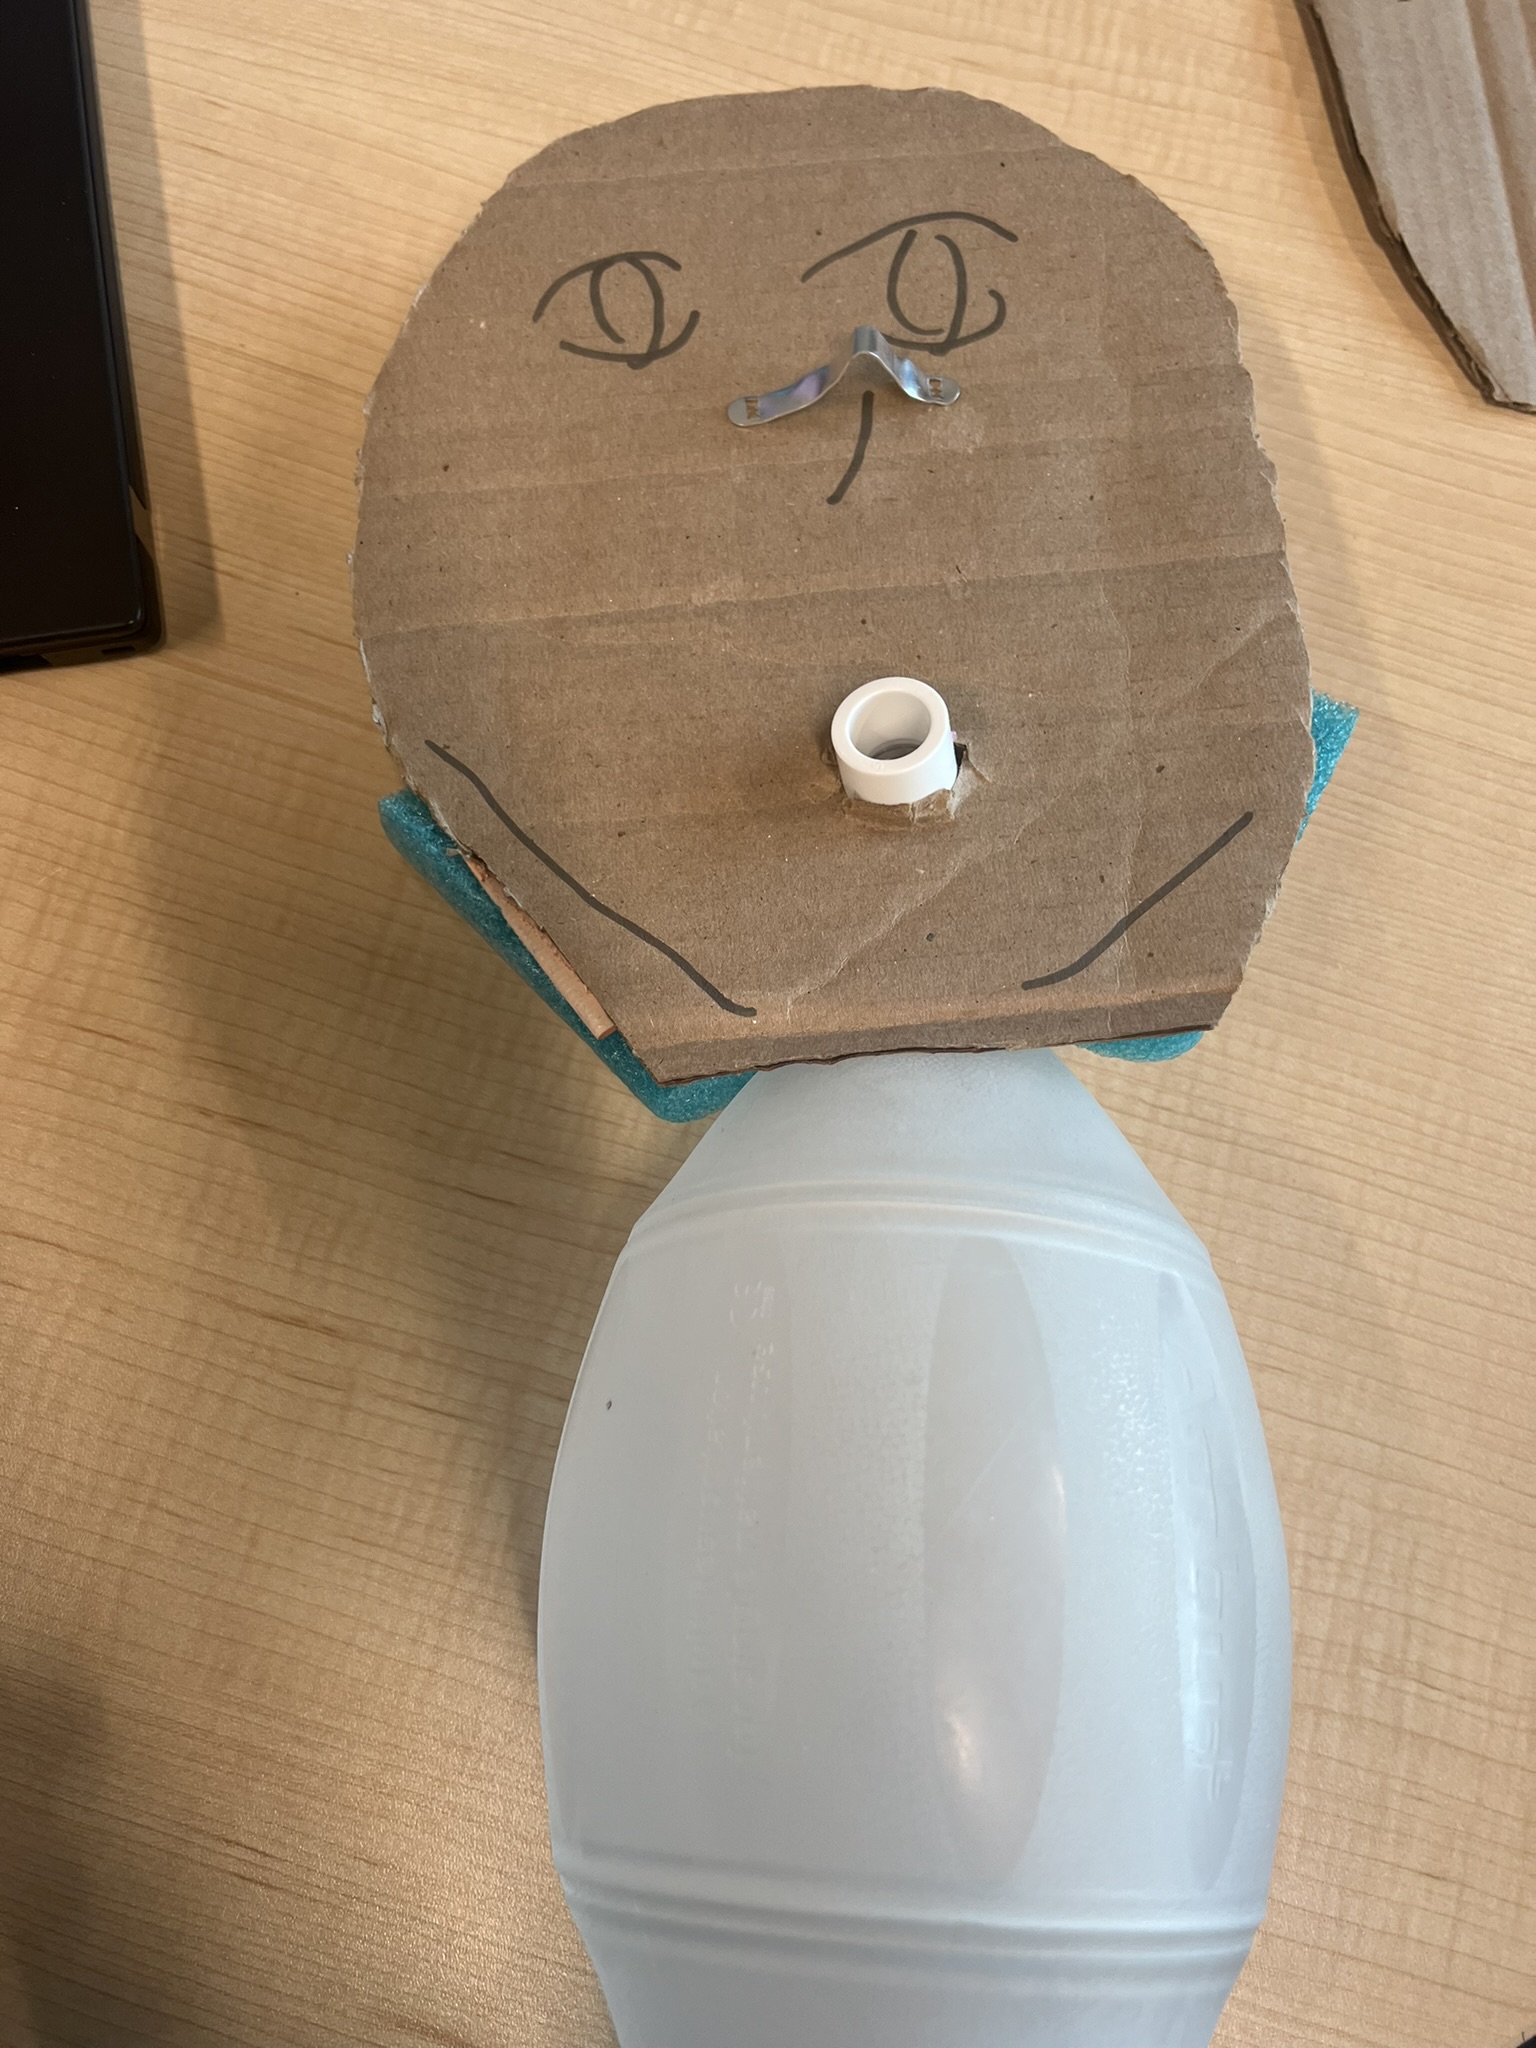 |
| Step 9: Glue together the head piece cardboard segment to the pool noodles, sandwiching the pool noodles and part of the bag-valve mask in-between. You may wish to stabilize the bag valve mask with duct tape as required. |  |
| Step 10: Add a 6 in piece of pool noodle cut horizontally to the back of the cardboard head to act as pivot point for the head-tilt chin-lift. |  |
| Step 11: Add hand towels or packing material to the remaining gaps between the two pieces of cardboard. | |
| Step 12: Add duct tape, around the two pieces of cardboard head segments from ‘ear’, to 'forehead', to other ‘ear’. Be sure to keep the jawline open. | 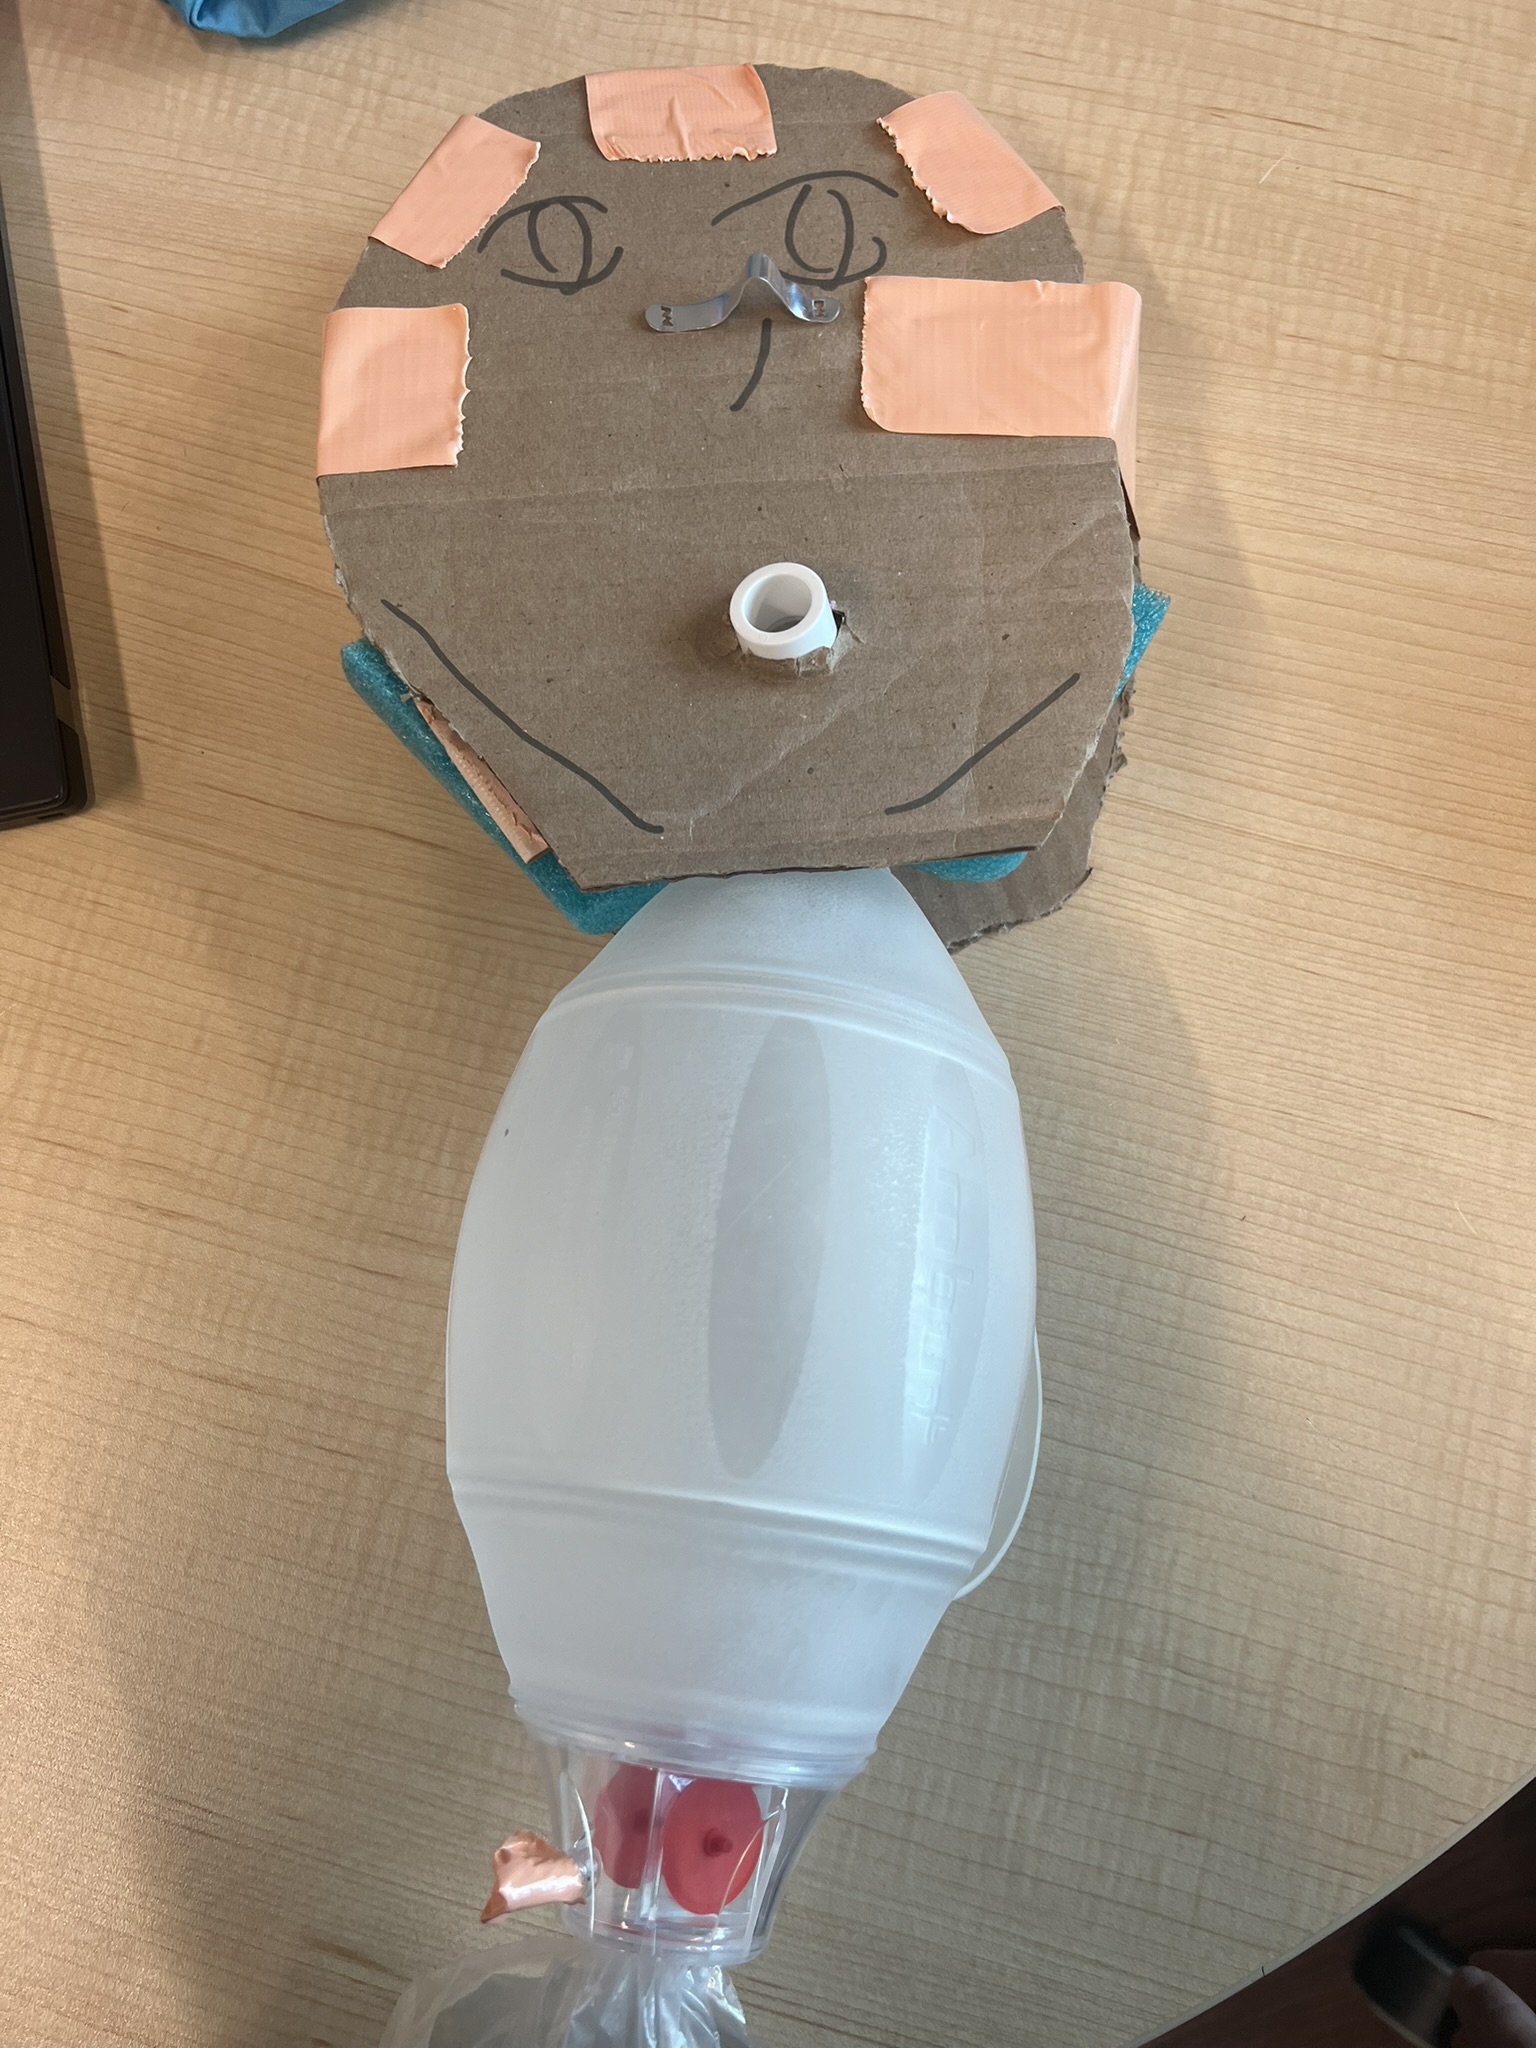 |
| Step 13: Add features to the head using a marker including eyes, cheekbones, and nose. Paint and paper mache can bolster the realism of the facial features. |
Use of Airway Section
Once complete, the airway section task trainer can reflect the following learning objectives:
- Head-tilt chin lift
- E-C clamp
- Bag-valve mask ventilation while confirming sufficient seal
Vascular access - IO section
NOTE: This module works best with a pool noodle that is pinwheel/inter-locking in shape. If you only have a circular pool noodle, follow similar cutting instructions as explained in the ‘Vascular access assembly - IV insertion section’
| Assembly Instructions | Pictures |
|---|---|
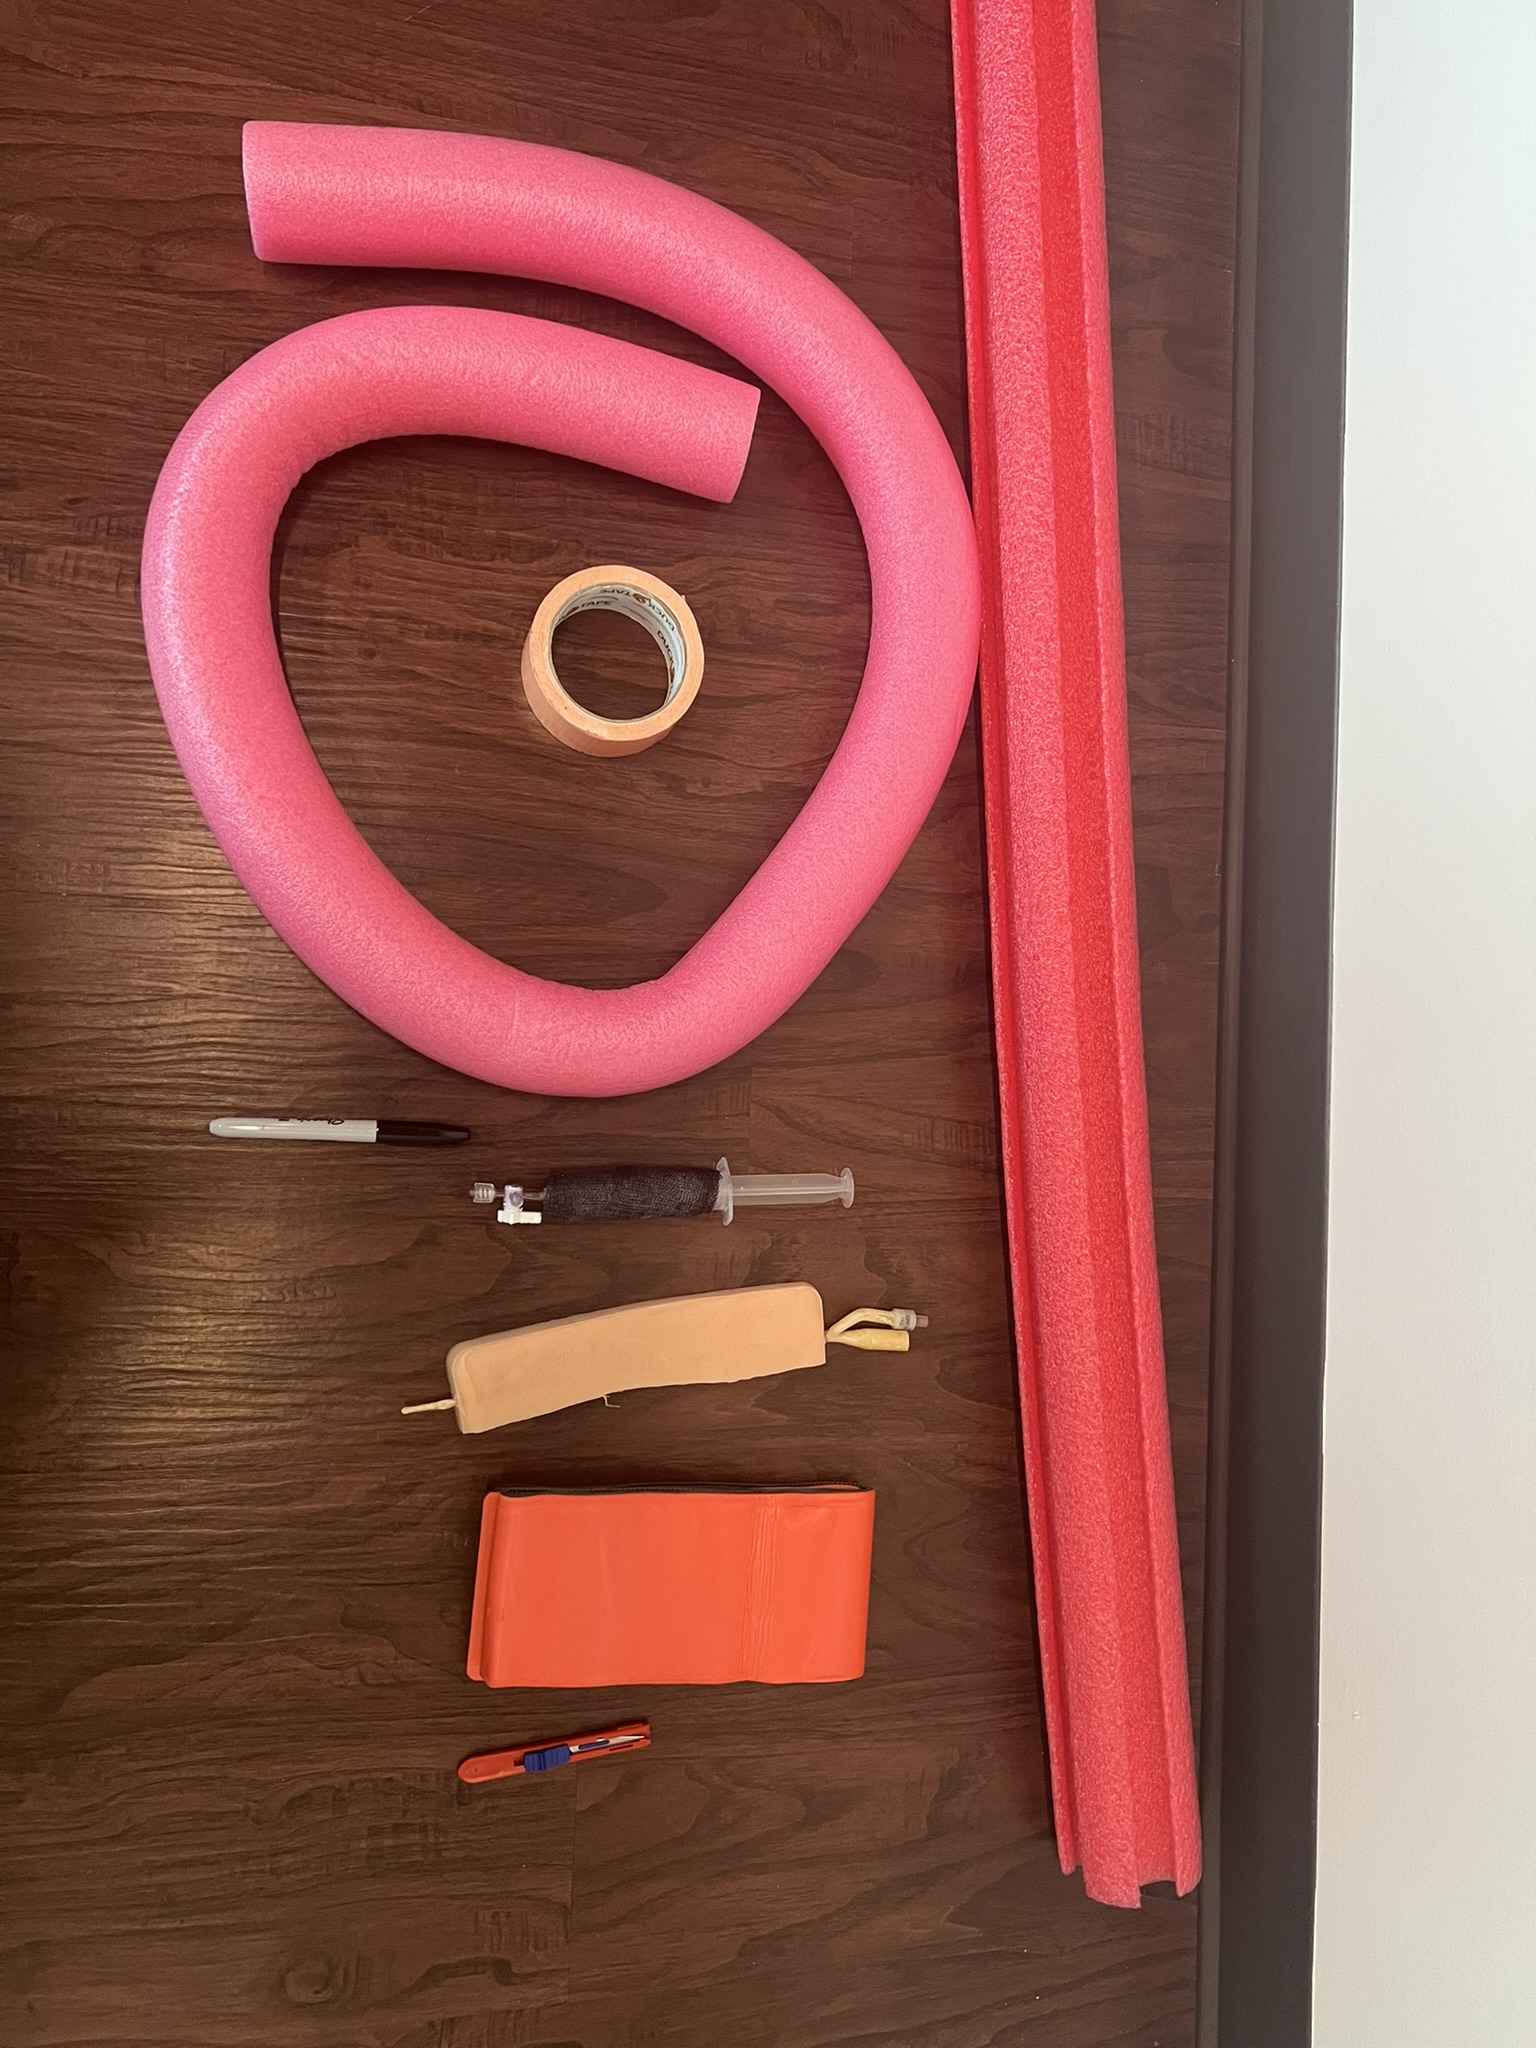
| Step 1: Place the IO task trainer snuggly into the pool noodle crevice. Ensure the 3-way stop-cock is positioned towards the ‘foot’ of the pool noodle if you plan to hook up fluids for feedback. | 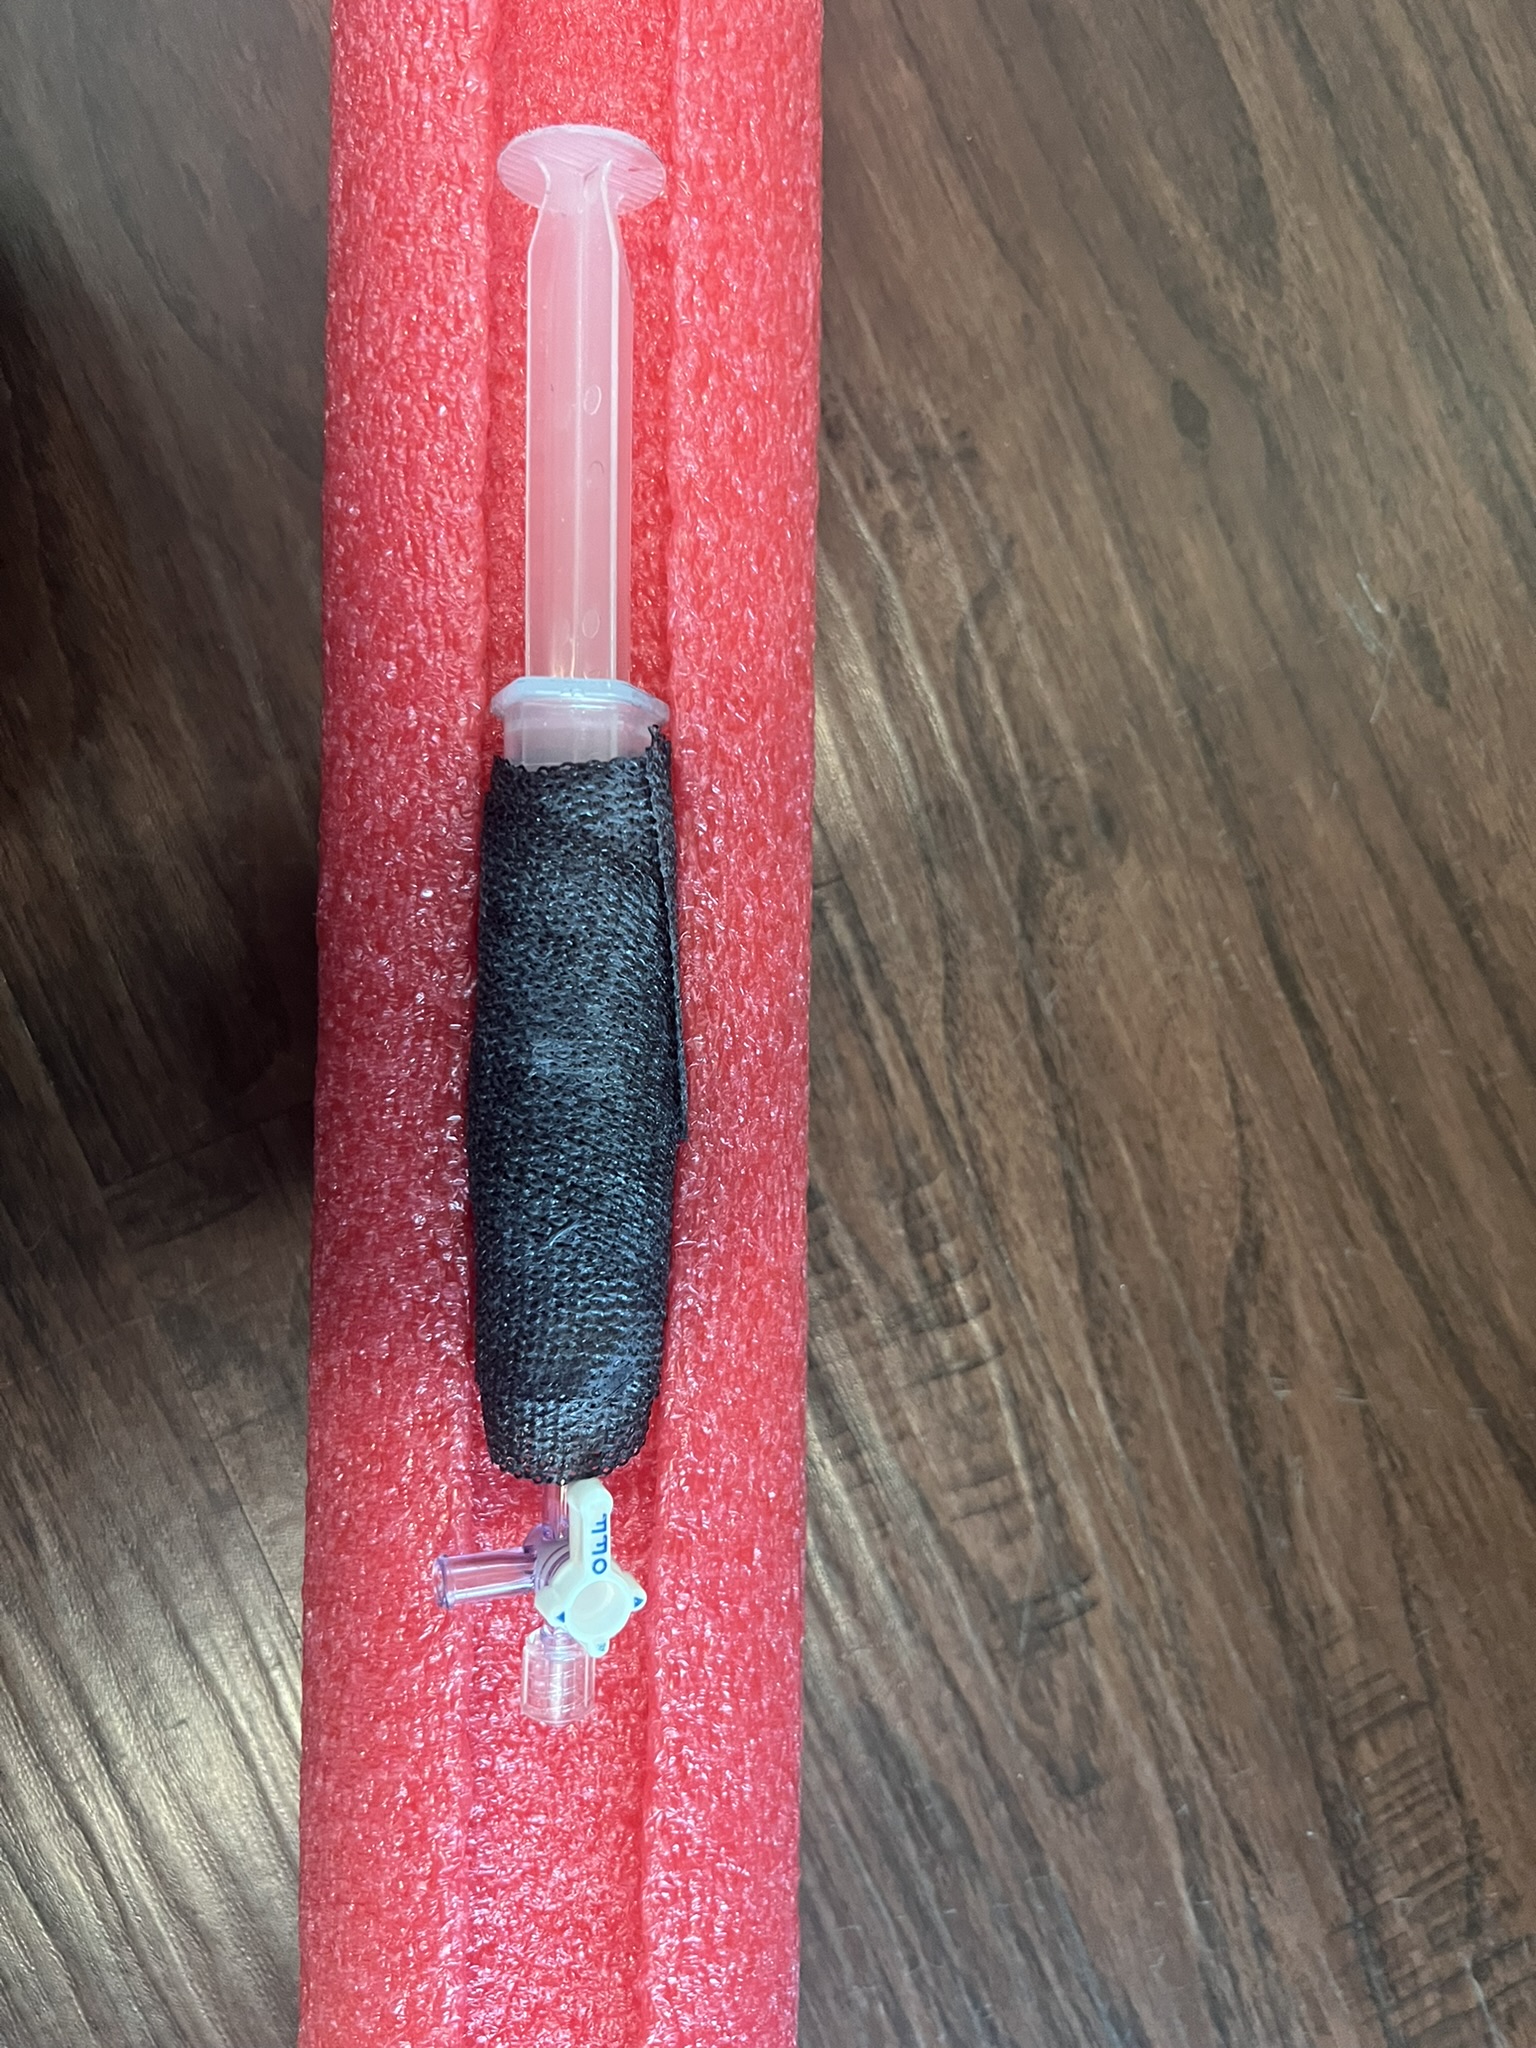 |
| Step 2: Place a SAM® splint (or like splint) underneath the pool noodle. Tape the SAM® splint securely to the pool noodle using duct tape. Purpose: This will ensure the base is puncture proof. Learners will still need to observe all best practices for sharps handling. | 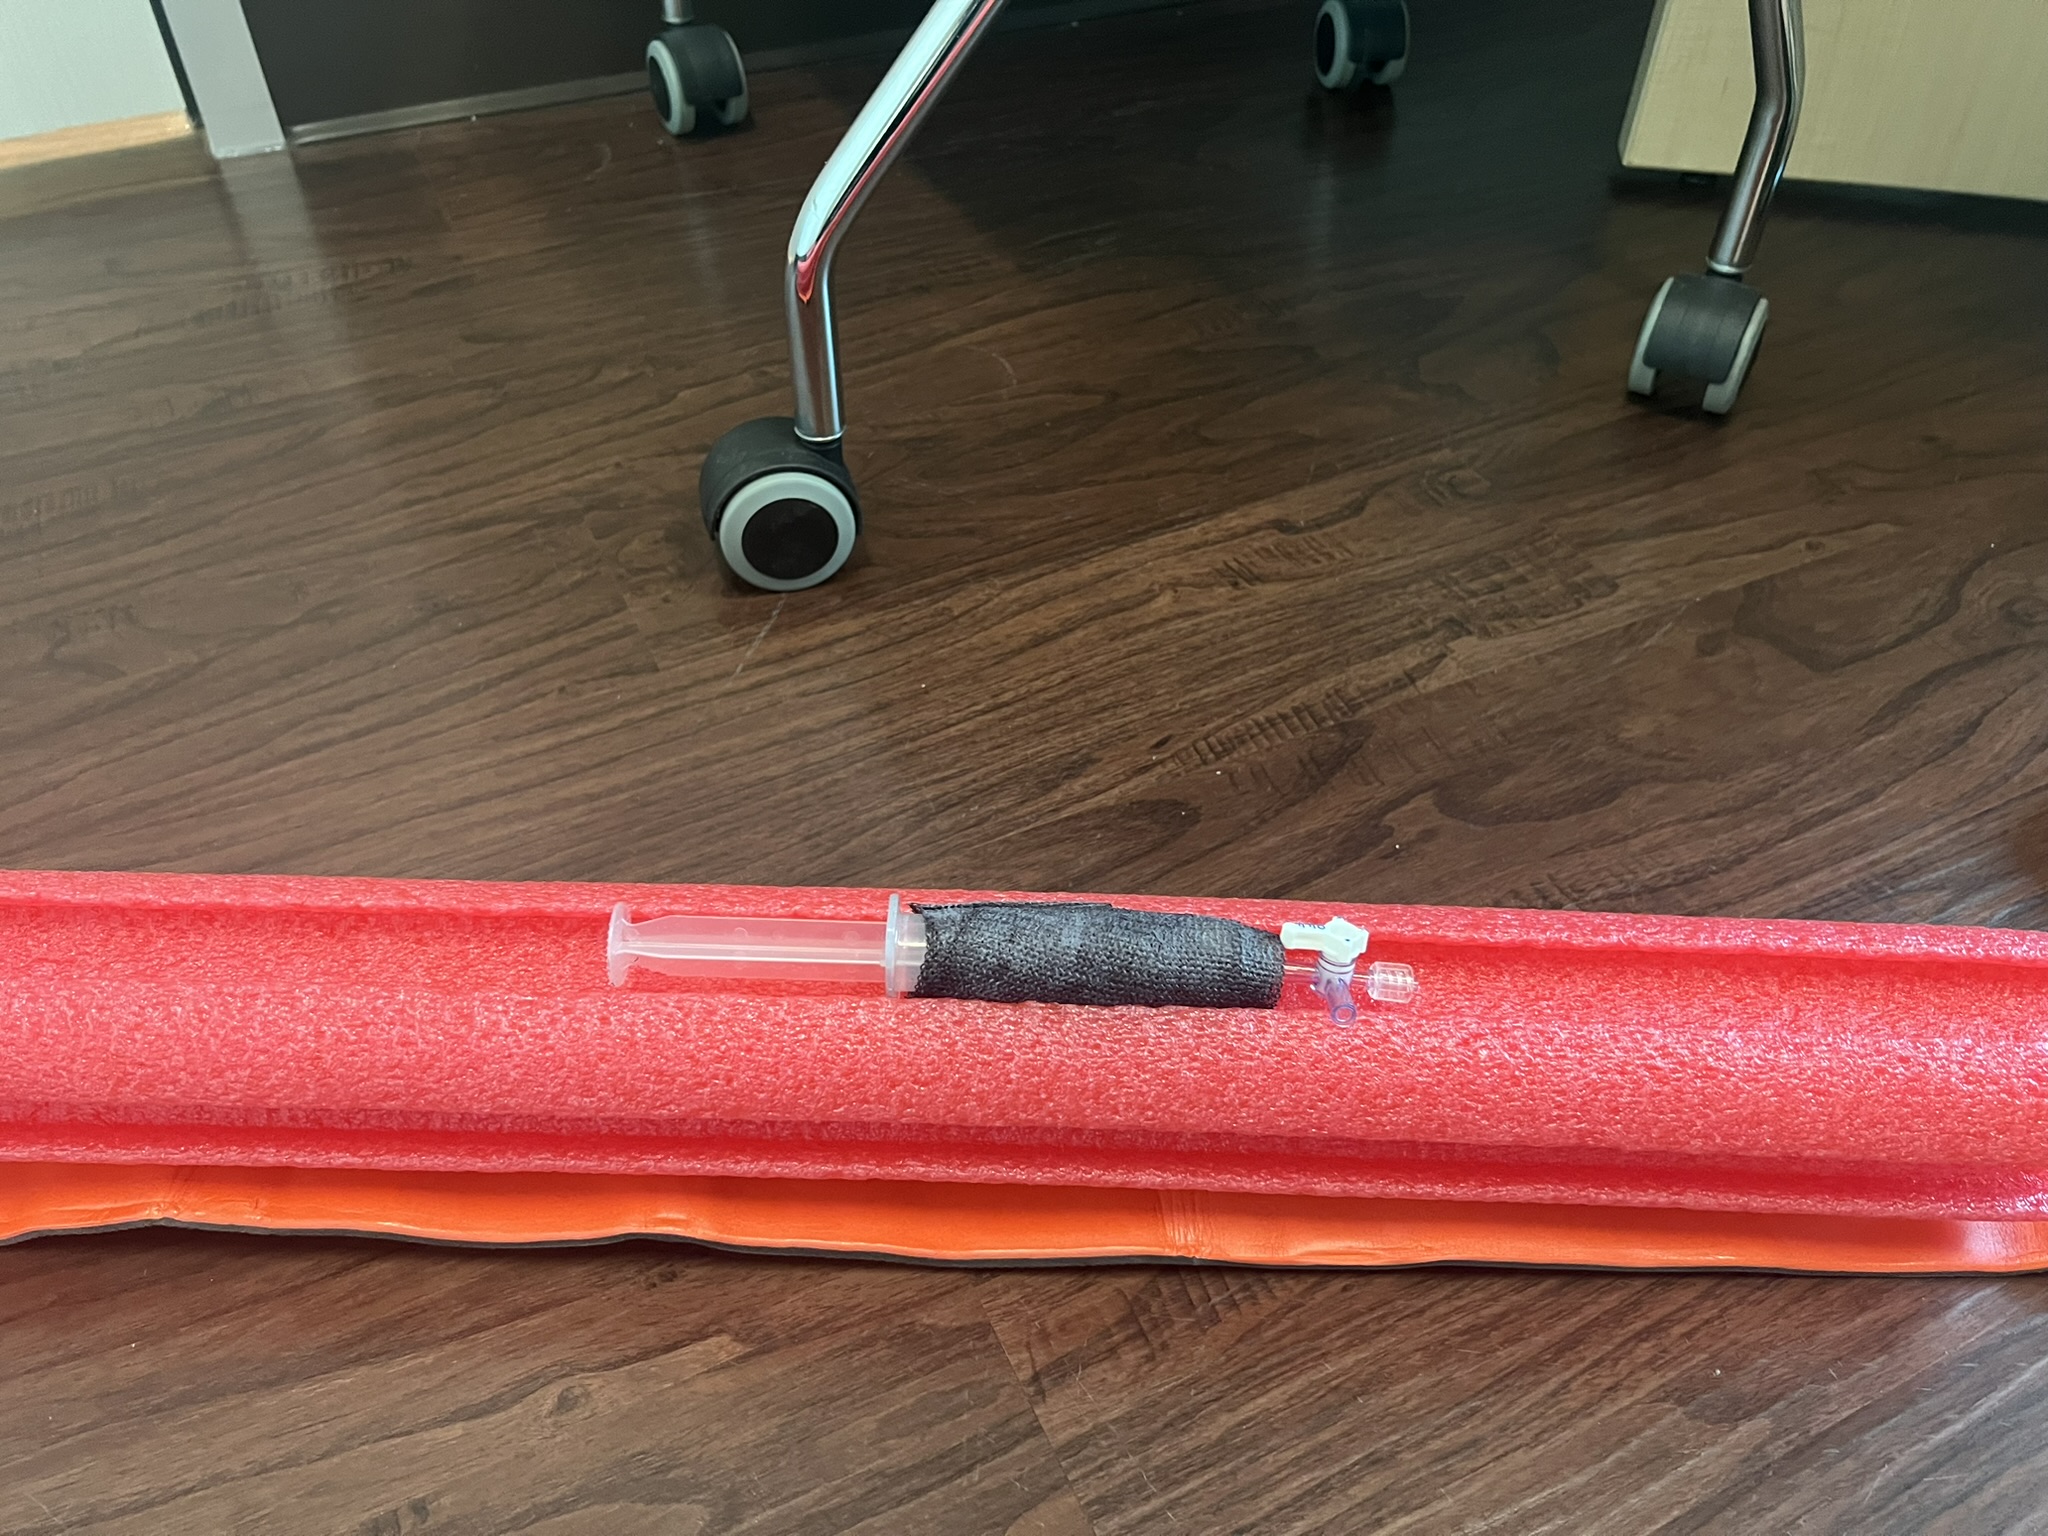 |
| Step 3: Tape the IO module into place using duct tape at both ends including the SAM® splint. Ensure it is secure and that the 3-way stop-cock is not blocked. Optional: if you desire added realism - duct tape silicone on top of the IO task trainer at this time. Flesh-toned duct tape and flesh-toned pool noodle can also add realism and buy-in. |  |
| Step 4: Tape the pool noodle to the cardboard base of your CPR ‘torso’ if integrating to the full CPR task trainer. Ensure learners still stabilize the site prior to task performance. OPTIONAL : add flesh-tone nylon overtop the pool noodle and task trainer to add realism. |  |
| Step 5: To connect your IO module to fluids to receive feedback, please go to the IO Insertion Task Trainer Instructions tab. |
Vascular access - IV insertion section
| Assembly Instructions | Pictures |
|---|---|
| Step 1: Place your IV task trainer on top of the pool noodle. Mark the perimeter of the task trainer with a marker. |   |
| Step 2: Carefully cut out the block of the pool noodle with an exacto knife or scalpel. Ensure you cut to the depth of your IV task trainer without cutting through the pool noodle. | 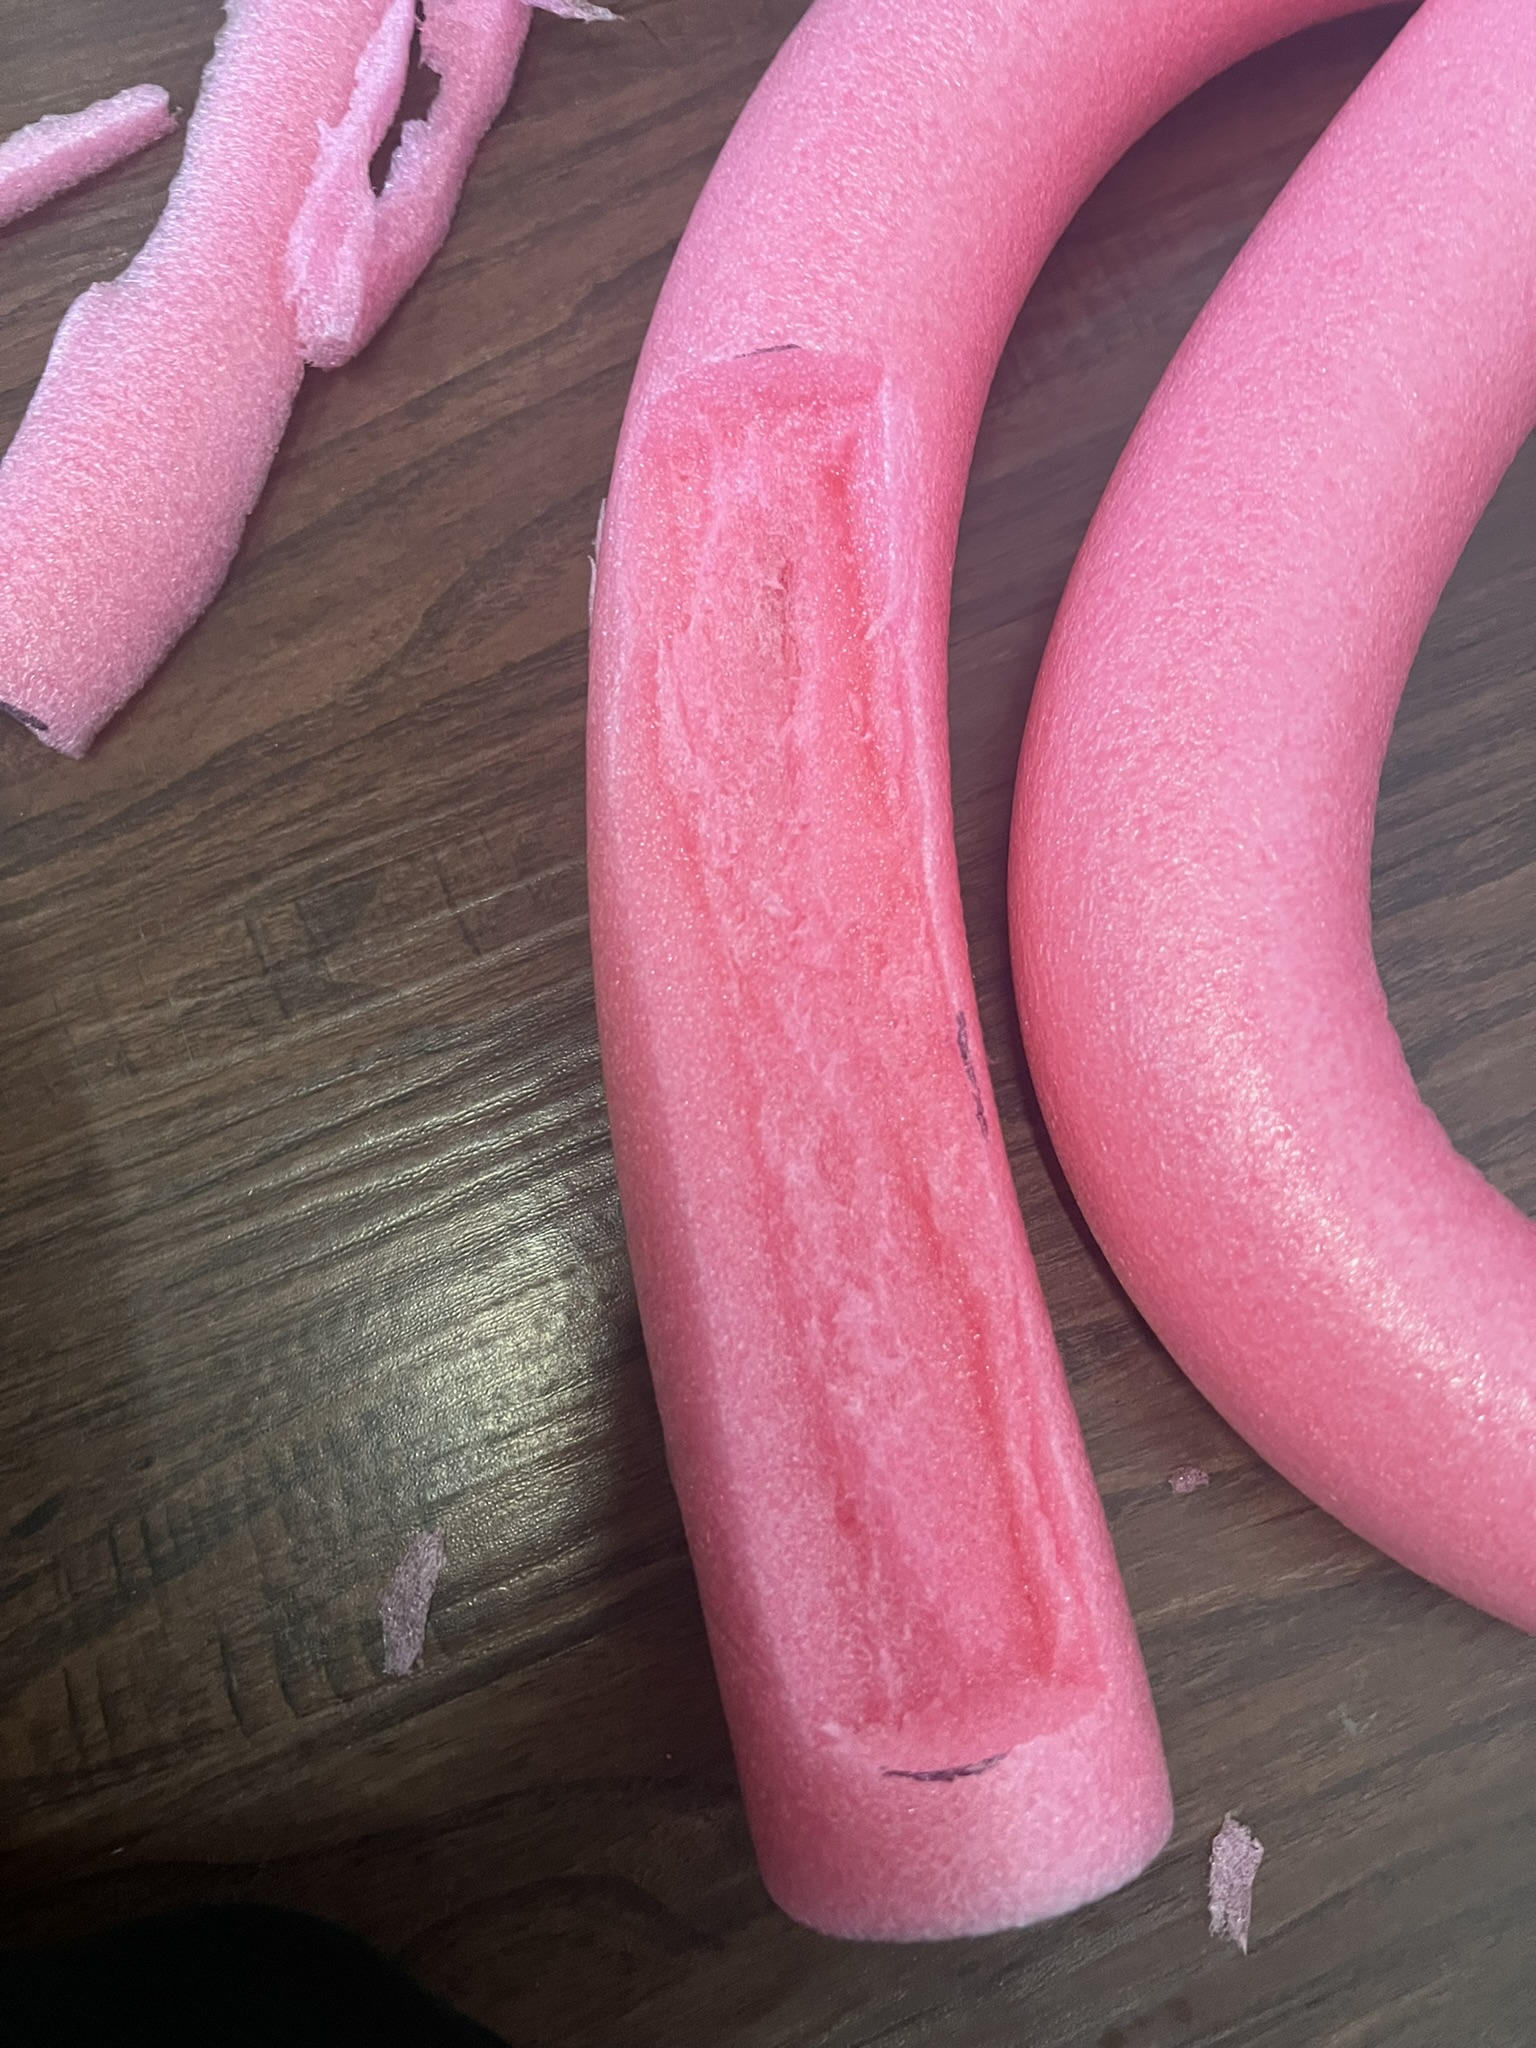 |
| Step 3: Cut a small hole at the proximal and distal end of the pool noodle. Purpose: This will all you to thread the tubing through to add fluid and allow for feedback if this is part of your objective. | 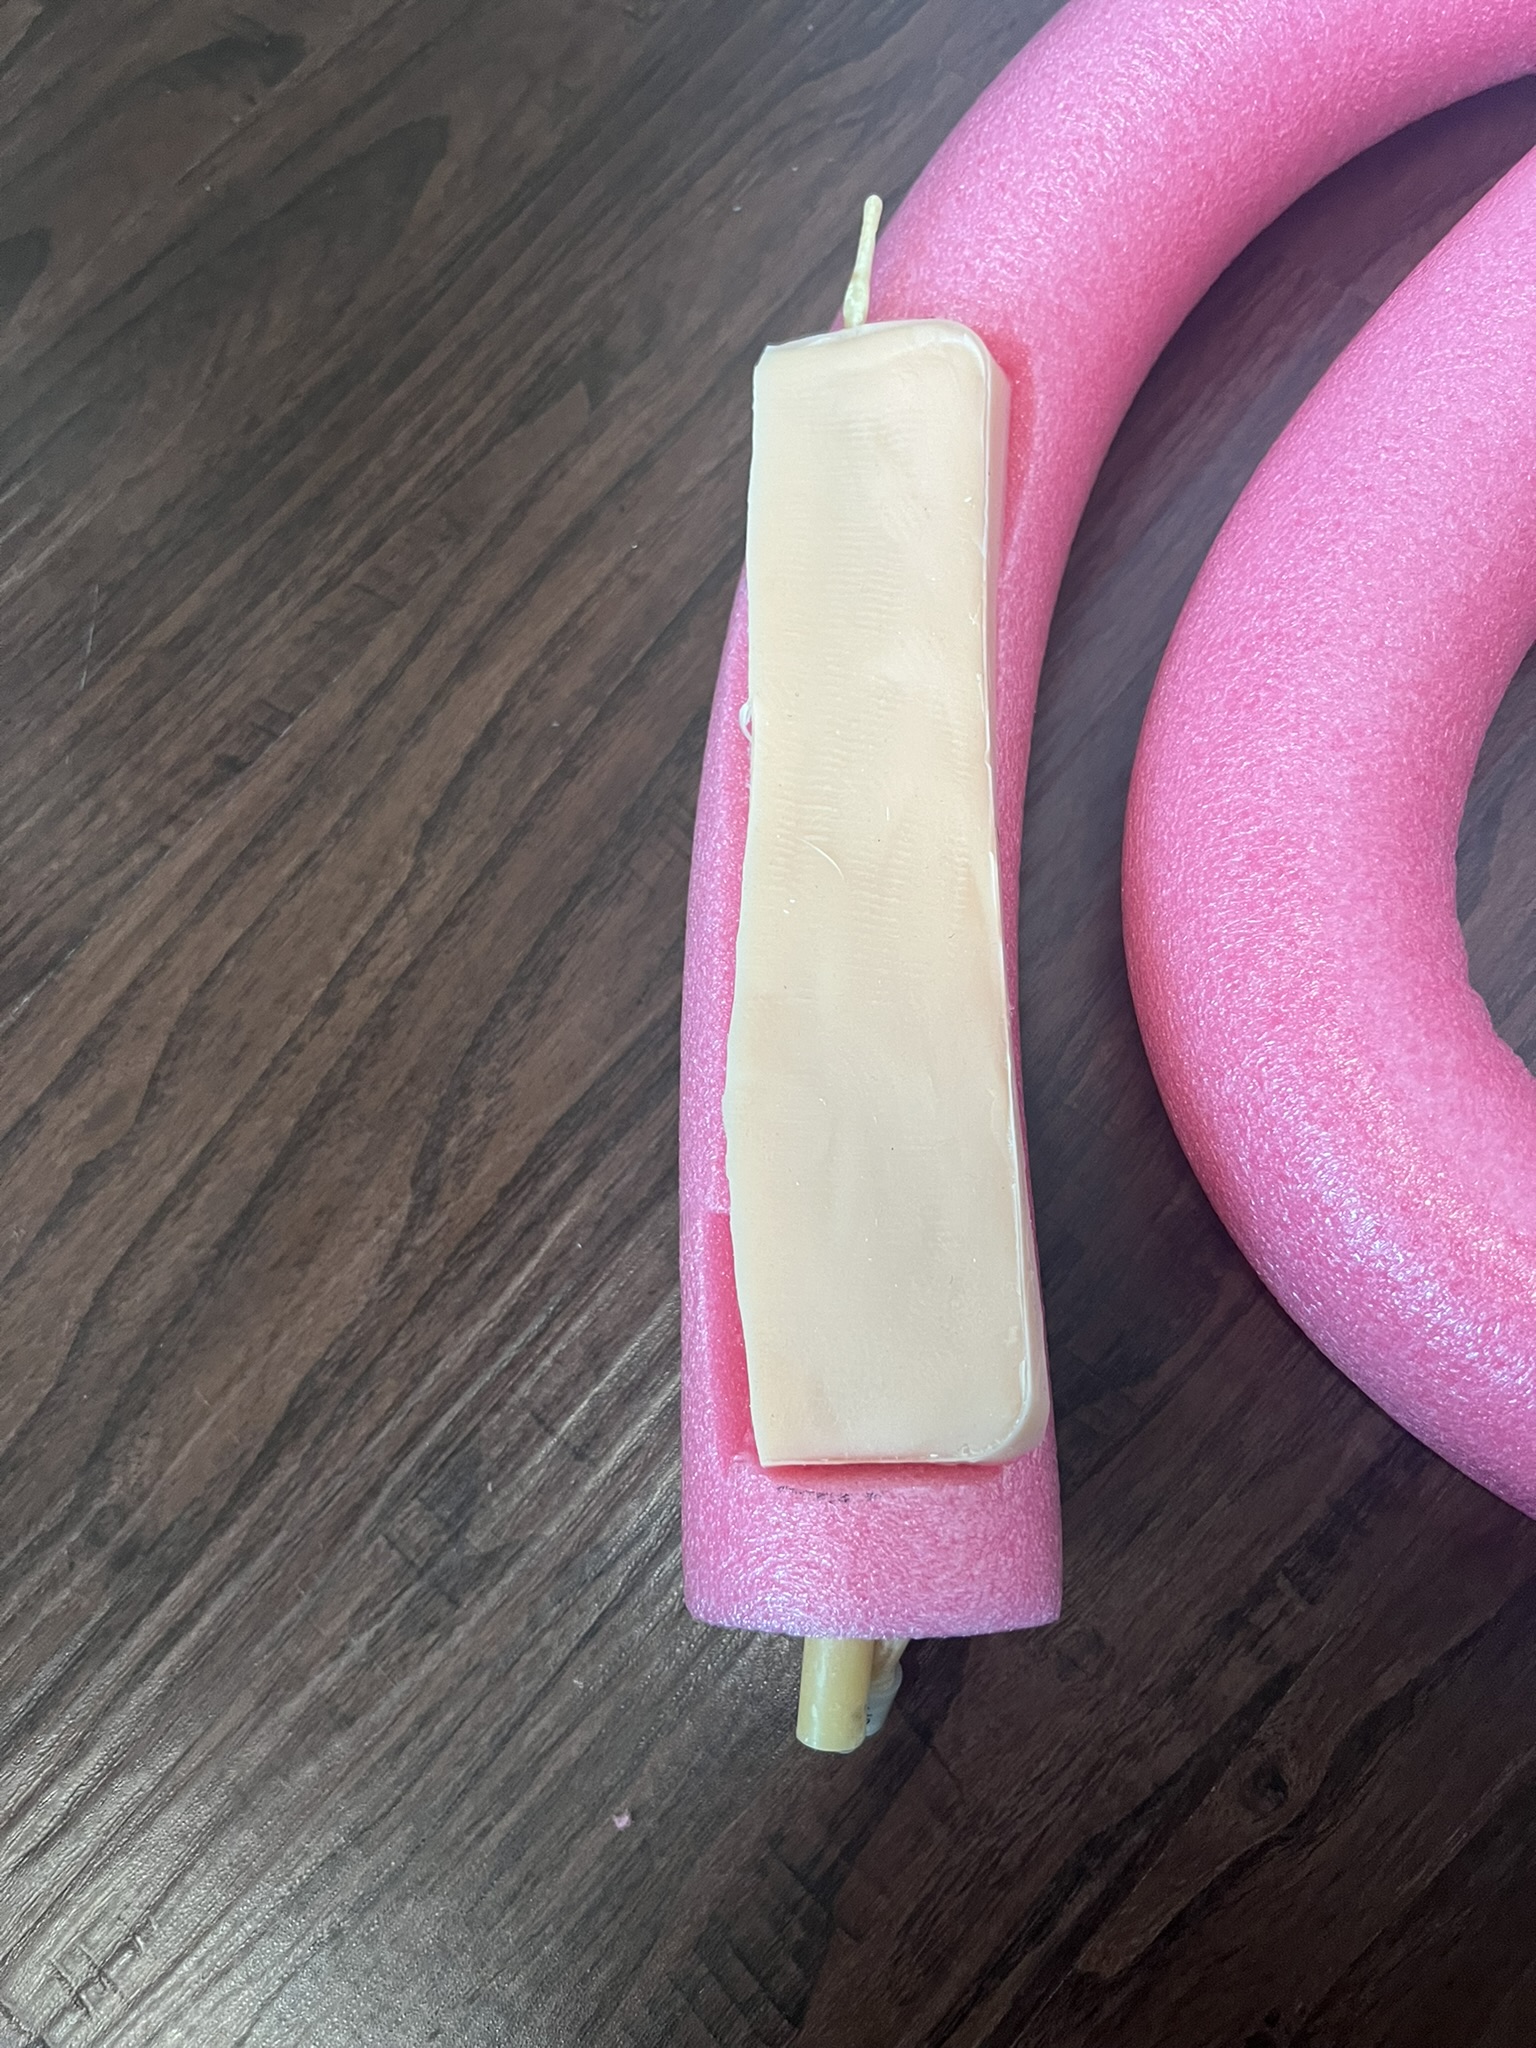 |
| Step 4: Set in the task trainer and place a SAM® splint underneath. Purpose: The SAM® splint (or like splint) will ensure there is a puncture proof surface when learners are performing the task. Learners will still need to perform best practice for sharps handling | 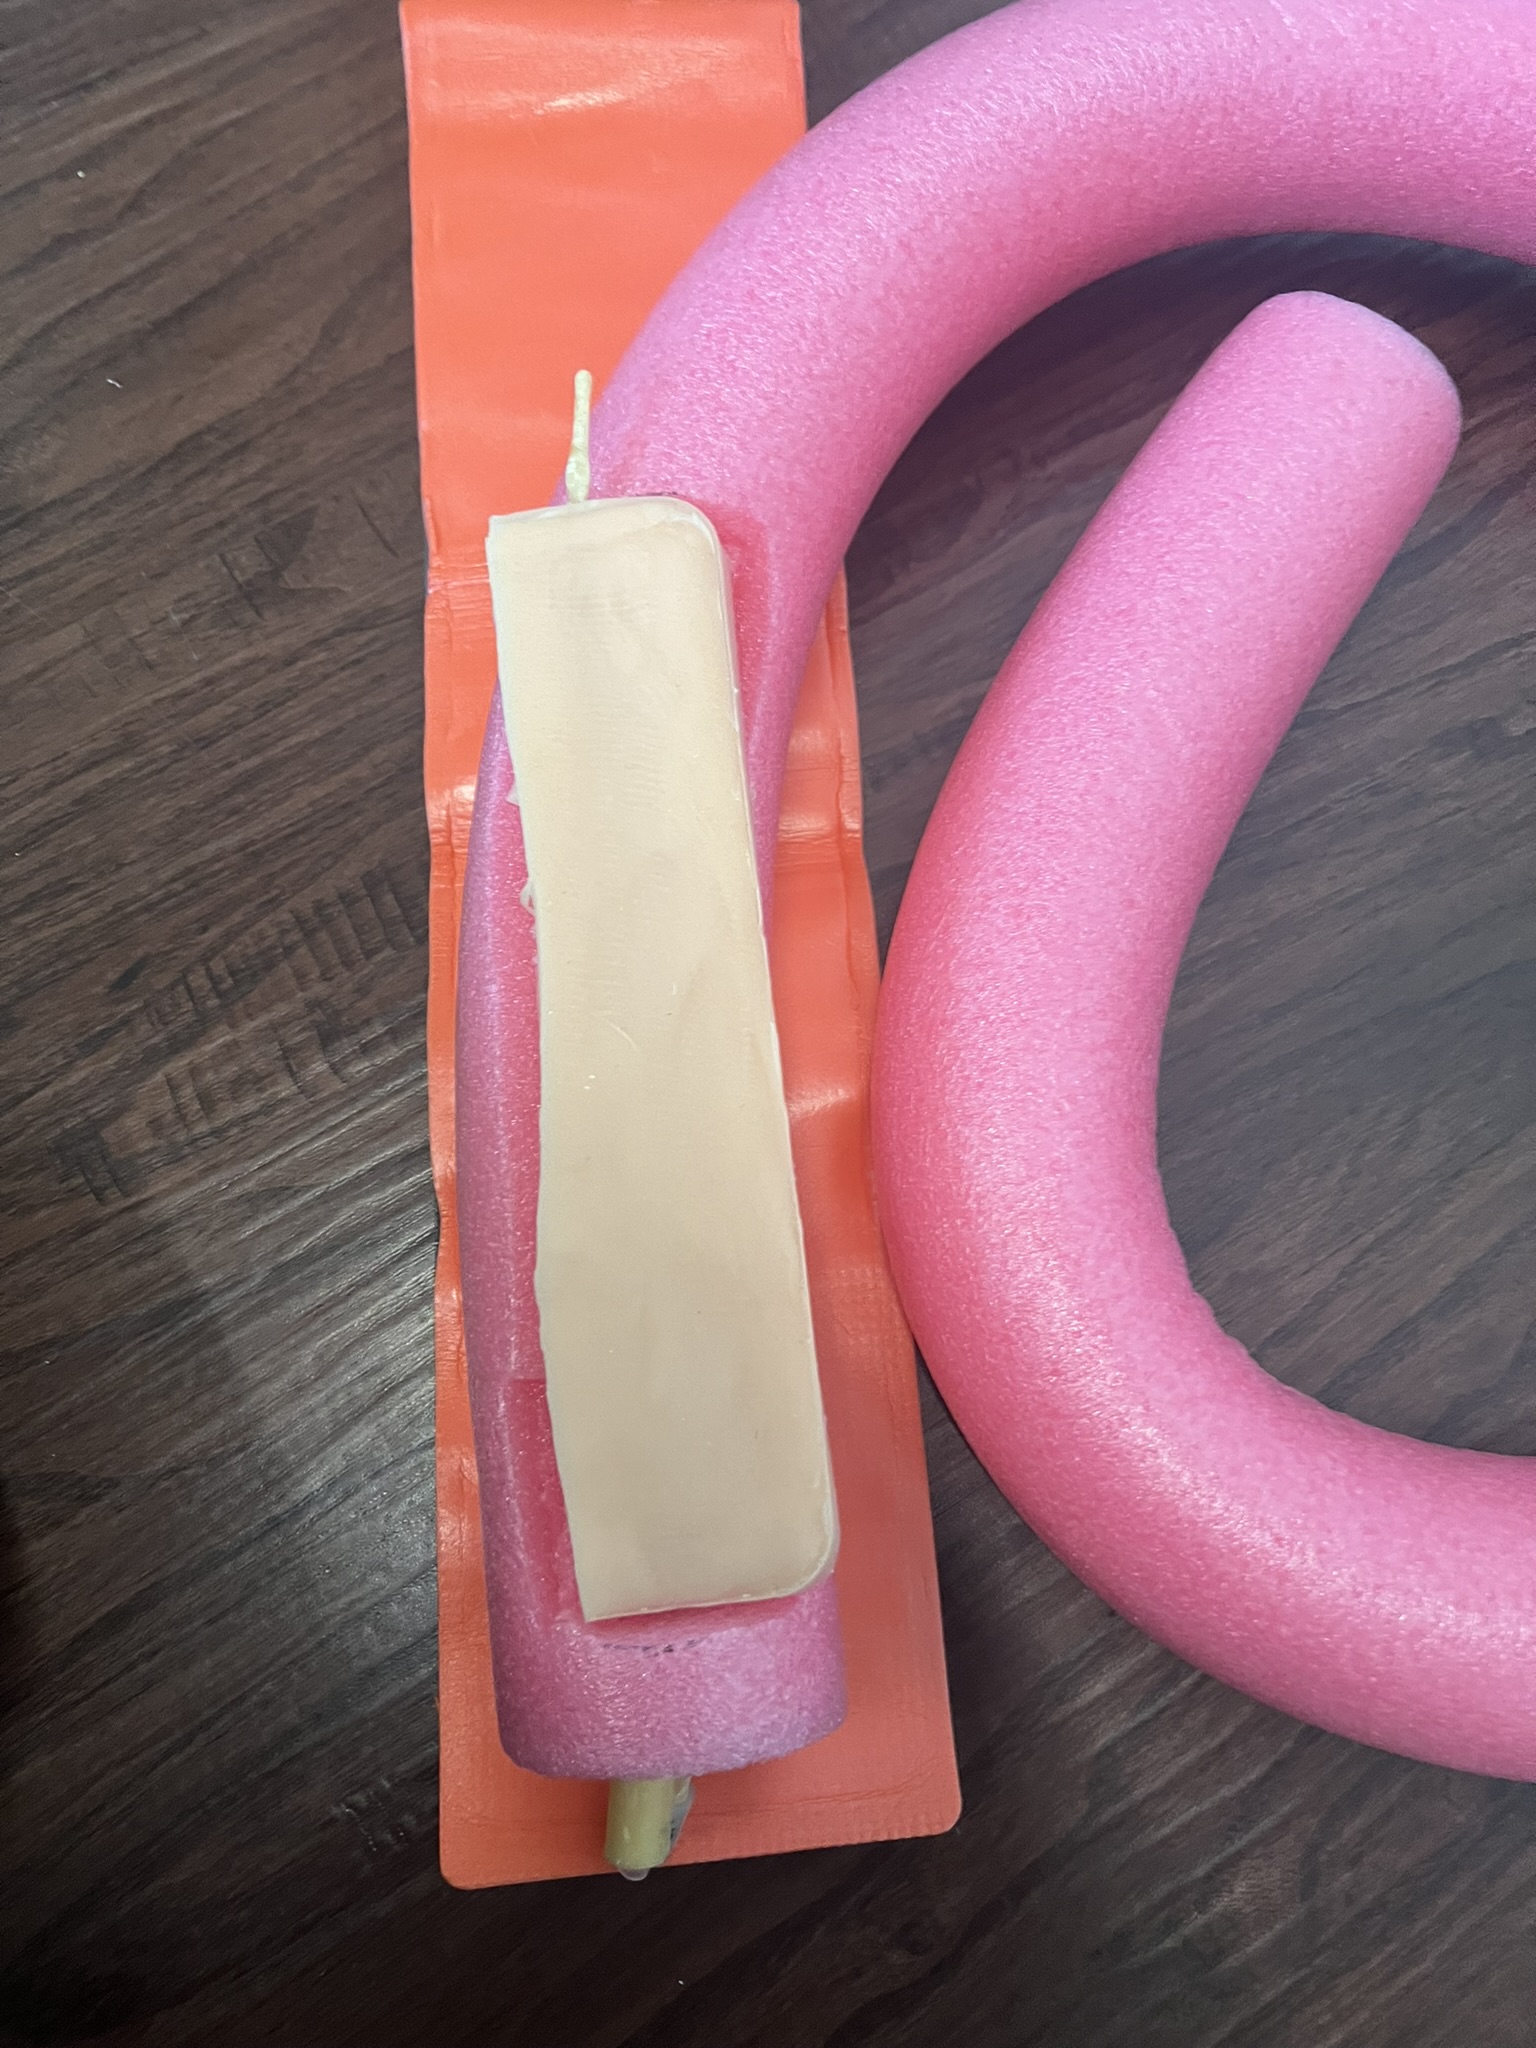 |
| Step 5: Duct tape both ends of the IV task trainer securely to the pool noodle and the SAM® splint. Test for lateral and horizontal movement. | 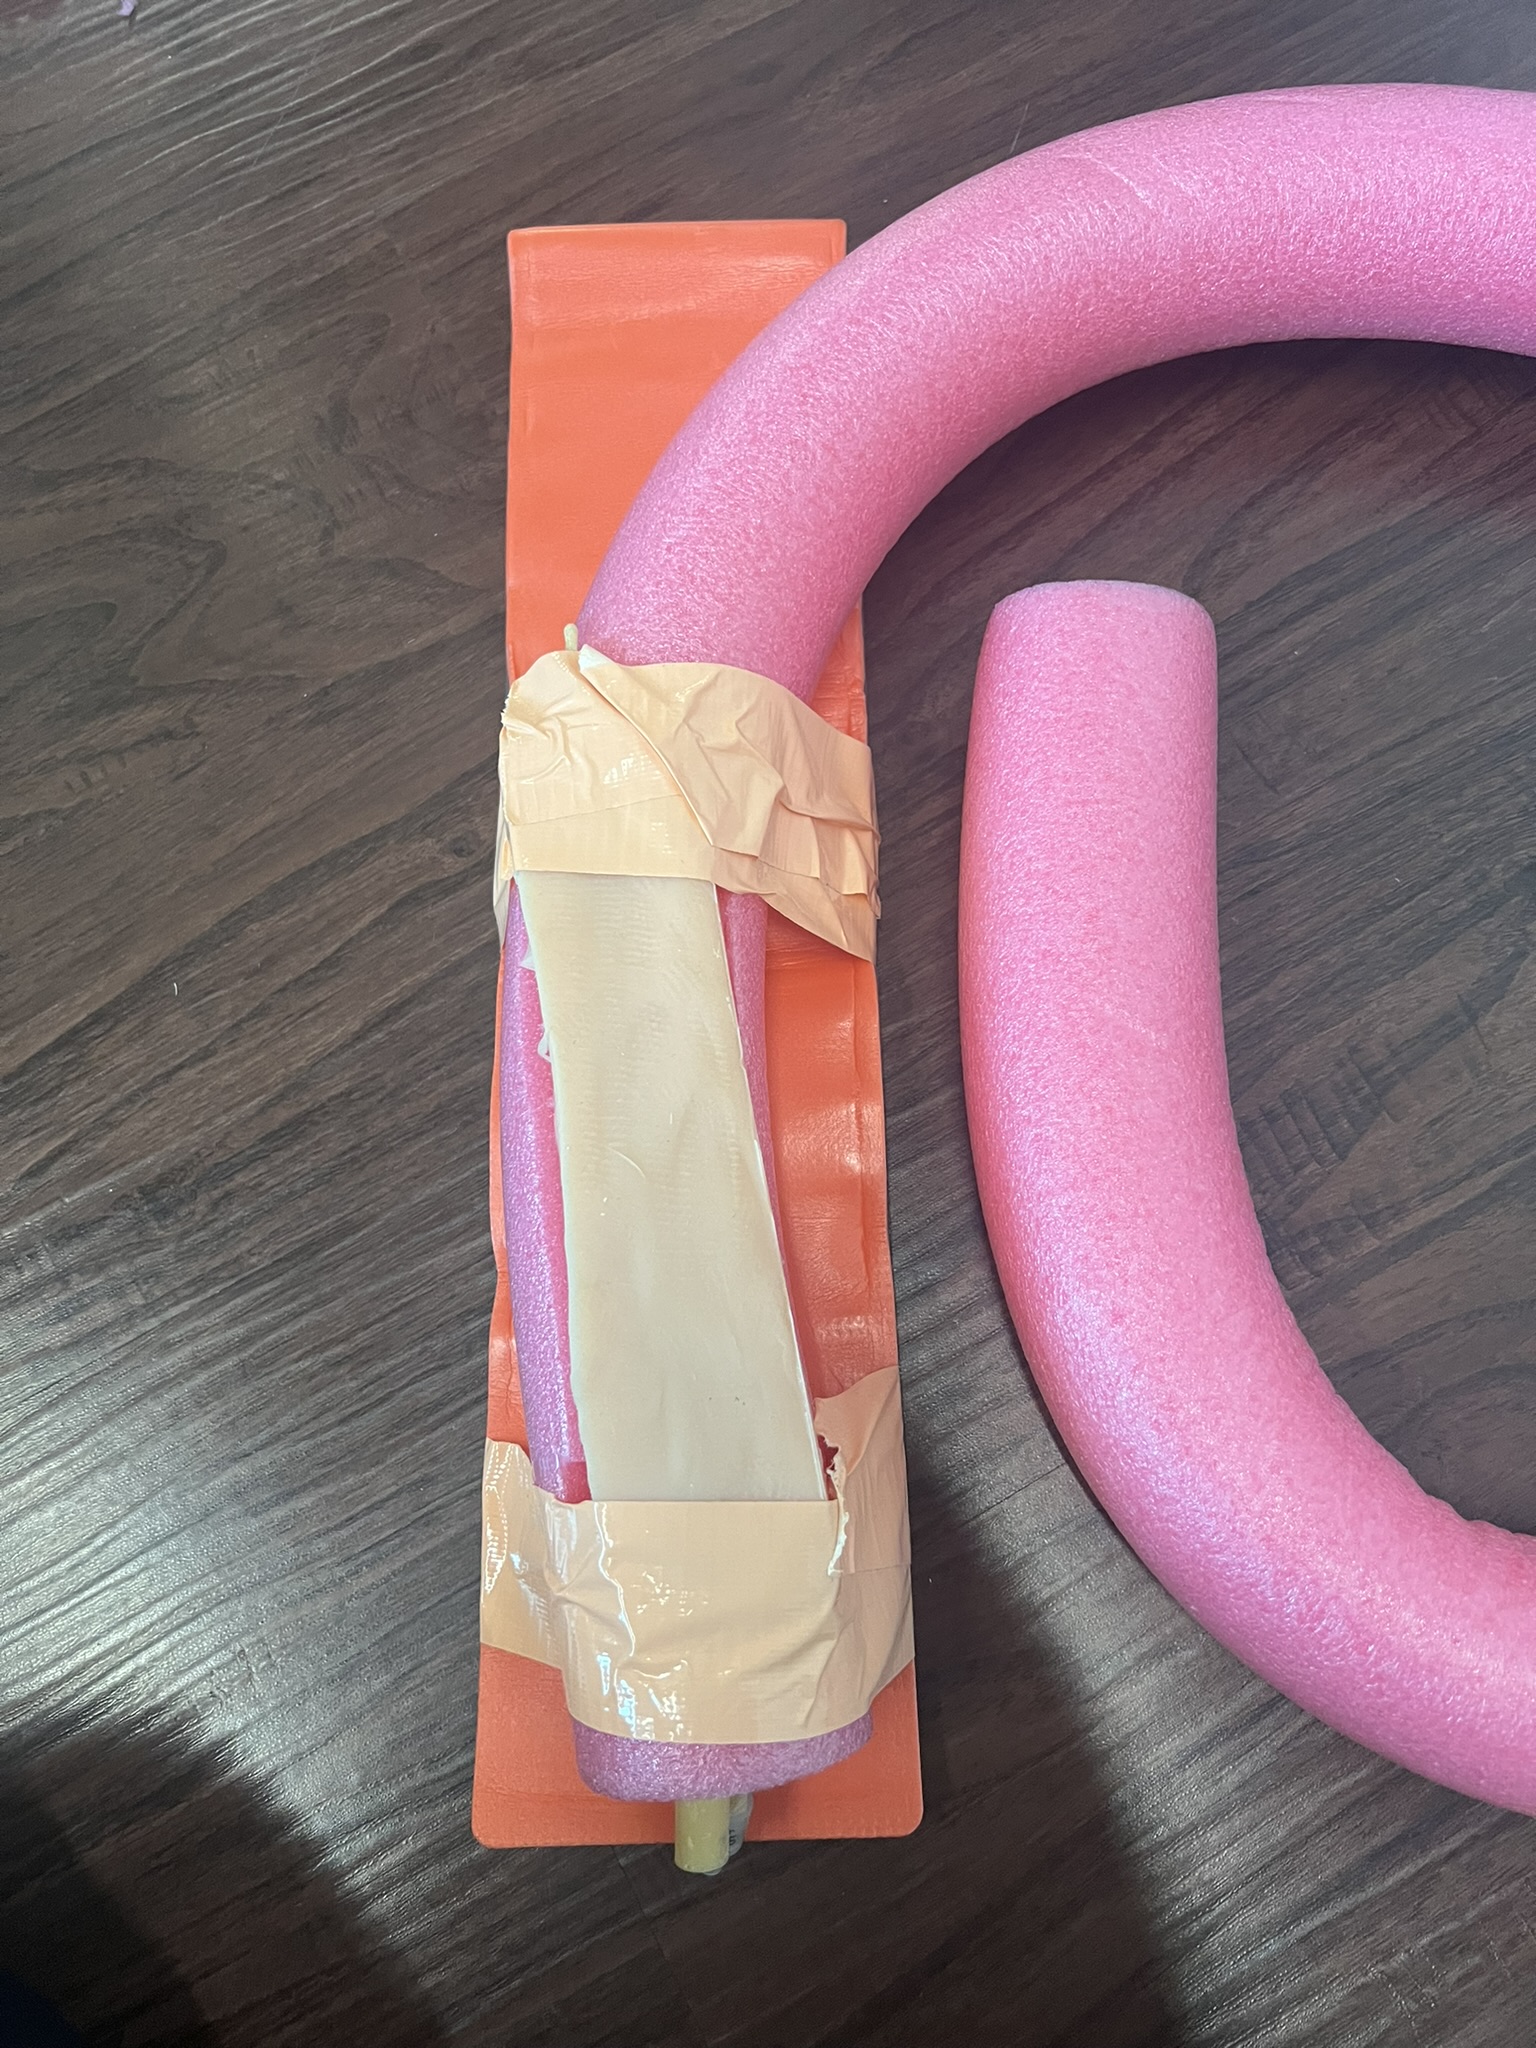 | Step 5: The task trainer can now be looped through the arm holes of the t-shirt to represent arms if you are completing the entire CPR task trainer. OPTIONAL : add flesh-tone nylon overtop the pool noodle and task trainer to add realism. | 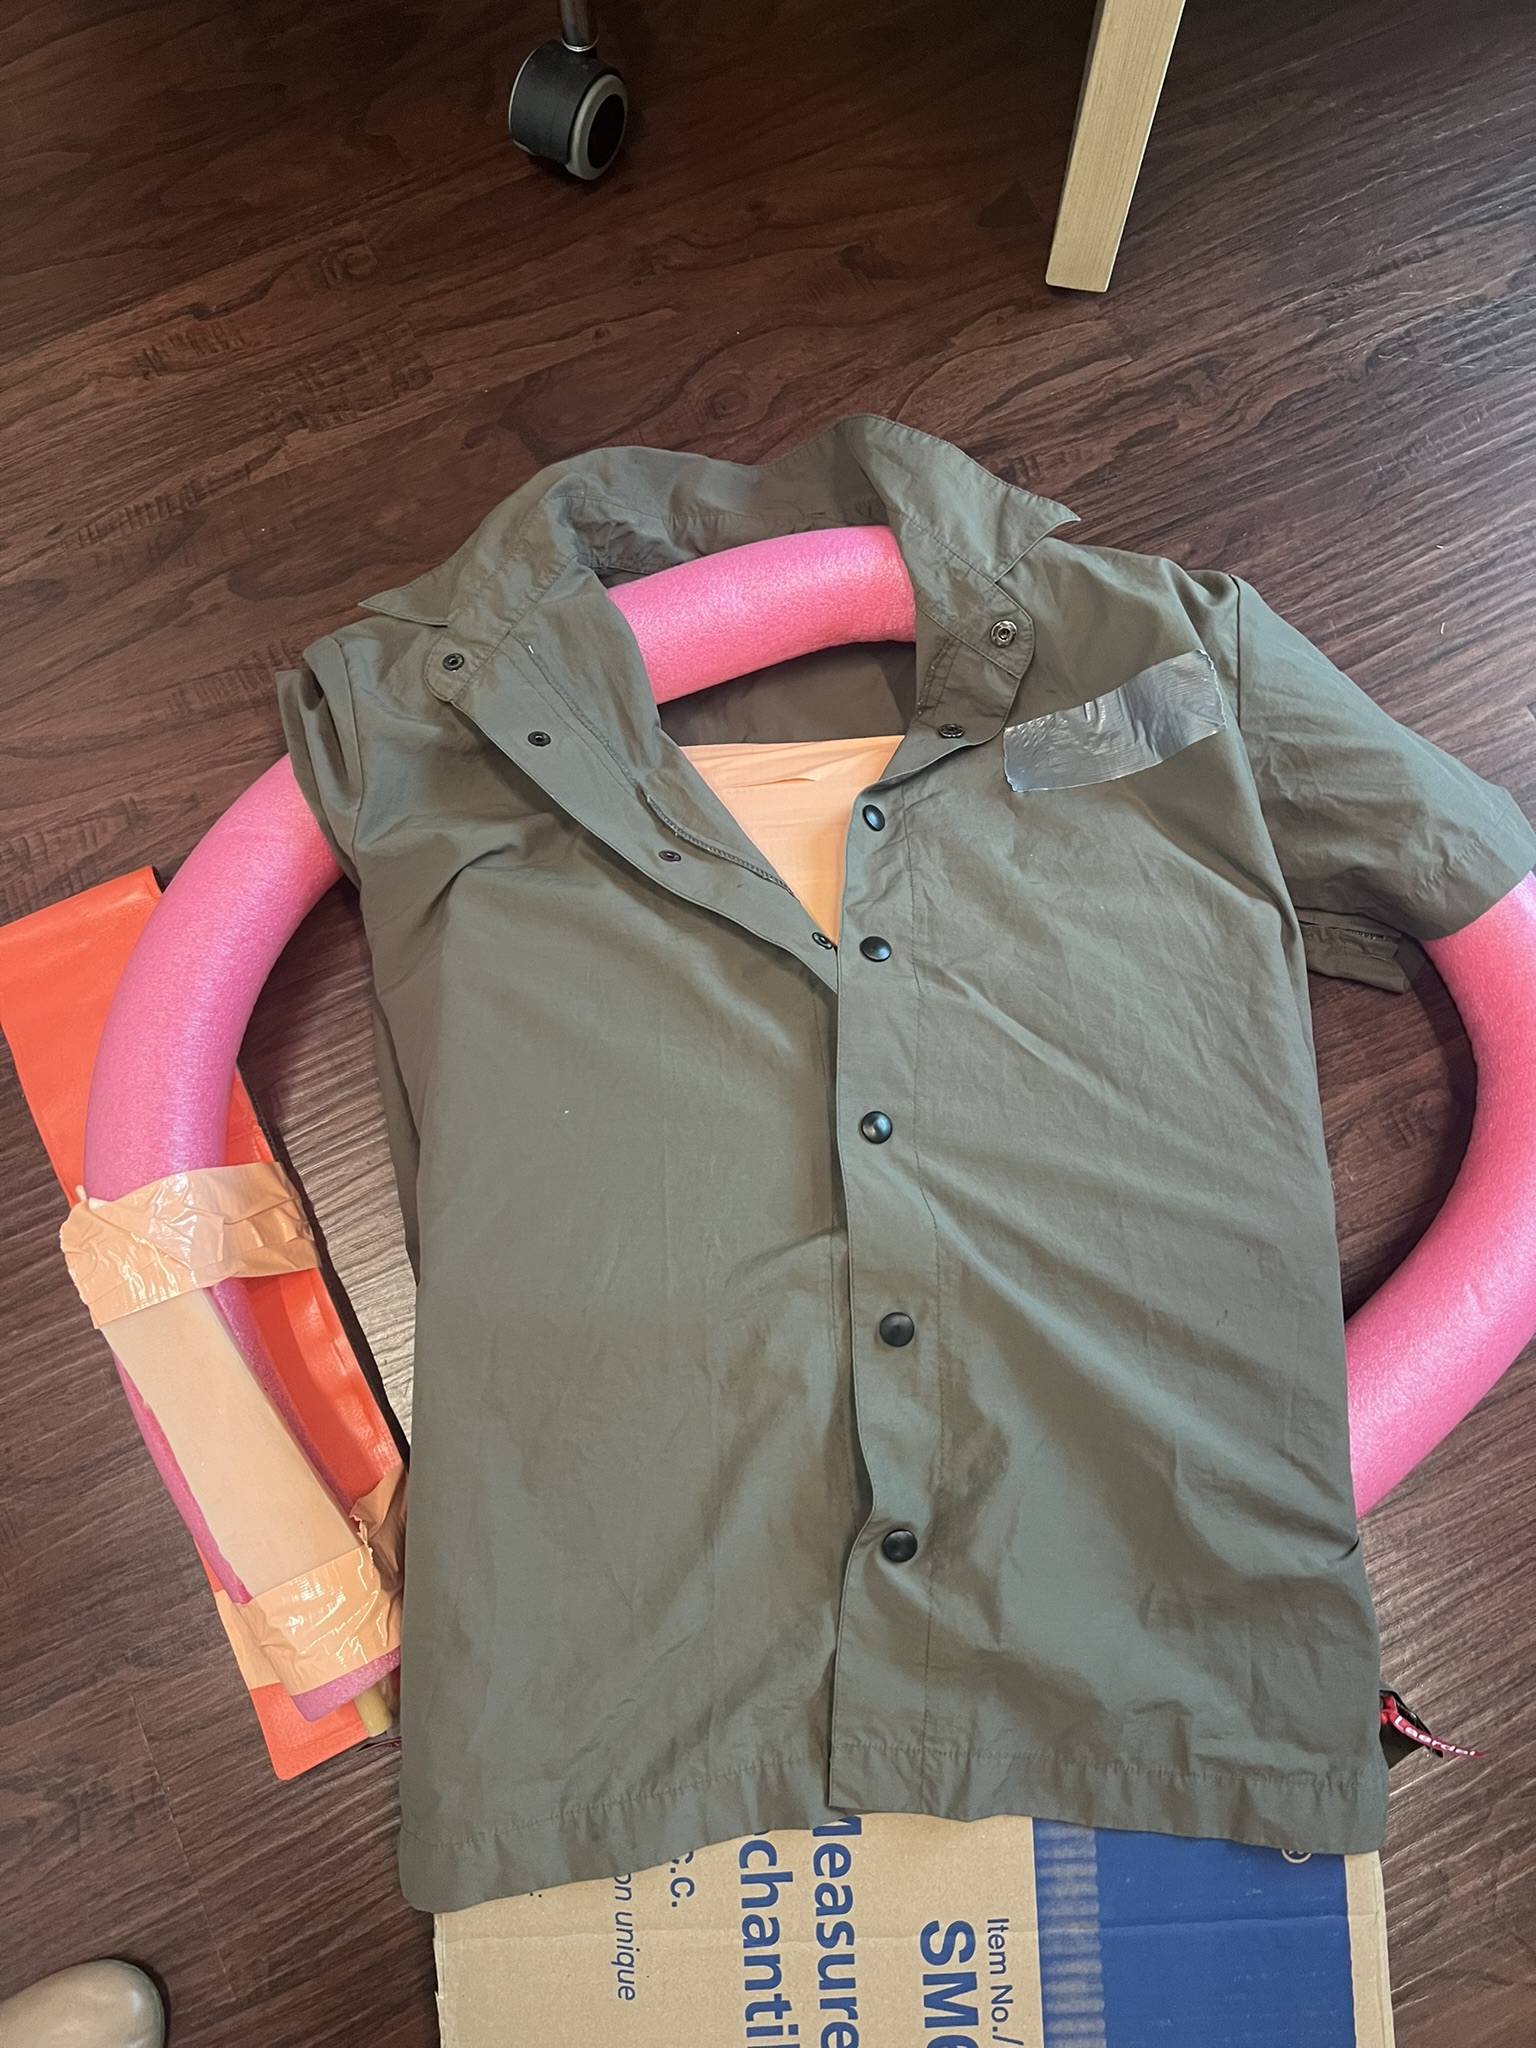 |
| Step 6: To connect your IV module to fluids to receive feedback, please go to the IV Insertion Task Trainer Instructions tab. |